
Embarking on Your DIY Crochet Hat Journey: A Primer
Welcome to the world of DIY crochet hats, where your creativity takes the wheel, and your hands do the magic!
Have you ever wondered what it feels like to don a hat that perfectly reflects your style and, even better, made by you?
Well, you're about to find out. This step-by-step crochet guide is designed to take you from a simple ball of yarn to a cozy, stylish hat in no time.
Whether you're a seasoned hooker or a crochet newbie, this crochet hat tutorial is your ticket to creating easy crochet hat designs that are uniquely you.
From mastering simple crochet hat techniques to understanding easy crocheting patterns for beginners, this guide has got you covered.
So, are you ready to learn to crochet hats that are not just warm and comfy but also a testament to your style?
Let's dive right into it! Remember, every masterpiece starts with a single stitch.
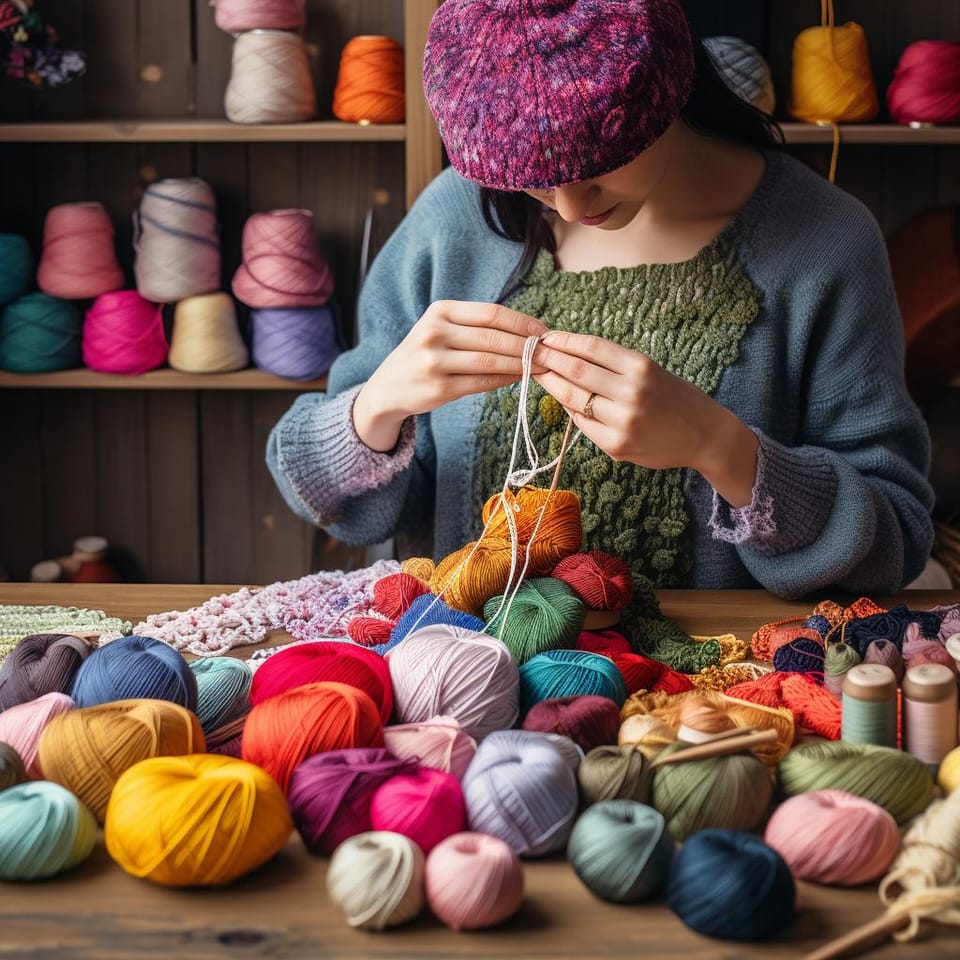
Crafting Arsenal: What You'll Need for Your Crochet Hat
Necessary Materials and Tools
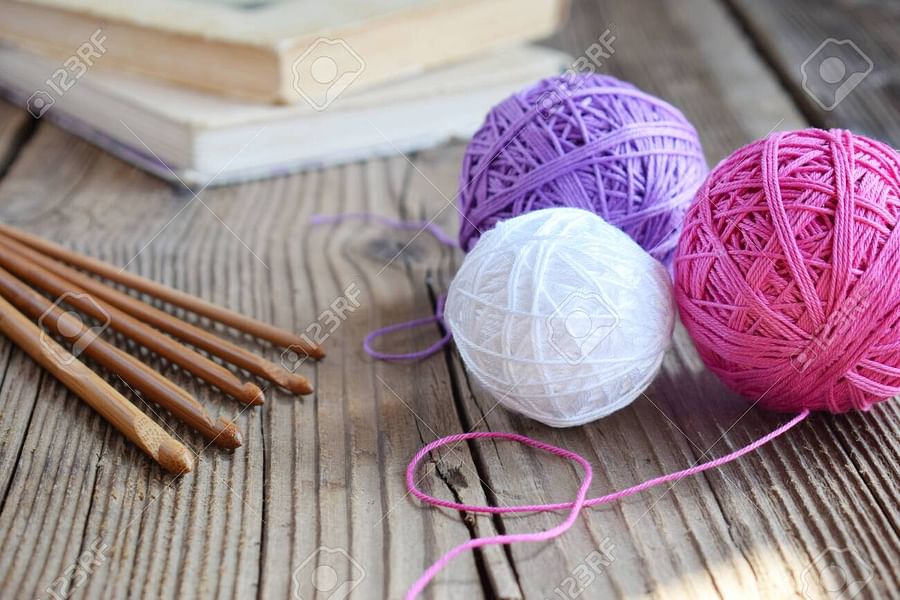
- Yarn of choice: The thread is the primary material for your crochet hat. Choose an adventure that suits your style and comfort. The type of yarn you select will significantly affect the texture and warmth of your hat.
- Crochet hook of appropriate size: The size of the crochet hook should be compatible with the yarn weight you've chosen. The hook size will influence the tightness of your stitches and the overall size of your hat.
- Stitch markers are essential for keeping track of your rounds and stitches, especially when working on complex patterns. They will help ensure accuracy and symmetry in your crochet hat.
- Yarn needle: A yarn needle is used for weaving in ends and adding finishing touches to your hat. It's crucial for creating a polished, professional look.
- Measuring tape: A measuring tape will help you measure your head circumference and the height of your hat. Accurate measurements are vital to creating a well-fitted crochet hat.
How Can I Get Started with Crocheting?
What Are the Basic Things to Know for Beginners in Crochet?
What's the Warmest Way to Knit or Crochet a Hat?
Decoding the Crochet Hat: Core Concepts Unveiled
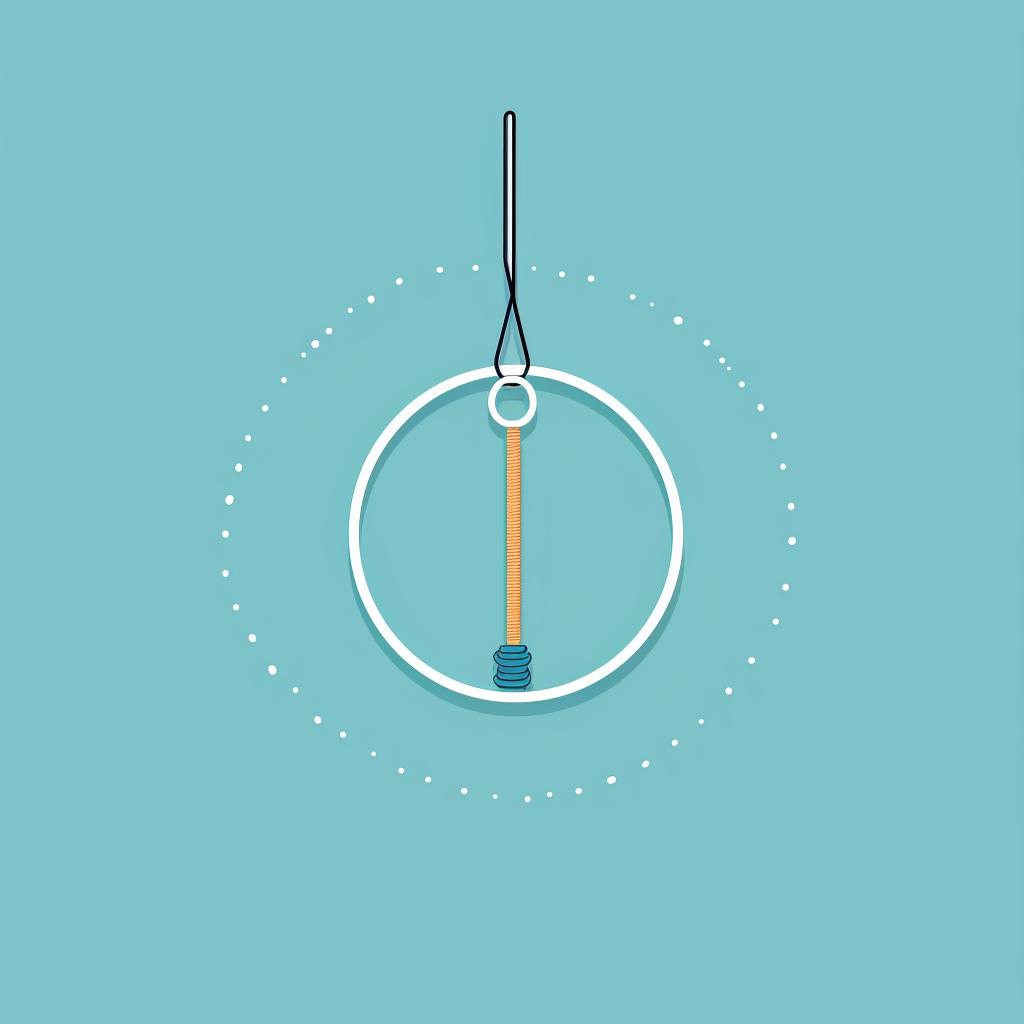
Let's dive into the sea of crochet hat creation, shall we? You're about to embark on an exciting journey, mastering the fundamental aspects of crochet hat patterns. From ring construction - the very foundation of your hat - to increasing rounds, which will help your hat take shape, these are the building blocks of your DIY crochet hat.
Ever wondered about the different stitch types? They're like the spices in a chef's kitchen. Single crochet, double crochet, half-double crochet - these are just a few stitches that can add flavor to your easy crochet hat design. They each have their unique texture and density, making your hat more than just a piece of yarn but a work of art.
Think of this as your personal step by step crochet guide, a treasure map leading you to the world of easy crocheting patterns for beginners. And the best part? You're not just learning to crochet hats, you're designing them. You're not just following a pattern, you're creating it. So, ready to weave your creativity into reality?
Getting the Perfect Fit: Sizing and Gauge in Crochet Hats
Have you ever been caught in a game of yarn chicken, wondering if your hat will be too snug or loose?
Fret not, as we delve into measuring for that perfect fit and calculating crochet gauge for consistent results. Remember, the magic lies in the details!
First, let's talk about size. Grab your trusty measuring tape and wrap it around the widest part of your head, just above your ears. This is your hat circumference. Jot down the measurement — we'll need it later. Now, isn't it fascinating how such a simple step can be the difference between a hat that fits like a dream and one destined for the donation box?
Next, onto the mysterious world of crochet gauge. Imagine creating an easy crochet hat design only to find the wrong size. The culprit? Gauge. It's all about the number of stitches and rows in a specific measurement, usually a 4-inch square. This determines how tight or loose your hat will be. So, how do you calculate it? Simple. Crochet a small court following our easy crocheting patterns for beginners, measure the number of stitches and rows within 4 inches, and voila! You've got your gauge.
With these techniques in your DIY crochet hat toolkit, you're well on your way to creating stunning crochet hats that fit just right. So, are you ready to dive into our step-by-step crochet guide?
Your Personal Guide to Crocheting a Hat: A Detailed Walkthrough
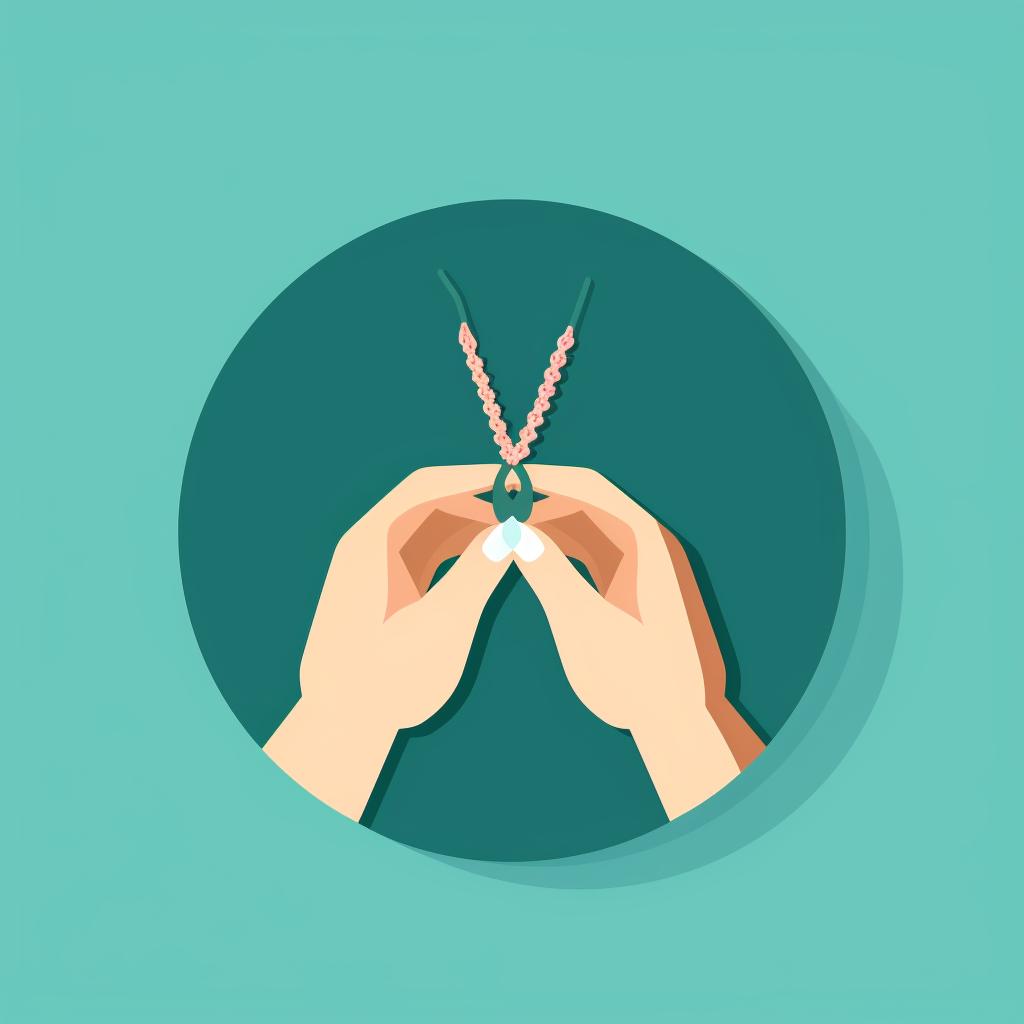
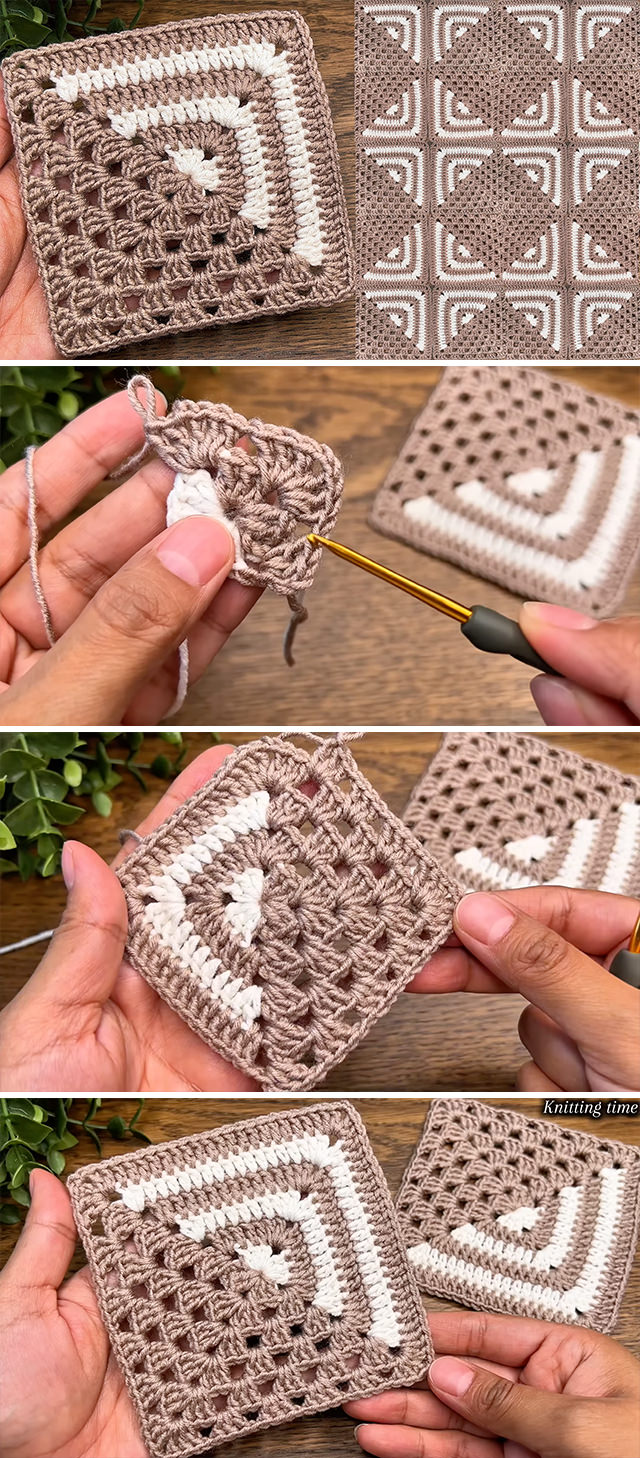
Now that we've covered the basics, let's dive into the step-by-step process of creating your own crochet hat. Follow along with this visual guide to bring your unique hat design to life.
Visual Guide to Designing Your Own Crochet Hat
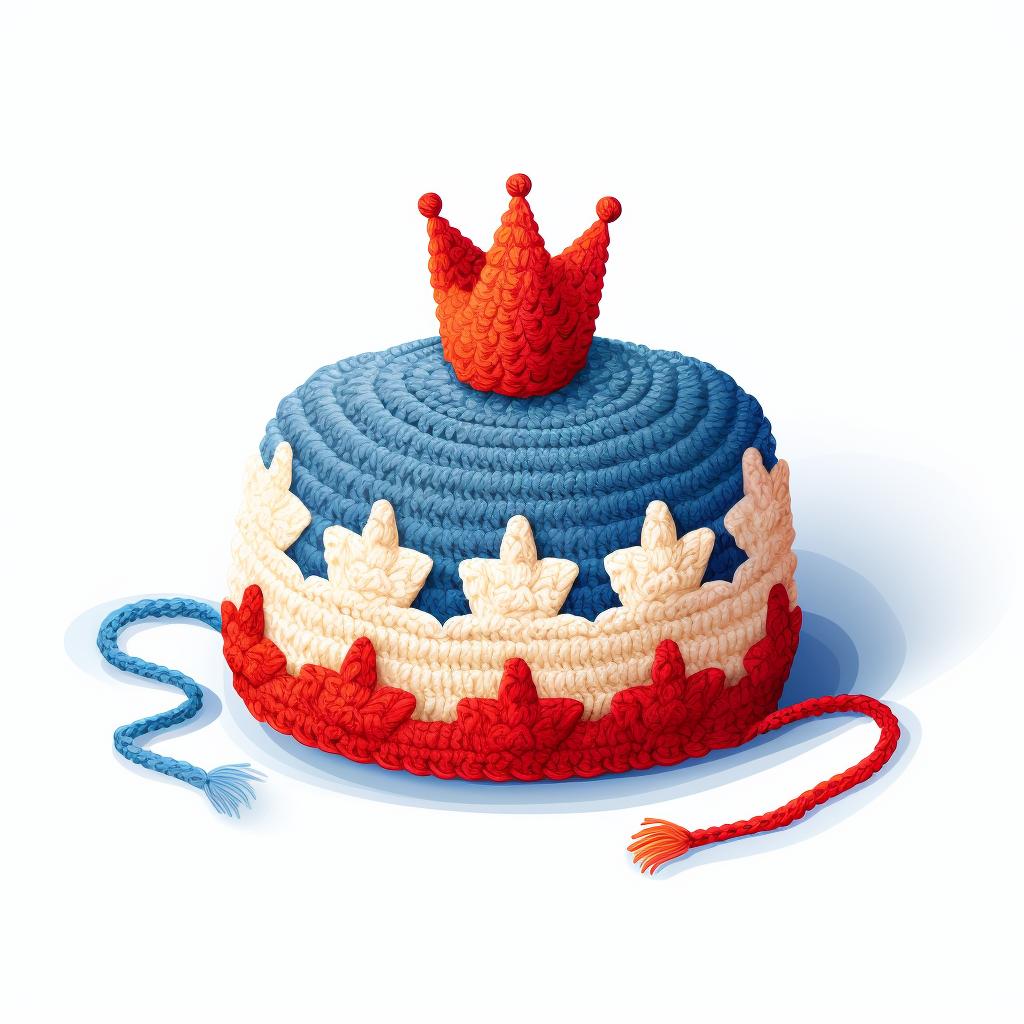
Learn more about Design Your Own Crochet Hat: Step-by-Step Visual Guide or discover other You Get Hooked guides.
Congratulations, you've just created your own crochet hat! For a more in-depth look at this process, check out the following video where a crochet expert walks you through each step.
Now that we've gone through the steps let's watch a video tutorial to walk us through crocheting a hat. This will give us a real-life perspective and additional tips to perfect our hat design.
The video tutorial provided a practical demonstration of the steps we've discussed. Now that you've seen it let's move on to some tips and tricks to help you customize your crochet hat design to suit your style and preferences.
Add a Dash of You: Personalizing Your Crochet Hat Design
Now that you've mastered the basics, let's weave in some personality, shall we?
Imagine your crochet hat as a blank canvas, waiting for your creative touch.
What will your masterpiece look like?
Firstly, consider the stitch types. Who says you have to stick with the basic single crochet? Why not mix it up with some double crochet, treble crochet, or even the more intricate puff or popcorn stitches? These easy crocheting patterns for beginners can help you explore a variety of stitches.
Next, let's talk color. Do you like bold, vibrant hues, or do you prefer soft, pastel tones?
Maybe you enjoy the simplicity of monochrome? Your choice of colors can dramatically alter the look of your crochet hat. Stripes, gradients, or even a kaleidoscope of colors - the option is yours!
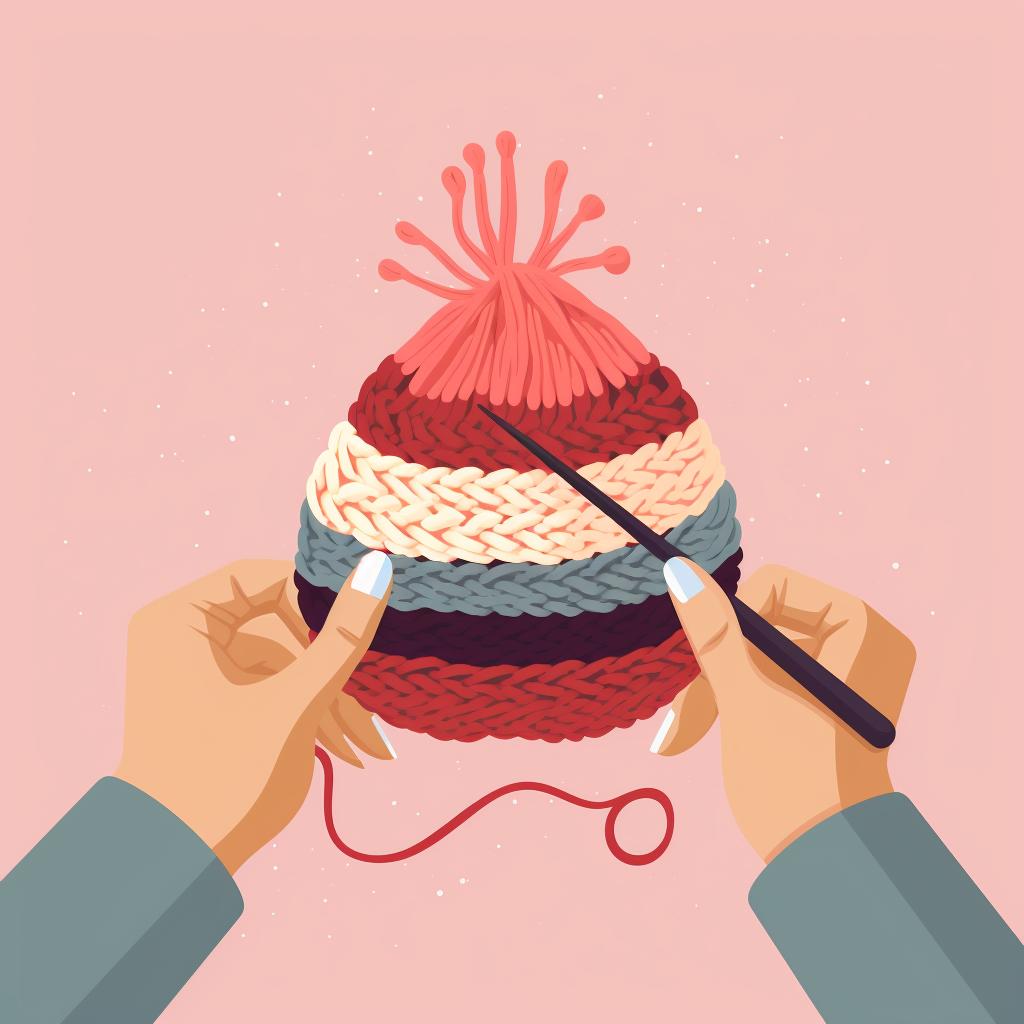
And finally, embellishments. Think tassels, pom-poms, or even a cute crochet flower. These little additions can transform your hat from 'nice' to 'wow.' Remember, this is your hat, your design. So, let your creativity run wild with this step-by-step crochet guide.
Designing your crochet hat isn't just about creating a piece of clothing. It's about expressing who you are. So, ready to start your DIY crochet hat journey?
Oops, Did I Do That? Avoiding and Fixing Crochet Hat Mishaps
Even the most seasoned crocheters can sometimes find themselves tangled in a web of yarn, wrestling with a DIY crochet hat that's turned out too small, too large, or just plain peculiar. But fear not, dear reader, because mistakes are simply opportunities in disguise. They're the stepping stones to mastering easy crocheting patterns for beginners.
Let's unravel some of the most common crochet hat-making errors, shall we?
Picture this: You've followed the crochet hat tutorial to the letter, but your hat still seems to have a life of its own. It's either too tight, making you look like a walking mushroom, or too loose, making you feel like a bell tower. This is likely due to an incorrect gauge. Remember, your stitches should be snug, not strangled or slacking. Keep a measuring tape handy to ensure you're on the right track.
Another common misstep is forgetting to increase rounds. Without these essential increases, your crochet hat will look more like a beanie or, worse, a yarmulke. To avoid this, add extra stitches per the step-by-step crochet guide in each round. So, dear reader, are you ready to conquer these common crochet hat challenges? With these tips in mind, your crochet hat techniques will be as smooth as a well-crafted stitch in no time.
Keep Calm and Crochet On: Final Thoughts and Your Next Steps
And so, fellow yarn wranglers, we've unraveled the mystery of the DIY crochet hat together.
The techniques shared in this crochet hat tutorial have hopefully turned the daunting into the doable.
The world of crochet patterns for beginners got a little larger. Remember the first stitch you ever made?
It may have looked awkward, a little out of place, and possibly even a mistake. But look at you now!
You've just completed a step-by-step crochet guide to design your hat. You've learned to crochet hats, from a simple ring to a unique masterpiece.
So, what's next? Will you stick with the easy crocheting patterns for beginners, or will you dare to stretch your creativity? The yarn is in your hands.
Your journey into the realm of easy crochet hat design is just beginning. Discover, innovate, and, most importantly, enjoy every moment.
As you embark on this new journey, think of each hat as a story, stitch a word, and each pattern a chapter.
What tale will your next crochet hat tell? We can't wait to find out. Happy crocheting!
What's Your Next Crochet Hat Adventure?
We're excited to see what you'll create next! What kind of crochet hat design are you planning to make?
No comments yet. Be the first to share your thoughts!