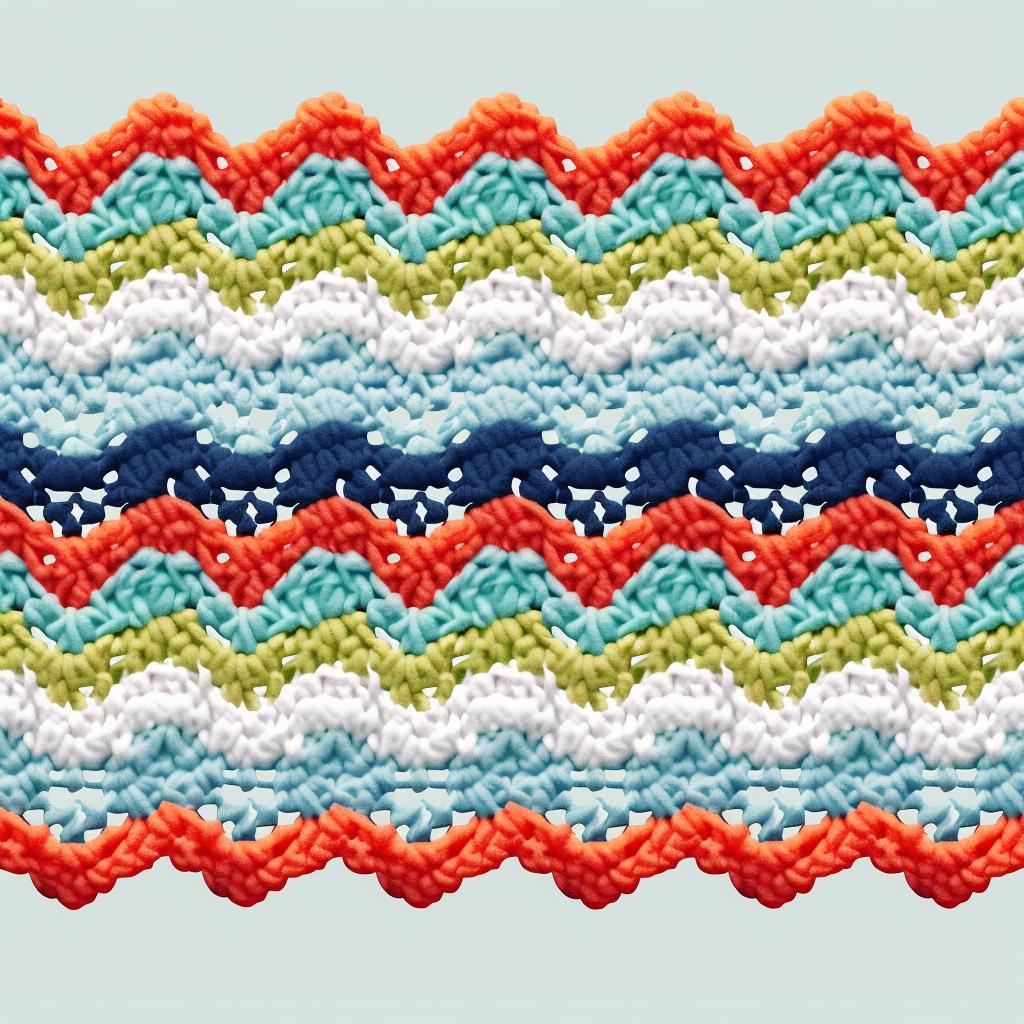
🧶 Creating a Crochet Border on a Dress: A Step-by-Step Guide 🌸
Are you ready to take your crochet skills to the next level? If you've ever wanted to add a beautiful crochet border to a dress, then you're in the right place. In this step-by-step guide, we'll show you exactly how to create a crochet border on a dress, giving it a unique and stylish touch.
Step 1: Choose Your Yarn and Crochet Hook
To start, select a yarn that complements the fabric of your dress. Cotton yarn is a versatile choice that works well with most fabrics. Make sure to choose a crochet hook that feels comfortable in your hand, as you'll be using it for the entire project.
Step 2: Make a Slip Knot
Create a slip knot on your crochet hook. This will serve as the starting point for your crochet border.
Step 3: Insert Your Hook
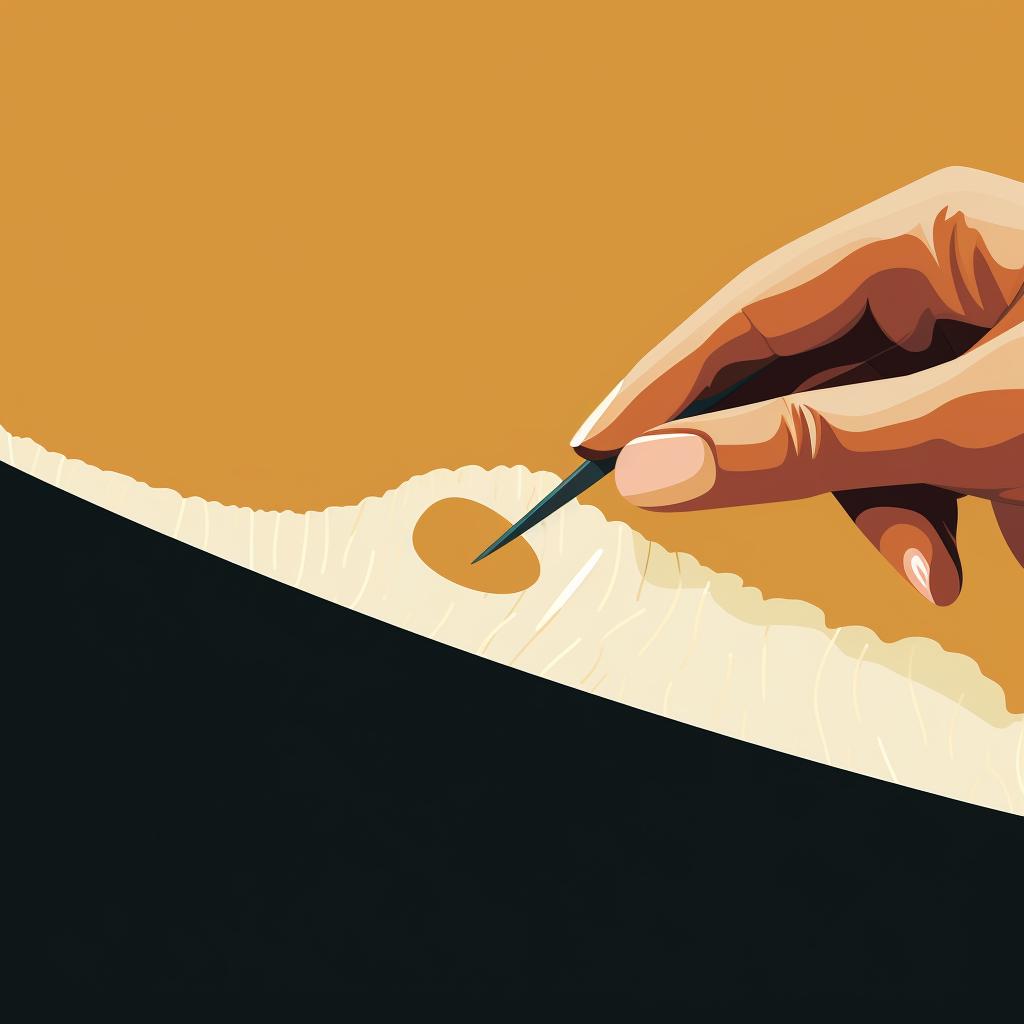
Carefully insert your crochet hook into the edge of the fabric where you want to begin your border. This will anchor your crochet border to the dress, ensuring it stays in place.
Step 4: Yarn Over and Pull Through
Yarn over by wrapping the yarn around your crochet hook, and then pull the yarn through the fabric to create a loop on your hook. This is the basic technique for creating a crochet stitch.
Step 5: Create a Single Crochet Stitch
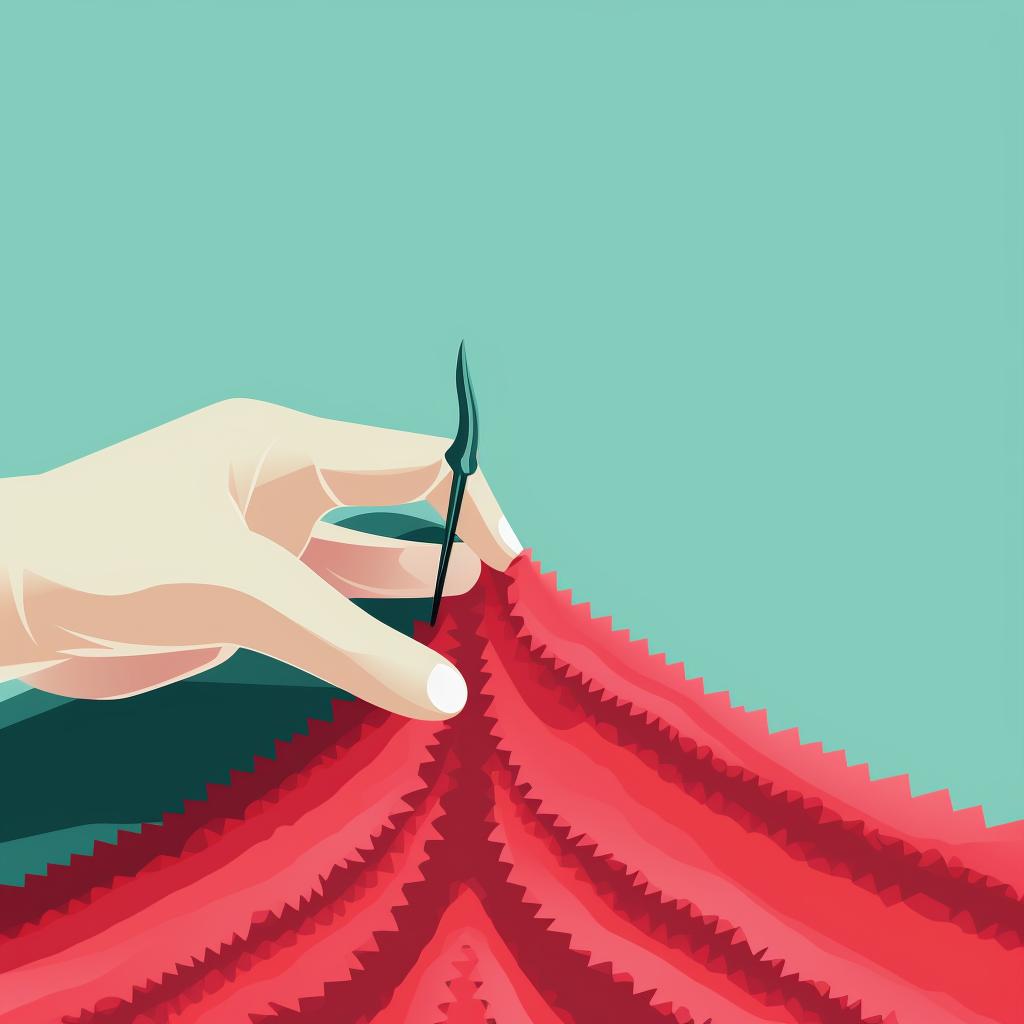
To create a single crochet stitch, yarn over again and pull the yarn through both loops on your hook. This forms a single crochet stitch. Repeat this step along the edge of the fabric, maintaining a consistent tension.
Step 6: Continue Single Crocheting
Keep single crocheting along the edge of the fabric, making sure to maintain the same tension. This will create a neat and even border.
Step 7: Turn at the Corner
When you reach a corner, make three single crochets in the corner stitch. This will allow you to smoothly turn the corner and continue crocheting along the next edge.
Step 8: Crochet Along the Next Edge
Continue single crocheting along the next edge of the fabric, maintaining the same tension as before. This will ensure a consistent and professional-looking border.
Step 9: Join with a Slip Stitch
Once you've gone all the way around the dress, join the border with a slip stitch to the first single crochet. This will complete the border and secure it in place.
Step 10: Cut and Weave in Ends
To finish off your crochet border, cut the yarn, leaving a tail. Use a needle to weave in the ends of the yarn into the border. This will give your crochet border a clean and polished finish.
Now that you have the step-by-step guide to creating a crochet border on a dress, it's time to unleash your creativity and add a personal touch to your wardrobe. With these techniques, you can turn an ordinary dress into a stunning and unique piece that showcases your crochet skills. Happy crocheting!
Remember, at You Get Hooked, we're here to guide you through every step of your crochet journey. Whether you're a beginner or an advanced crocheter, we have the resources, patterns, and techniques to help you create beautiful crochet projects. Stay tuned for more crochet tips, inspiration, and tutorials.

