You Get Hooked Comprehensive Crochet Guides

Mastering Your First Granny Square 🧶

Learn how to crochet your first granny square with our step-by-step guide. Gather your materials, create a slip knot, start the chain, form a ring, crochet the first round, and continue the rounds. Perfect for beginners. Find more crochet patterns and techniques at You Get Hooked.

Mastering Your First Granny Square

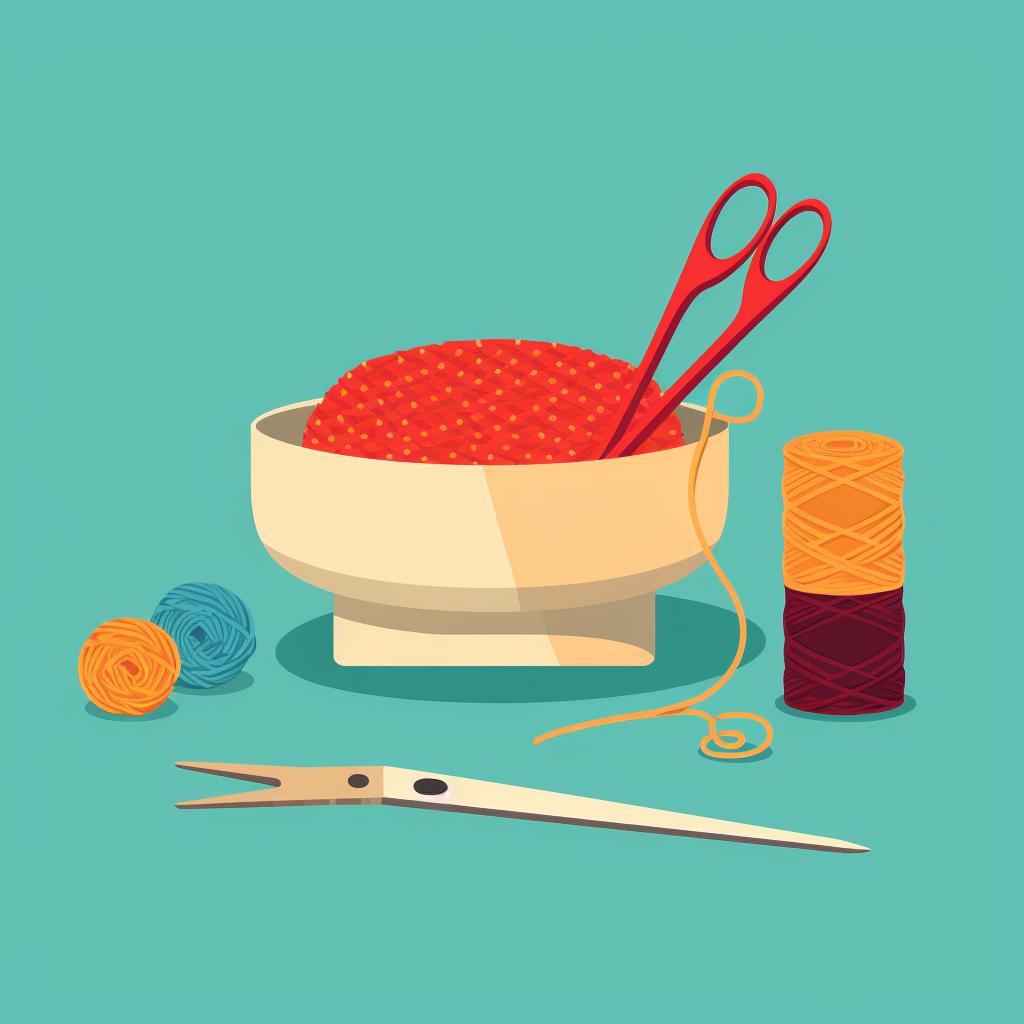
Crochet hook, yarn, and scissors on a table
Gather Your Materials
You'll need a crochet hook, yarn in your chosen color, and a pair of scissors. If you're unsure about the hook size, check the yarn label for recommendations.
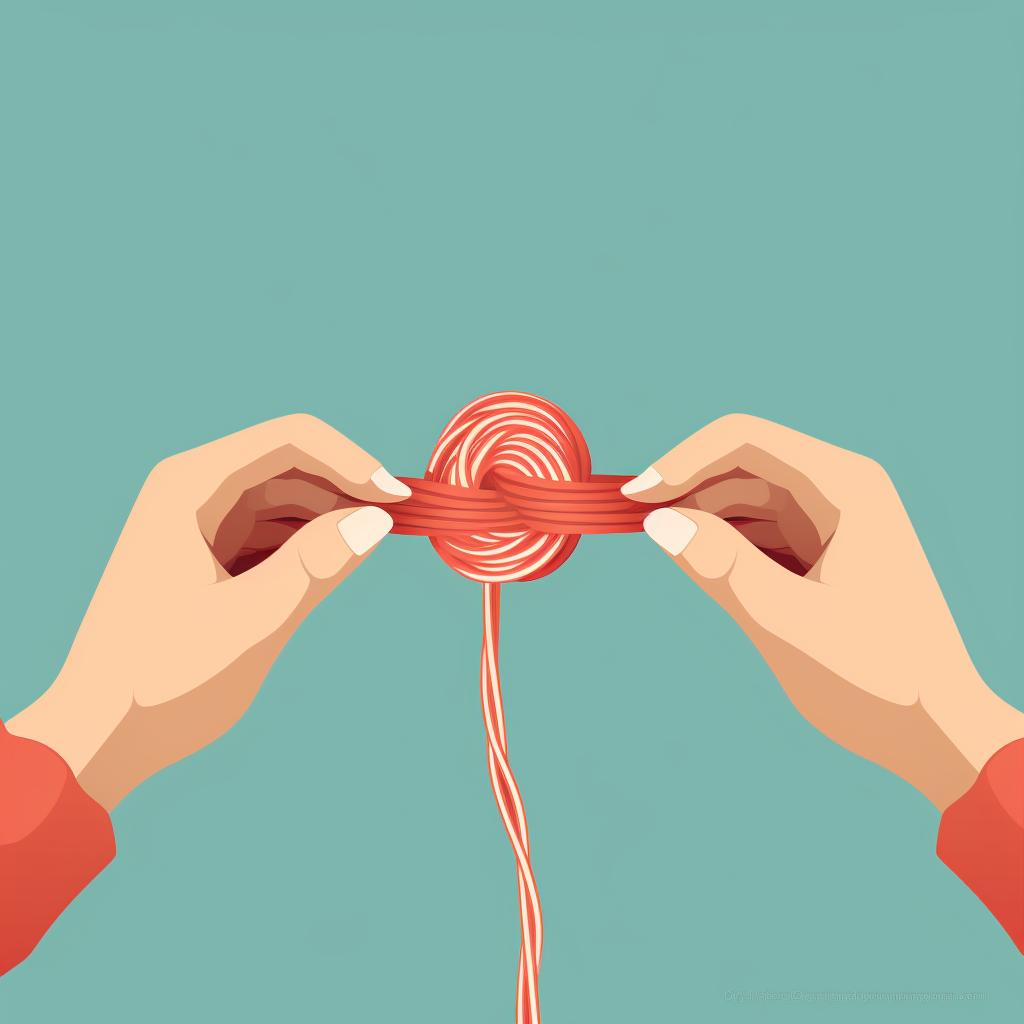
Hands creating a slip knot with yarn
Create a Slip Knot
Make a loop with your yarn, leaving a tail end. Push a bit of the loop through to create a second loop. Insert your hook into this loop and tighten the knot by pulling the yarn ends.
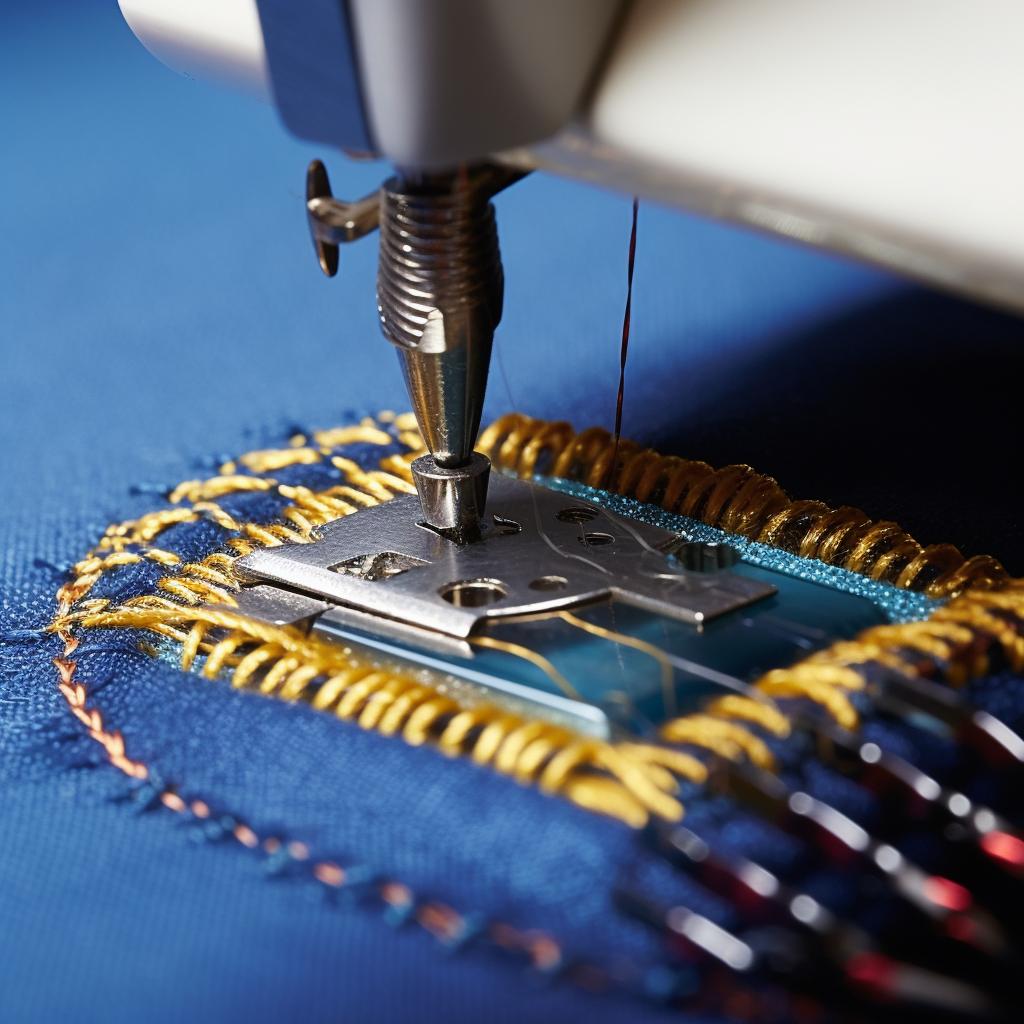
Close-up of a chain stitch being made
Start the Chain
Hold the knot and wrap the yarn over your hook. Pull it through the loop on your hook. This is called a chain stitch. Repeat this to make a chain of four stitches.
Hands forming a ring with crochet stitches
Form a Ring
Slip your hook into the first chain stitch you made, wrap the yarn over, and pull it through both loops on your hook. You've now formed a ring.
First round of a granny square being crocheted
Crochet the First Round
Work three chain stitches (this counts as your first double crochet), then work two double crochets into the center of the ring. This forms your first 'cluster'.
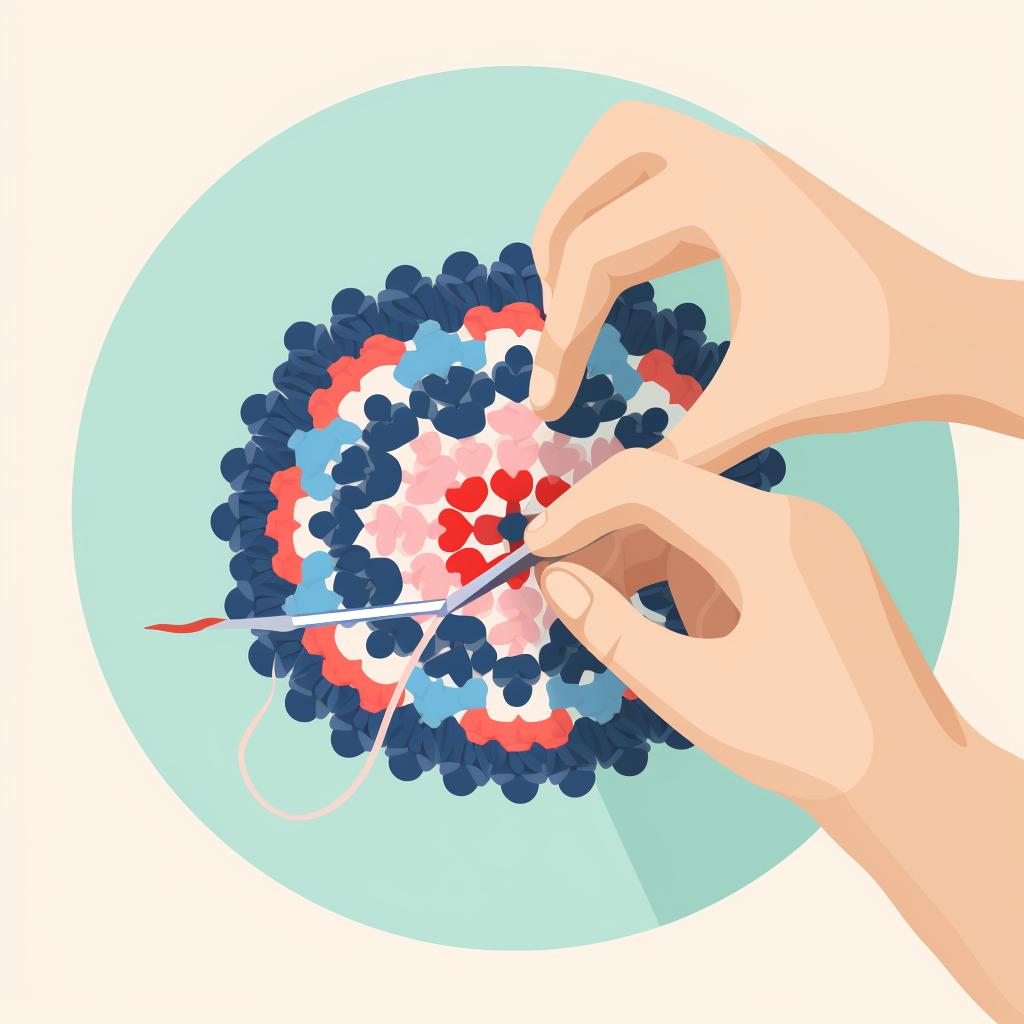
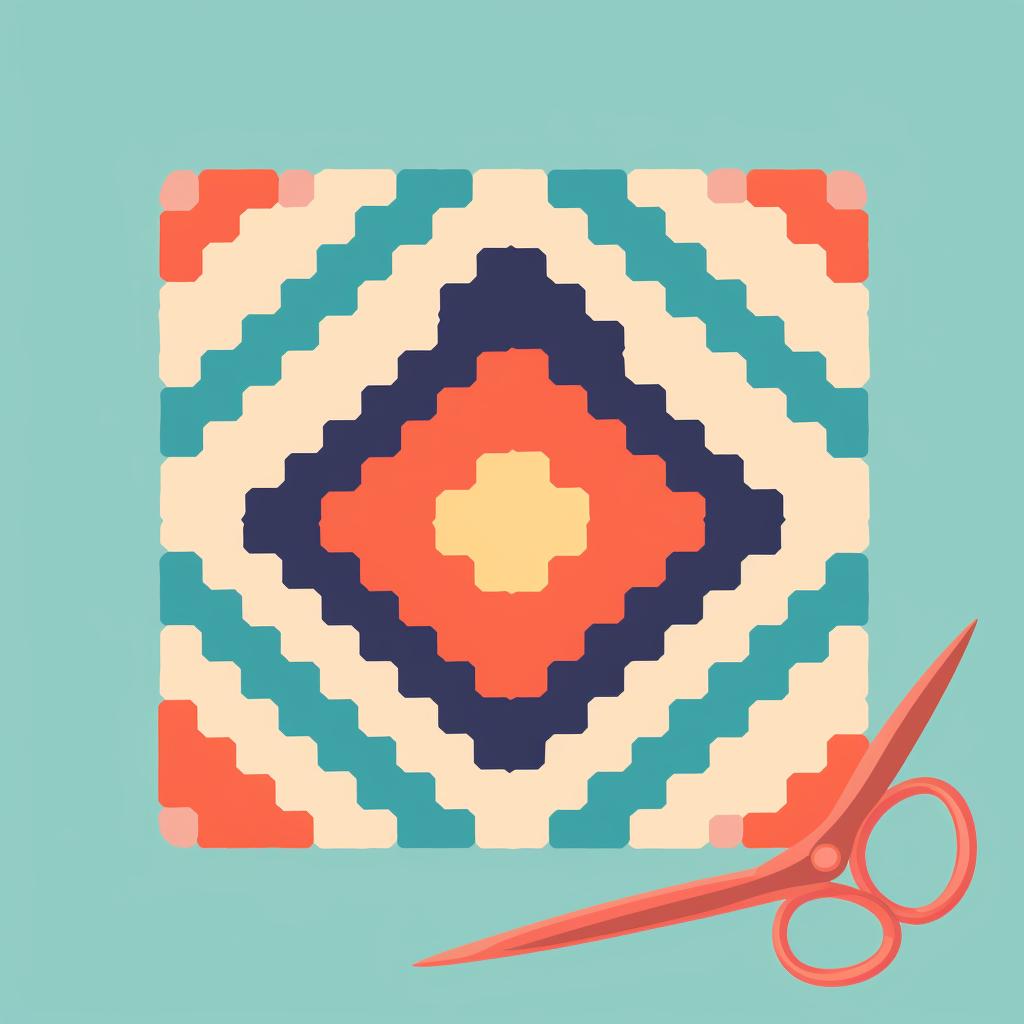
Finished granny square with scissors and yarn end
Continue the Rounds
Continue working rounds, following your pattern. Each round will increase the size of your granny square. Once you've reached your desired size, cut the yarn and weave in the ends.

Embarking on the journey of crochet can be as exciting as it is rewarding. Whether you're a novice or an expert, the art of creating a Granny Square is a fundamental skill in the world of crochet. This timeless pattern, with its versatility and simplicity, serves as the perfect starting point for beginners and a relaxing project for the seasoned crocheter.

Our step-by-step guide above walks you through the process of creating your first Granny Square. From gathering your materials to forming your final stitches, we've got you covered. However, if you're still unsure about starting, our FAQ on learning to crochet can provide some additional guidance and reassurance.

Once you've mastered the Granny Square, the possibilities are endless. You can create a multitude of projects, from blankets and scarves to cardigans and bags. If you're feeling ambitious, why not try your hand at a Granny Square blanket? It's a wonderful way to put your newfound skills to use and create something truly special.

But what if you want to take your Granny Square to the next level? Our guide on reading complex crochet patterns can help you navigate more intricate designs. And if you're wondering how to keep your Granny Square in shape, we've got an FAQ for that too!

Remember, the key to crochet is patience and practice. Don't be discouraged if your first few attempts don't turn out as you'd hoped. With time, you'll see improvement and before you know it, you'll be crocheting Granny Squares like a pro!

So, grab your crochet hook and let's get started. Here at You Get Hooked, we're excited to be part of your crochet journey!