
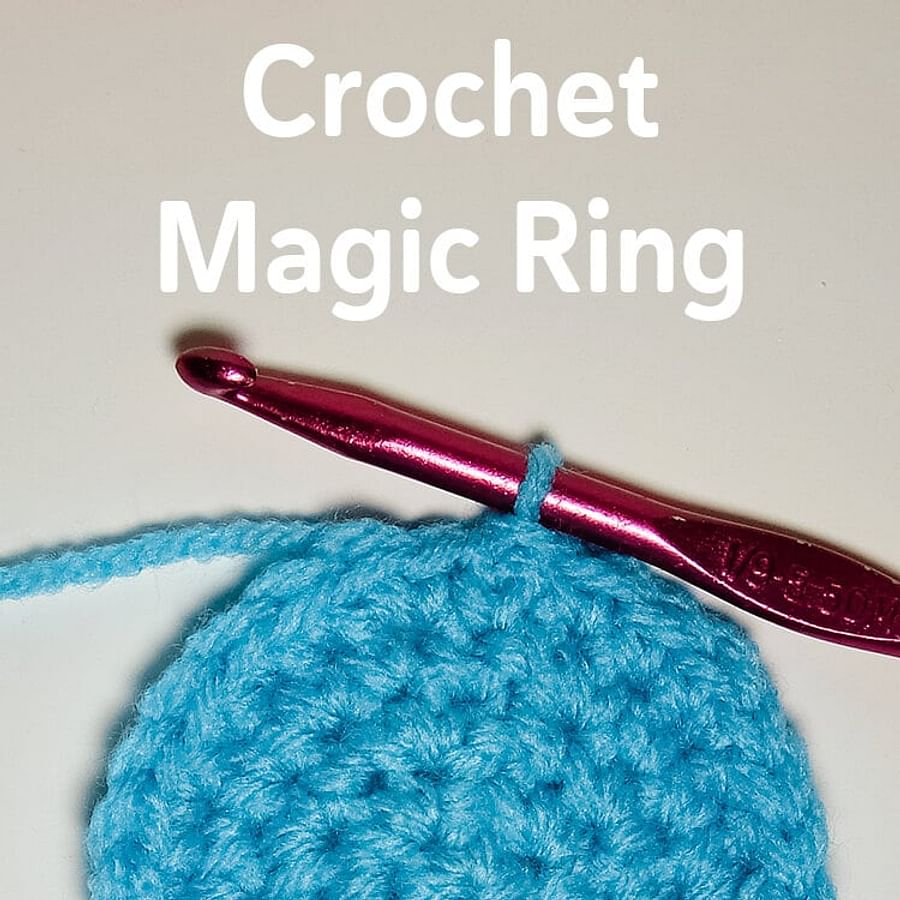
Unraveling the Mystique: Magic Ring Crochet
Step into the enchanting realm of magic ring crochet, a cornerstone among advanced crochet techniques.
Have you ever wondered why it's hailed as magical? It's simple.
This technique, a starting point for many patterns, allows you to work in the round without the pesky hole at the center.
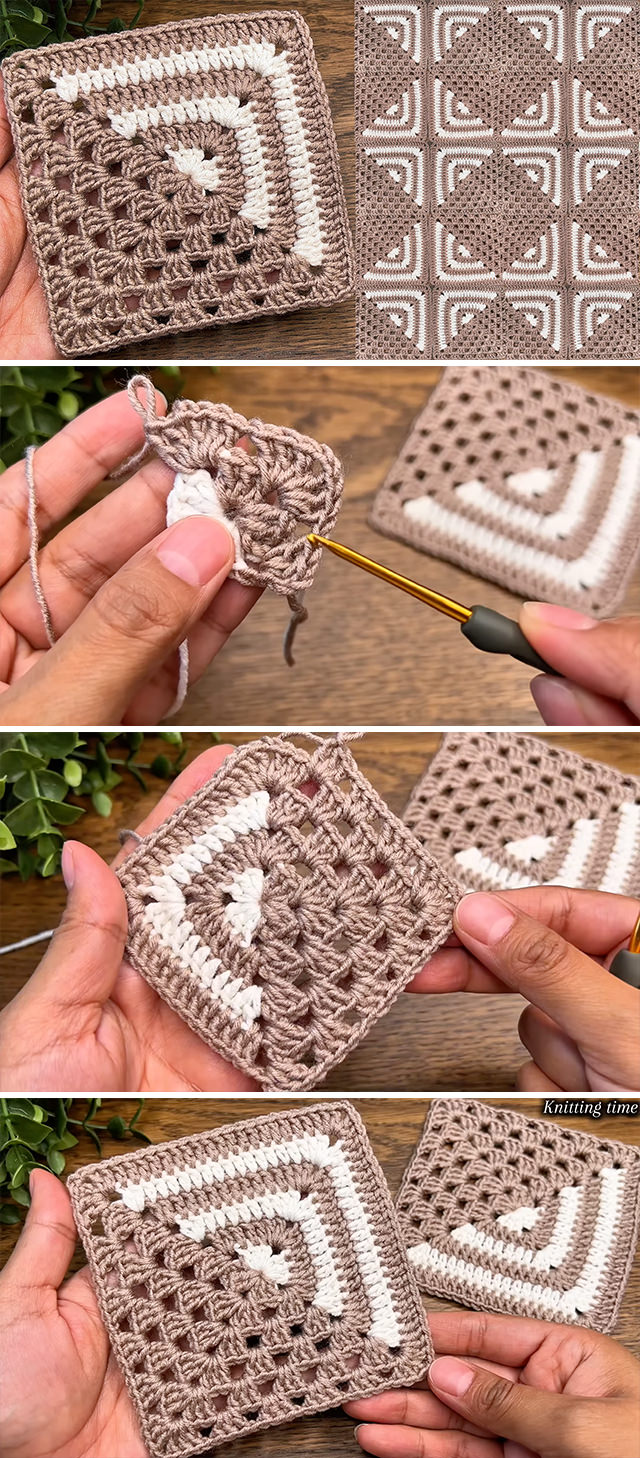
It's the secret ingredient in the perfect granny square crochet tutorial or a game-changer in your Tunisian crochet guide.
Imagine creating a crochet piece that begins with a tight, secure circle and expands into a beautifully intricate pattern.
That's the power of learning how to crochet a magic ring. Once mastered, it's a skill that opens up a universe of possibilities.
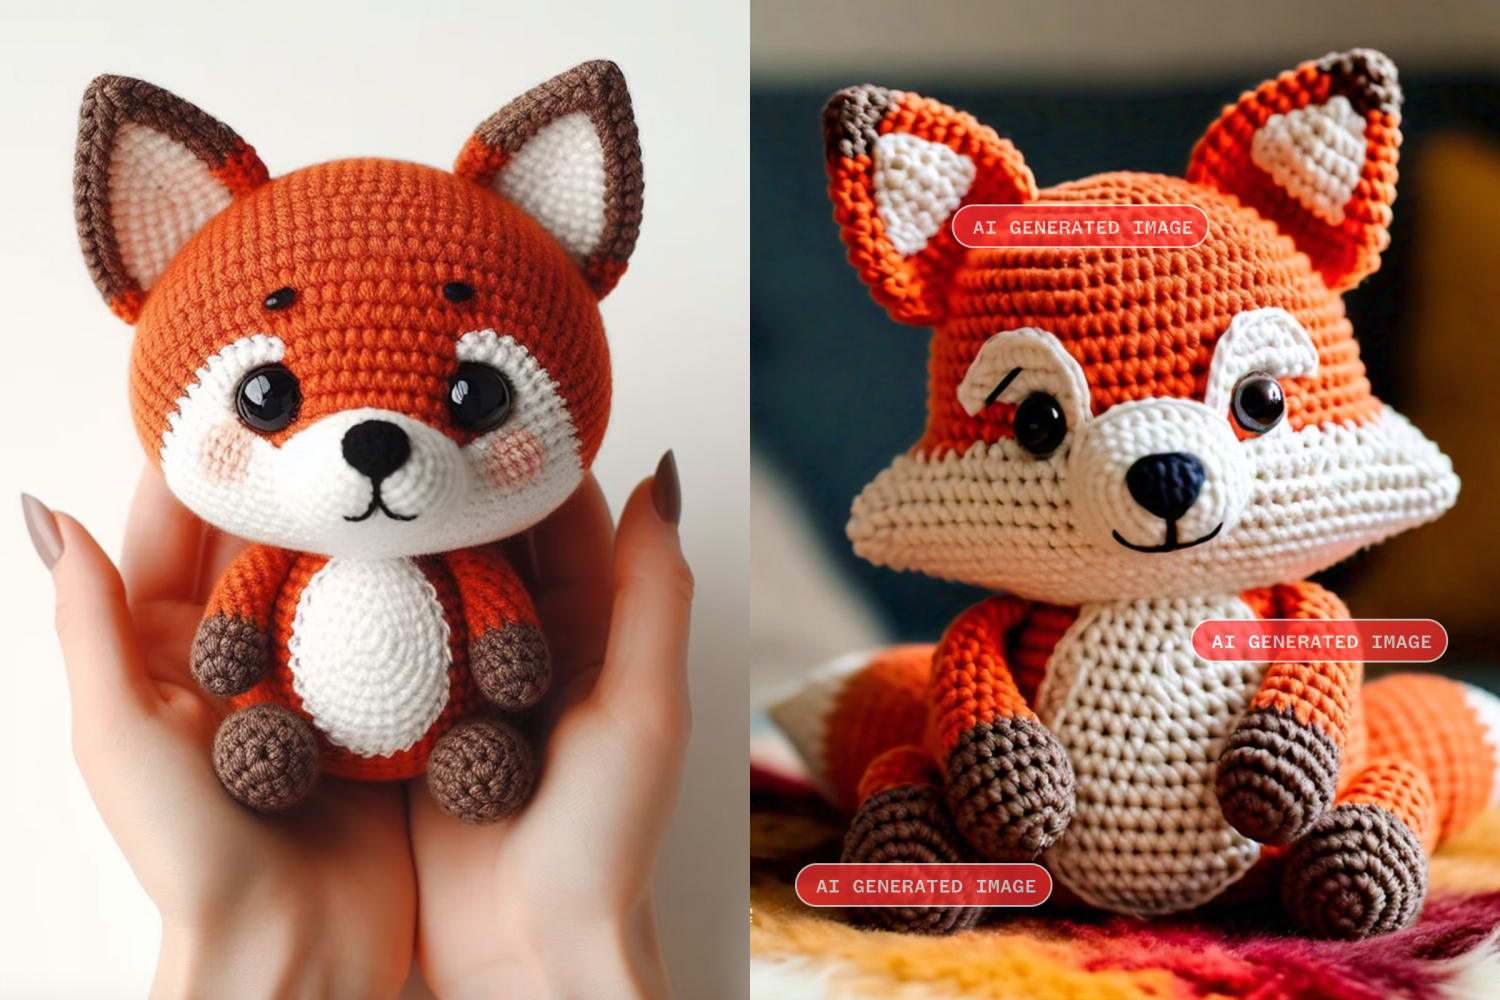
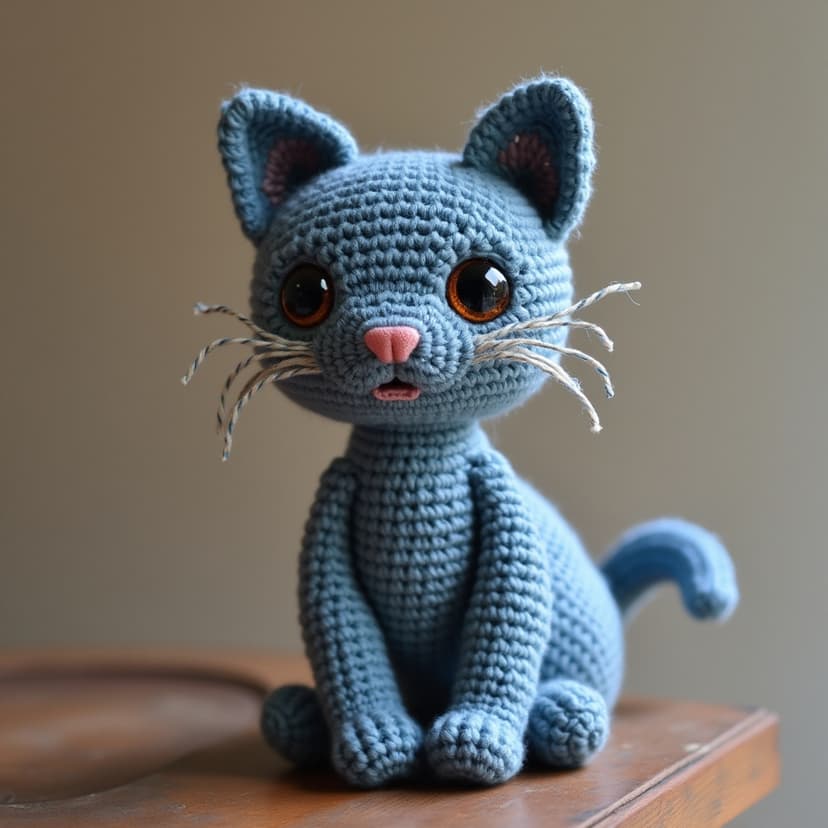
From hats to amigurumi, the magic ring is your golden ticket.
Whether you're a seasoned crocheter or a beginner looking for a challenge, this guide is your treasure map.
Let's unravel how to make a magic ring crocheting and dive into some exciting crochet projects for beginners and beyond.
Along the way, we'll explore the magic ring crochet patterns and the art of crochet hook selection. So, grab your hooks, and let's get started!
Crochet Basics: The Magic Ring Quiz
Test your knowledge about the magic ring crochet technique and its applications.
Learn more about 🧶 Crochet Basics: The Magic Ring Quiz or discover other You Get Hooked quizzes.
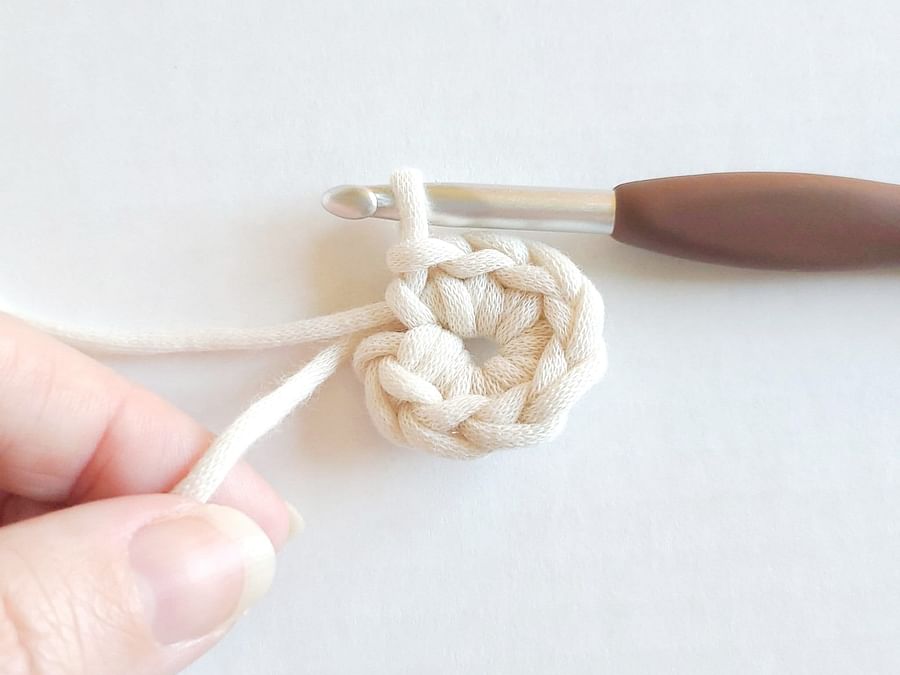
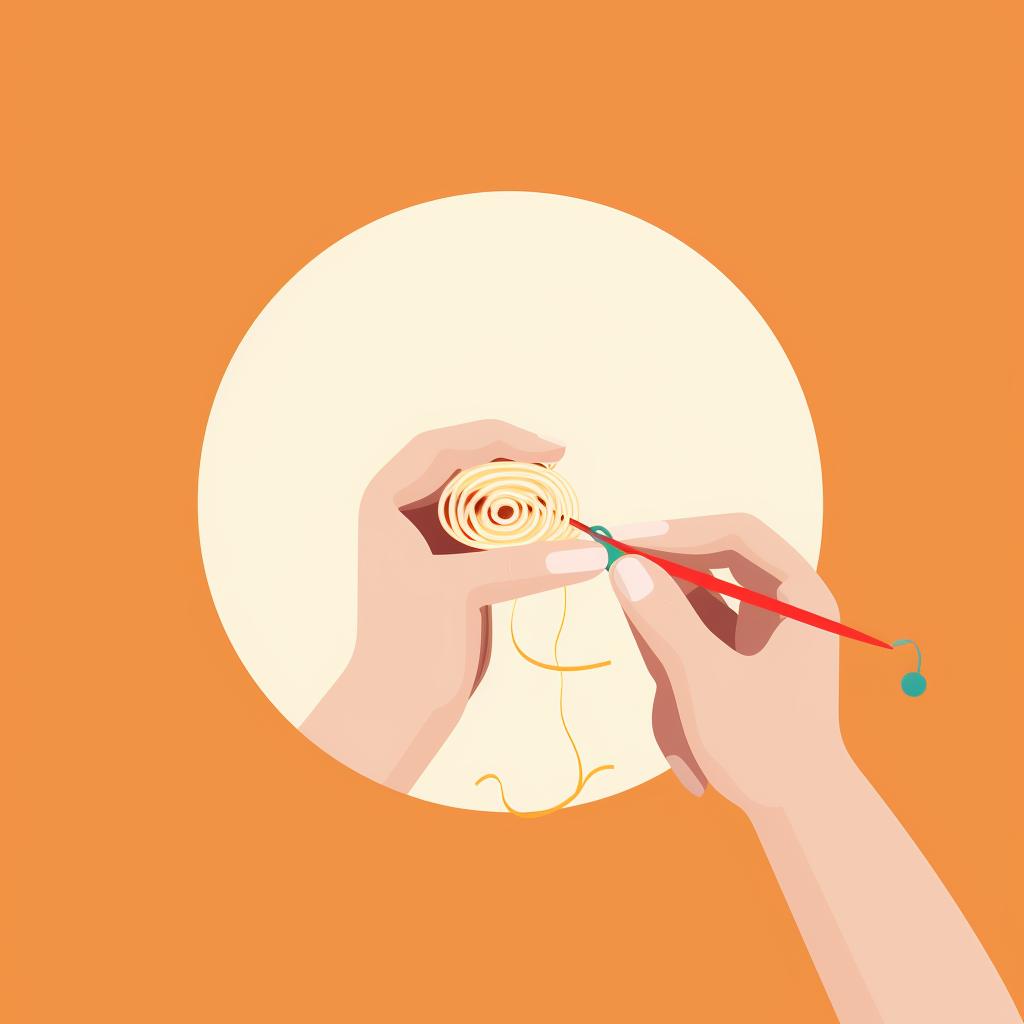
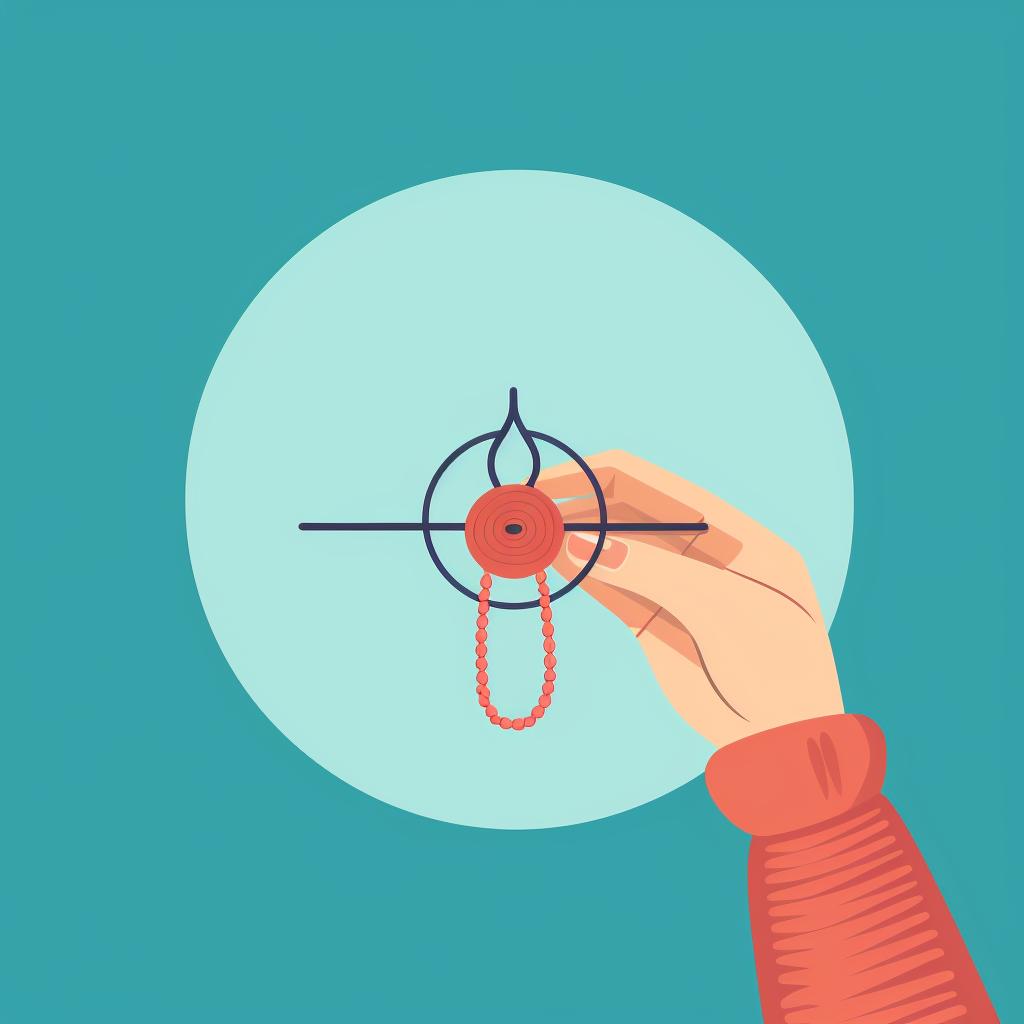
Crafting Your First Magic Ring: A Step-by-Step Guide
Now that we've introduced the magic ring technique, let's dive into the step-by-step process of creating one. This technique is a game-changer for any crochet project that starts in a round, such as hats or amigurumi, as it lets you close the center hole for a neater finish.
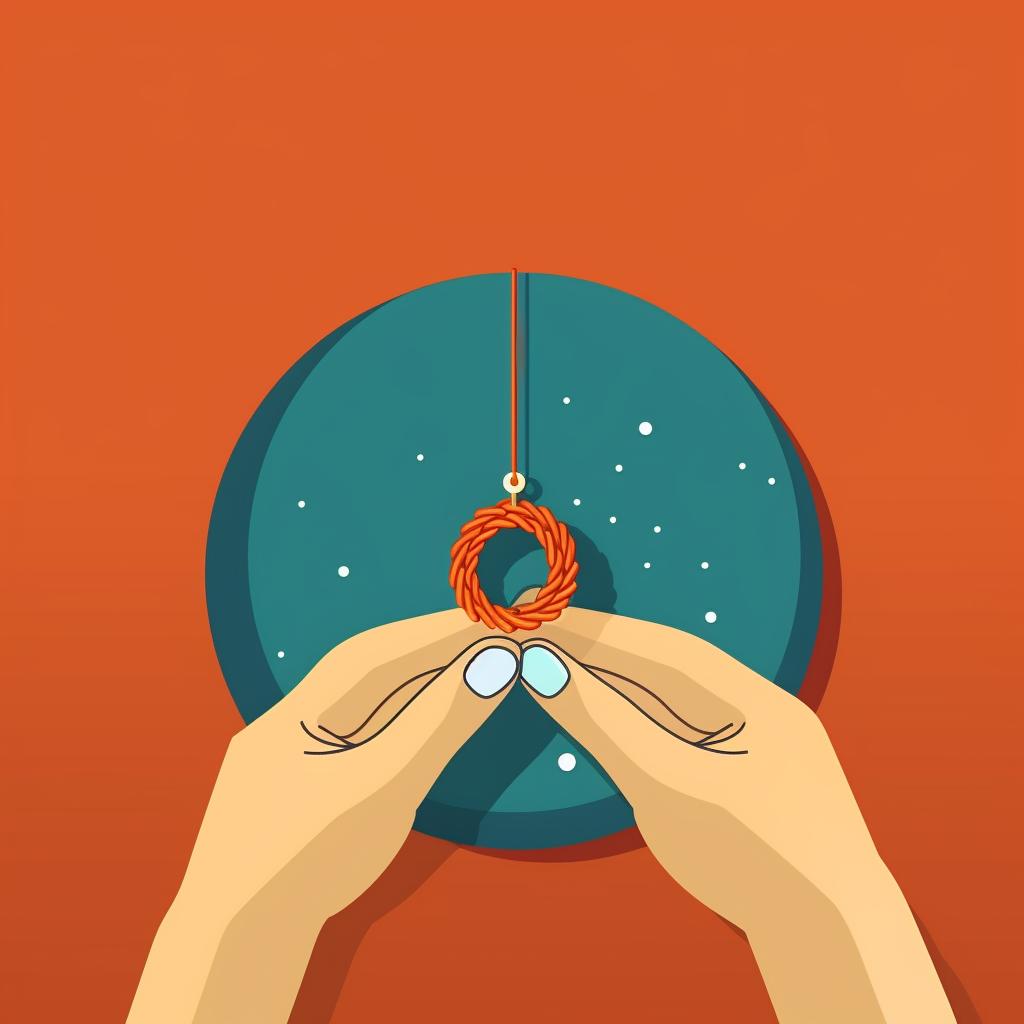
Mastering the Magic Ring Crochet Technique


Learn more about Mastering the Magic Ring Crochet Technique 🪢 or discover other You Get Hooked guides.
Congratulations! You've just learned how to create a magic ring in crochet. This technique is the foundation of many crochet projects. Now, let's explore some projects where you can apply your new skills.
Ready, Set, Crochet! Exciting Projects to Kickstart Now
Have you ever wondered why the magic ring crochet technique is considered magical?
It's because this advanced crochet technique, once mastered, opens up a world of possibilities. From the cutest baby booties to the coziest winter hats, the magic ring is your golden ticket into the enchanting universe of crochet.
Whether you're a novice learning how to crochet a magic ring or a seasoned pro looking for fresh magic ring crochet patterns, you're in the right place. This granny square crochet tutorial and a handy Tunisian crochet guide will help you navigate your crochet hook selection and get started on exciting crochet projects for beginners and beyond.
So, are you ready to discover the fascinating charm of the magic ring?
Let's dive in and unravel the mystery together. Who knows? By the end of this journey, you might find yourself completely hooked!
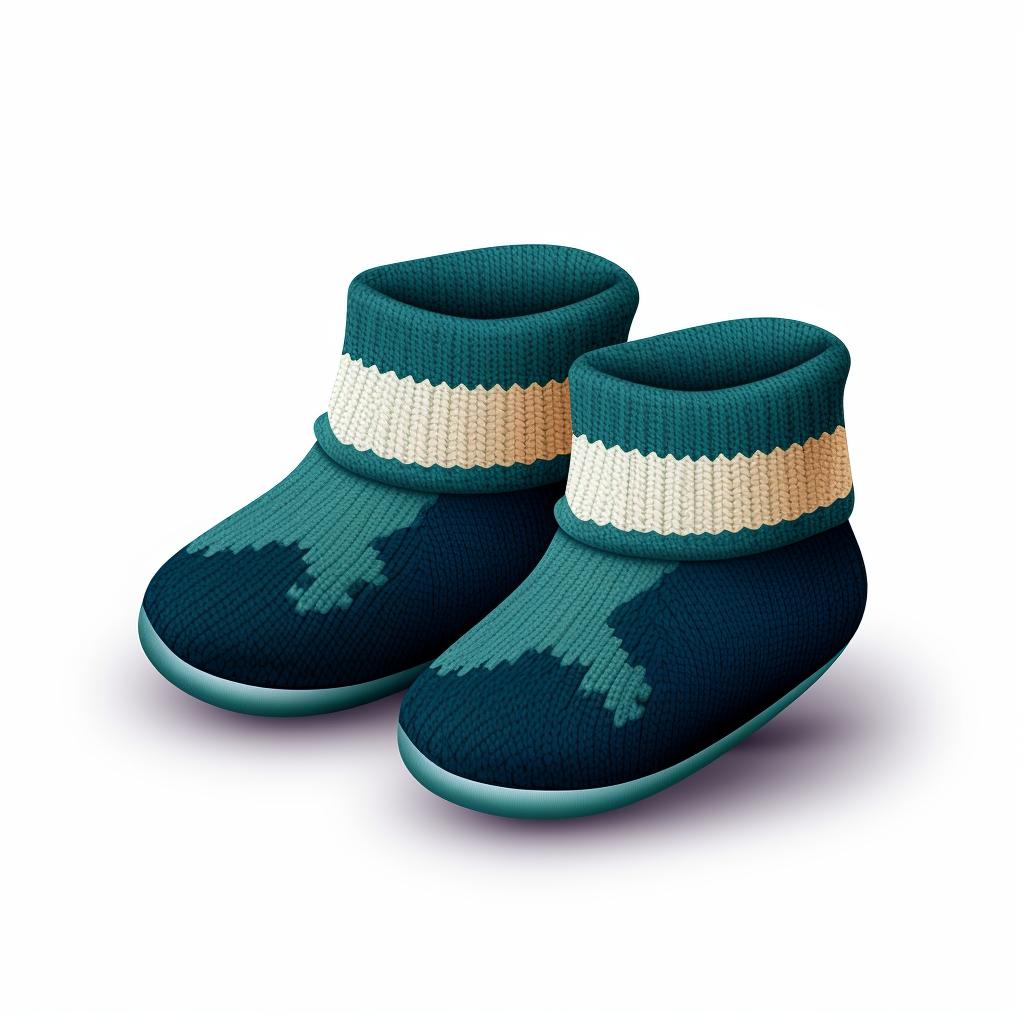
Cute Alert! Crafting Baby Booties with the Magic Ring Technique
Stepping into the world of baby booties, aren't you?
Well, you're in for a treat! This project is a delightful beginner entry point and a fun refresher for seasoned crocheters. Using the magic ring crochet technique, we will create a pair of adorable, cozy booties that will warm tiny toes and hearts. Isn't it amazing how a simple yarn and the proper crochet hook selection can produce such a precious creation?
You might wonder why you chose the magic ring method for this project. The answer is simple. This advanced crochet technique provides a firm, tight start, ensuring your baby booties hold their shape and stand the test of time. Plus, it's a great way to practice this skill for other projects, like the granny square crochet or Tunisian crochet.
So, ready to get hooked on the magic ring?
Don't worry if you're still new to this. We have a comprehensive step-by-step guide, from crocheting a magic ring to completing your first pair of booties. And remember, every master was once a beginner. So, let's dive into the magic ring crochet patterns and start this exciting journey together, shall we?
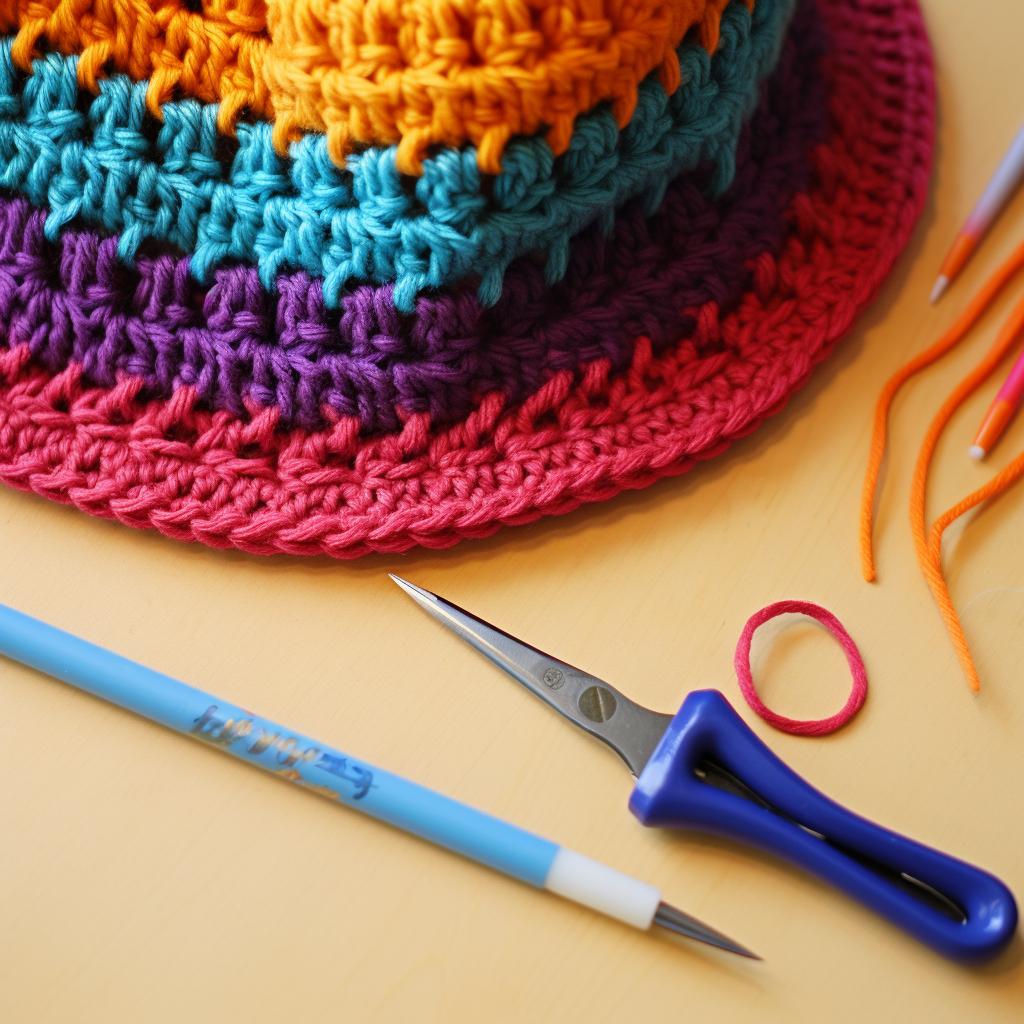
Before we dive into the step-by-step guide, let's ensure we have all the necessary materials ready. Here's a handy checklist for you:
Now that you've got all your materials ready, let's move on to the step-by-step guide to create these adorable baby booties using the magic ring crochet technique.
Now that you have gathered all the necessary materials, let's dive into the exciting process of creating baby booties using the magic ring crochet technique.
Crafting Baby Booties with Magic Ring Crochet: A Step-by-Step Guide


Learn more about Crafting Baby Booties with Magic Ring Crochet: A Step-by-Step Guide, or discover other You Get Hooked guides.
Congratulations! You've just completed your first baby bootie using the magic ring crochet technique. Repeat these steps to create the second bootie. Let's move on to our next magic ring crochet project: a cozy winter hat.
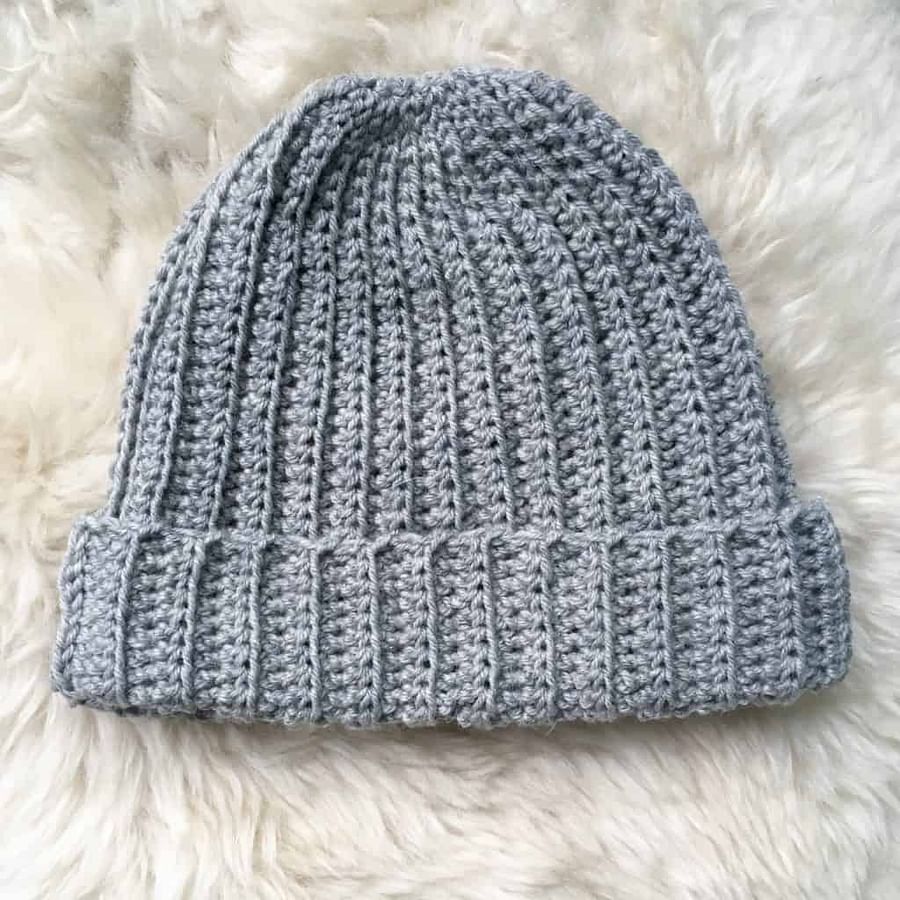
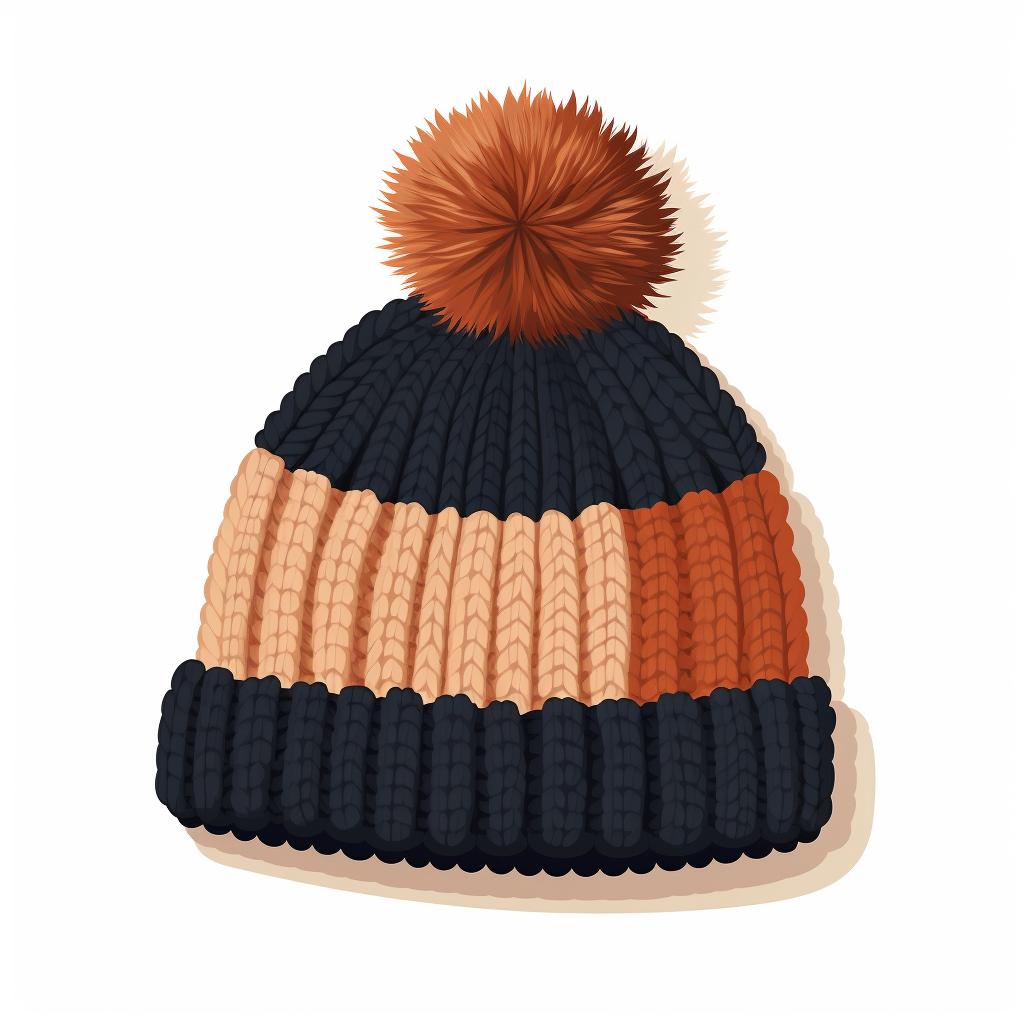
Stay Warm and Stylish: Crocheting a Cozy Winter Hat
Imagine this: a frosty morning, the world outside your window painted in icy white and silver hues. Now, picture yourself stepping out into the crisp air, your head snug and warm, adorned with a cozy winter hat - a hat that is not just any hat but one crafted by your own hands using the magic ring crochet technique. Sounds enchanting.
Before you think this is a feat only for those well-versed in advanced crochet techniques, let me assure you it's not. The magic ring method is a delightful entry point for crochet projects for beginners. The secret key unlocks the door to a world of patterns and designs, from the humble granny square crochet tutorial to the intricate Tunisian crochet guide.
Despite its mystical name, the magic ring technique is grounded in practicality. It lets you start a project with a tightly closed center, perfect for our cozy winter hat.
But how to crochet a magic ring, you ask? How do you make a magic ring crocheting?
Hold onto your crochet hook selection because we're about to dive headfirst into the world of magic ring crochet patterns!
Before we dive into the step-by-step guide, let's ensure you have all the necessary materials ready. Here's a handy checklist:
Great! Now that you have all your materials ready let's move on to the step-by-step guide on creating your cozy winter hat using the magic ring crochet technique.
Now that you've gathered all your materials, let's dive into the process of creating a cozy winter hat using the magic ring crochet technique.
Creating a Cozy Winter Hat with Magic Ring Crochet
Learn more about 🧶 Creating a Cozy Winter Hat with Magic Ring Crochet or discover other You Get Hooked guides.
And there you have it! Your cozy winter hat is made using the magic ring crochet technique. If you encounter any issues during the process, don't worry. The following section will discuss some common problems and their solutions.
No More Knots: Handy Tips and Troubleshooting for Magic Ring Crochet
Common Problems and Solutions with Magic Ring Crochet
- Problem: The magic ring is too tight or too loose.
Solution: Adjust the tension by gently pulling or loosening the yarn. Practice making the ring until you find the right balance. - Problem: The stitches slip out of the ring.
Solution: Ensure you securely hold the ring and your working yarn when making your stitches. If stitches continue to slip, try using a stitch marker to secure them. - Problem: The magic ring unravels when you pull the tail.
Solution: Make sure you are pulling the tail in the correct direction. If the problem persists, make a double magic ring for extra security. - Problem: The center of the magic ring isn't closing completely.
Solution: Ensure you pull the correct strand of yarn to close the ring. Double-check your stitches to ensure they are correctly placed if it still doesn't complete. - Problem: Difficulty in working the first round of stitches into the ring.
Solution: Adjust the ring slightly to make it easier to work the stitches. Remember to close the ring tightly once the first round is complete.
Common Problems and Solutions with Magic Ring Crochet
- Problem: The magic ring is too tight or too loose.
Solution: Adjust the tension by gently pulling or loosening the yarn. Practice making the ring until you find the right balance. Learn more about mastering the magic ring crochet technique. - Problem: The stitches slip out of the ring.
Solution: Ensure you securely hold the ring and your working yarn when making your stitches. If stitches continue to slip, try using a stitch marker to secure them. Learn how to prevent your knitting or crochet project from unraveling. - Problem: The magic ring unravels when you pull the tail.
Solution: Make sure you are pulling the tail in the correct direction. If the problem persists, make a double magic ring for extra security. Find out how to fix a crochet project that doesn't look good. - Problem: The center of the magic ring isn't closing completely.
Solution: Ensure you pull the correct strand of yarn to close the ring. Double-check your stitches to ensure they are correctly placed if it still doesn't complete. Learn how to fix crochet stitches simultaneously, too tight and too loose. - Problem: Difficulty in working the first round of stitches into the ring.
Solution: Adjust the ring slightly to make it easier to work the stitches. Remember to close the ring tightly once the first round is complete. Check out our step-by-step guide on crafting baby booties with magic ring crochet.
Your Crochet Journey Awaits: Next Steps and Inspiration
So, you've journeyed with us through the whimsical world of magic ring crochet, haven't you?
You've marveled at the miracle of the magic ring, followed the Tunisian crochet guide, and even dipped your toes into advanced crochet techniques.
Now you're standing at the threshold, crochet hook poised, ready to dive into a world of granny square crochet tutorials and magic ring crochet patterns.
But what's stopping you? Is it the unfamiliarity of a new technique or the daunting task of choosing your first project?
So, why not start now? Picture this: your very first magic ring is at the heart of a cozy winter hat or a pair of adorable baby booties.
That's quite the accomplishment, wouldn't you agree?
So, it's time to make your choice. Pick up that crochet hook, follow our how-to guides, and unravel your creativity.
And remember, every stitch you make, every pattern you create, is a testament to your journey.
Now, are you ready to get hooked?
Let's see what magic you can create with your magic ring. After all, aren't we all just a loop away from our next masterpiece?
What's your first magic ring crochet project going to be?
Choose the project you're most excited to start with the magic ring crochet technique.
In our community poll, we asked you about your first projects using the magic ring technique. Here's what one of our fellow crocheters shared on Twitter.
It's always exciting to see a project come together from the very first magic ring. Now, let's dive into some mesmerizing magic ring crochet projects you can start today.

No comments yet. Be the first to share your thoughts!