
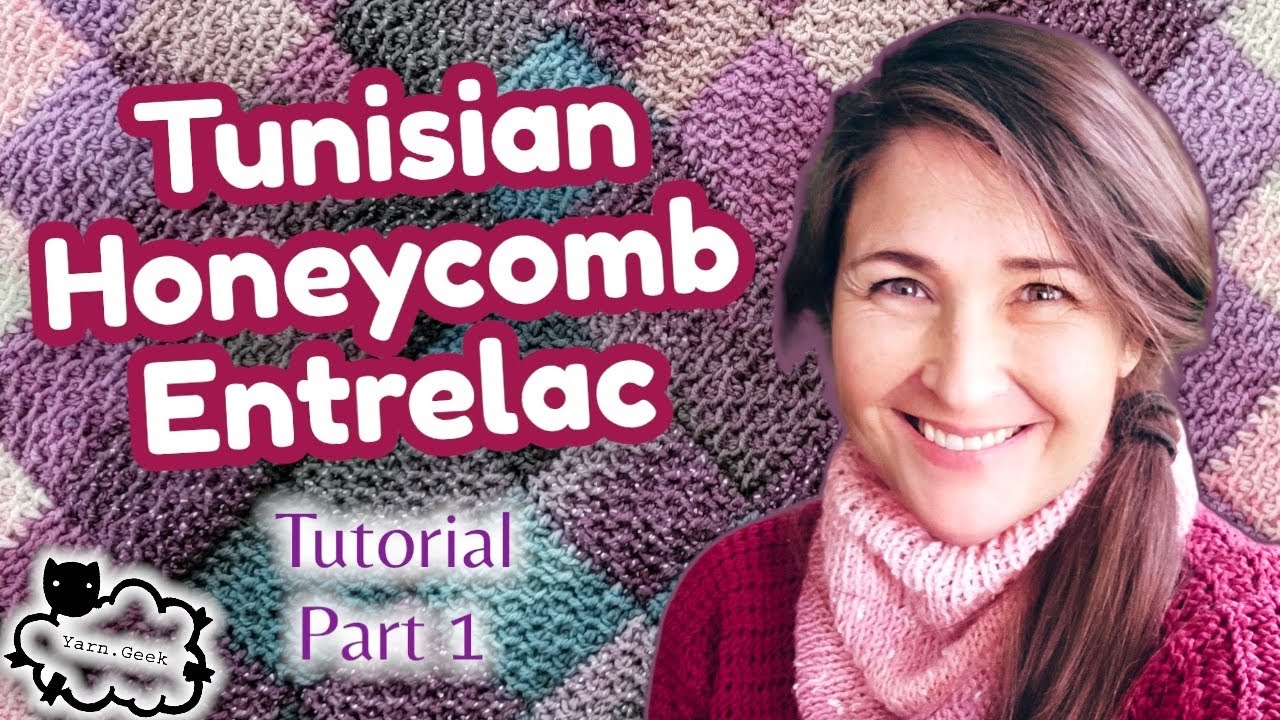
How honeycomb entrelac works
Honeycomb entrelac builds fabric from individual, interconnected blocks. It goes beyond the standard Tunisian simple stitch to create a geometric look that feels much denser than traditional crochet. While most entrelac involves knitting needles, this version uses only a crochet hook to get that same woven appearance.
The visual effect is often described as resembling a honeycomb – hence the name – with small, repeating hexagonal or diamond shapes. This is achieved through clever increases and decreases within each block, and the way those blocks are then joined together. The result is a fabric that’s both beautiful and structurally sound. You’ll often see it used for blankets, cushions, and even garments where a substantial, warm texture is desired.
While it might look intimidating, Honeycomb Entrelac is within reach for an advanced beginner or confident intermediate crocheter. A good understanding of basic Tunisian crochet is essential, but the pattern itself is fairly repetitive once you get the hang of it. It requires patience and attention to detail, but the payoff is a stunning, handmade piece that’s sure to impress. It's a technique that really shows off the capabilities of Tunisian crochet.
The basics you need first
Before you start constructing Honeycomb Entrelac blocks, a solid foundation in basic Tunisian crochet is key. The Tunisian Simple Stitch (TSS) is the cornerstone of nearly all Tunisian work, and mastering it will make the Entrelac process much smoother. The TSS involves a forward pass, where you pull loops up onto the hook, and a return pass, where you work those loops off.
The forward pass is where you create the height of your fabric. You insert your hook into the stitch from the previous row, yarn over, and pull up a loop. Repeat this across the row. The return pass is essentially crocheting those loops off the hook – typically with a single crochet, though variations exist. Maintaining even tension is critical throughout both passes; too tight, and your fabric will pucker, too loose, and it will be floppy.
Watch your loop count on the return pass; it is easy to drop one and ruin the edge. You don't strictly need the knit or purl stitches for this, but they help you understand how the fabric moves. If you are struggling with the basics, check the Yarnspirations guide from March 2023 for a refresher on tension.
Don't be afraid to practice the TSS a few times before tackling the Entrelac technique. A small swatch will help you get comfortable with the forward and return passes, and allow you to experiment with different yarn weights and hook sizes to find what works best for you. This initial practice will save you frustration later on.
The stitch pattern
The magic of the Honeycomb stitch lies in its carefully orchestrated increases and decreases. These create the characteristic hexagonal or diamond shapes that define the Entrelac fabric. The pattern is usually worked in multiples of a specific stitch count, determined by the desired size of your blocks. Each row builds upon the previous one, shaping the block gradually.
A typical Honeycomb stitch pattern might begin with a foundation chain, followed by a series of rows that alternate between increases and decreases. For example, a row might instruct you to 'increase every 2 stitches,' followed by a row that says 'decrease every 2 stitches.' This rhythmic pattern is what forms the honeycomb shape. It’s crucial to understand where these increases and decreases are placed, as that directly impacts the final outcome.
Stitch counts are paramount. Losing track of your stitches, even by one, can throw off the entire pattern and lead to distorted blocks. Always count your stitches at the end of each row to ensure accuracy. Maintaining even tension is equally important, as any inconsistencies will be magnified by the intricate stitch pattern. A consistent gauge will ensure your blocks are uniform in size.
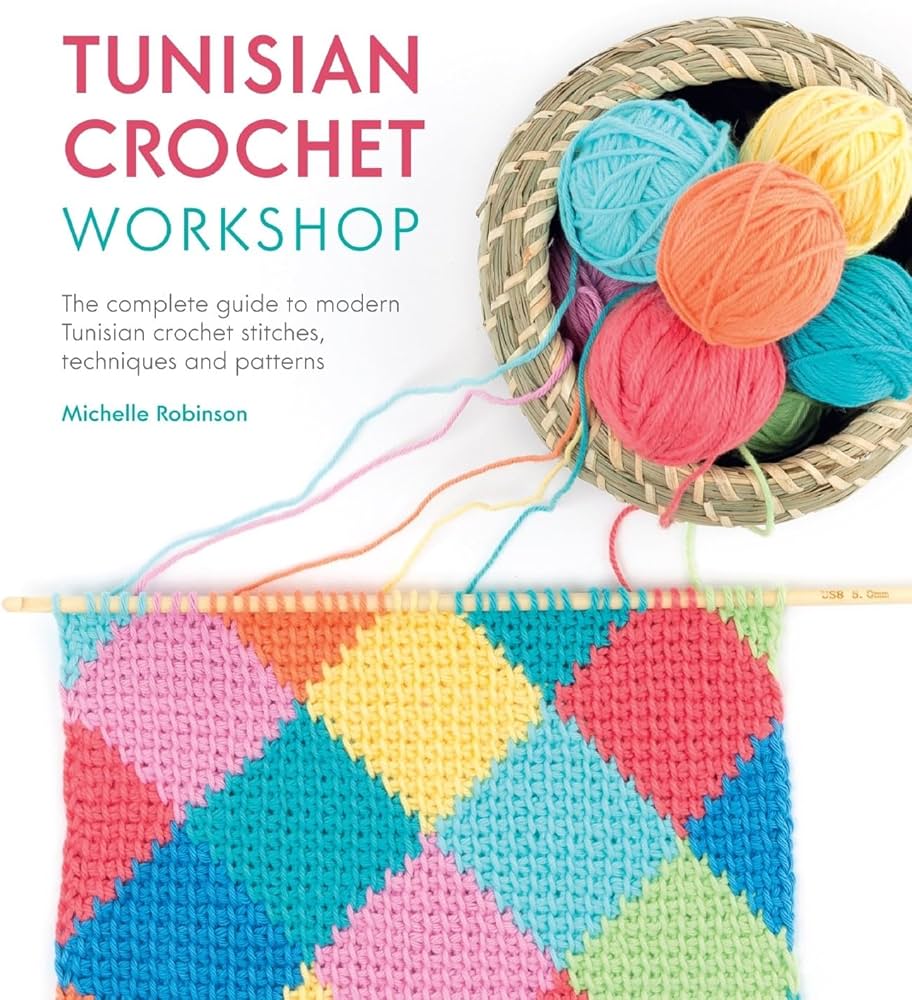
Honeycomb Entrelac patterns are frequently presented in chart form, which can seem daunting at first. However, charts are a concise and efficient way to represent the stitch pattern. Learning to read these charts is a valuable skill for any advanced Tunisian crocheter. Yarnandy.com offers a mosaic tutorial that explains diagonal stitches, which can be helpful in understanding these charts.
Reading Entrelac Charts
Entrelac charts may initially appear complex, but they are essentially a visual roadmap for your crochet project. The symbols on the chart represent different stitches or actions – increases, decreases, and the basic Tunisian stitches. Understanding these symbols is the key to successfully following the pattern. Most charts will include a legend that explains what each symbol means.
Increases are often represented by a symbol that looks like an arrow pointing outwards or a small 'V' shape. Decreases are usually shown as an arrow pointing inwards or an inverted 'V'. The basic Tunisian stitches – like the Simple Stitch – might be represented by a simple vertical line or a shaded square. The chart is read from right to left for odd-numbered rows, and left to right for even-numbered rows.
Let's consider an example: a chart might show a row with alternating vertical lines and 'V' shapes. This would translate to a row where you work a Tunisian Simple Stitch, then an increase, then another Simple Stitch, another increase, and so on. The chart directly corresponds to the physical construction of the fabric – each symbol dictates a specific crochet action.
Don't be afraid to mark up your chart as you work. Use a highlighter or pencil to check off each stitch as you complete it. This will help you stay on track and avoid making mistakes. Remember that the chart is a guide, and it’s okay to take your time and refer back to it frequently. Understanding the chart isn’t just about knowing the symbols; it’s about visualizing how those symbols create the fabric.
Honeycomb Entrelac: The First Block
Let's begin creating your first Honeycomb Entrelac block. Start with a foundation chain of, for example, 20 chains. The exact number will depend on your desired block size and the pattern you’re following. This chain will form the base of your block. With Tunisian crochet, the foundation chain counts as the first row, so consider that when following a pattern.
Now, begin working rows of Tunisian Simple Stitch (TSS). Remember the forward and return passes. On the forward pass, insert your hook into the first chain, yarn over, and pull up a loop. Continue across the chain. On the return pass, work a single crochet into each loop on your hook. This completes the first row. Repeat this process for several rows, increasing the height of your block.
As you progress, you’ll begin to incorporate the increases and decreases as dictated by your pattern. For example, you might increase every 5 stitches on one row, and decrease every 5 stitches on the next. Pay close attention to the chart or written instructions to ensure you’re placing the increases and decreases correctly. Consistent tension is absolutely critical at this stage – any variations will be very noticeable.
Beginners may struggle with maintaining even edges and avoiding dropped stitches. If you drop a stitch, don’t panic! You can usually pick it up with your hook and continue working. If your edges are uneven, try adjusting your tension or carefully counting your stitches. Don't be afraid to frog (rip out) a few rows if you're not happy with the result. It’s better to start over than to continue with a flawed block. Remember to count your stitches after each row to ensure you haven't accidentally added or lost any.
Joining Blocks: The Entrelac Technique
The defining characteristic of Entrelac is how the blocks are joined together. This isn't simply sewing them together; it's a process of picking up stitches from the edges of the previous block and continuing the pattern. This creates a seamless, interconnected fabric that’s much stronger and more visually appealing than simply joining blocks with a seam.
To join blocks, you’ll start by positioning the second block adjacent to the first. Then, using your crochet hook, you’ll carefully pick up loops from the edge stitches of both blocks. The exact method for picking up loops can vary depending on the pattern, but the goal is to create a continuous line of stitches that connects the two blocks.
Continue working the Tunisian Simple Stitch (or whatever stitch your pattern calls for) along the joined edge. As you work, you’ll be essentially creating a new row that incorporates the stitches from both blocks. This process is repeated for each subsequent block, gradually building up the Entrelac fabric. Maintaining a consistent edge is important to avoid gaps or unevenness.
There are different methods for joining blocks. Some crocheters prefer to use a crochet hook to pick up the stitches, while others use a yarn needle to weave the blocks together. Experiment with different methods to find what works best for you. The key is to create a secure and seamless join that doesn’t distort the shape of the blocks. Hearthookhome.com has a 6-week workshop dedicated to advanced Tunisian techniques, which might provide more detailed joining instructions.
Beyond the Basics: Variations & Projects
Once you’ve mastered the basic Honeycomb Entrelac technique, you can start exploring different variations. Changing colors is a simple way to add visual interest to your projects. You can alternate colors with each block, or create more complex colorwork patterns. Incorporating different stitches, such as the Tunisian Knit Stitch or Tunisian Purl Stitch, can also add texture and dimension.
You can also experiment with creating different shapes. While the standard Honeycomb Entrelac block is square, you can modify the pattern to create rectangular, triangular, or even circular blocks. This allows you to create more complex and unique designs. Combining Honeycomb Entrelac with other crochet techniques, such as surface crochet or embroidery, can also add a personal touch.
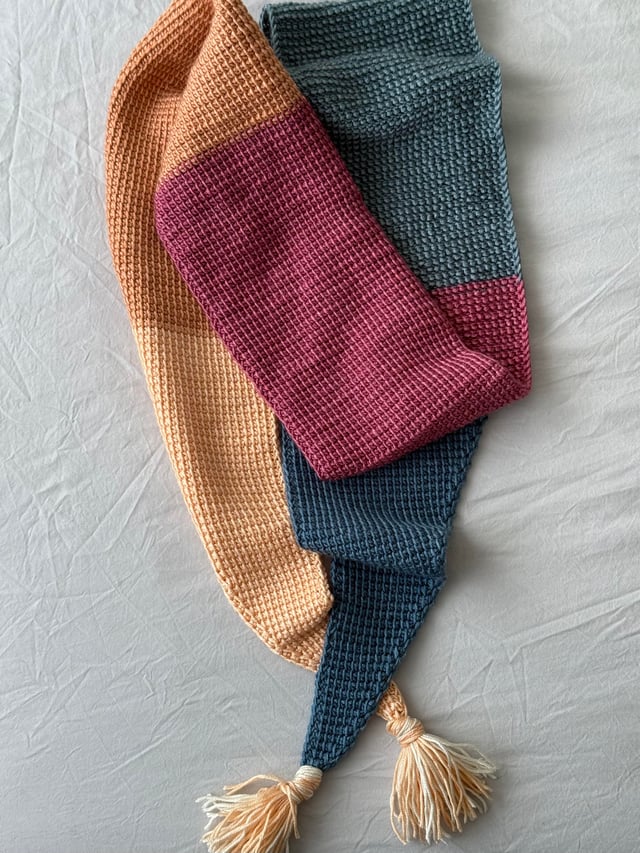
Project ideas for Honeycomb Entrelac are plentiful. Scarves and cowls are relatively simple projects that showcase the texture of the stitch. Blankets and afghans are more ambitious, but the result is a stunning and cozy heirloom. Pillows and cushions add a touch of handmade elegance to any room. Even bags and purses can be made using this technique.
Numerous free patterns and tutorials are available online. Search for “Honeycomb Entrelac pattern” on Ravelry or YouTube to find inspiration and guidance. Don’t be afraid to adapt existing patterns to your own preferences and create something truly unique. You can find mosaic tutorials that will help you with diagonal stitches on Yarnandy.com.
- Scarves and cowls are the best place to start because they don't require shaping.
- Blankets and afghans
- Pillows and cushions
- Bags and purses
Honeycomb Entrelac Patterns
- Honeycomb Entrelac Scarf - This beginner-friendly scarf by CrochetKim is a great introduction to the technique, utilizing basic Tunisian stitches to create a textured, geometric design. It's a manageable size for practicing the entrelac construction. Skill Level: Easy
- Honeycomb Entrelac Pillow Cover - Designed by Crochet 365 Knittoo, this project takes the honeycomb entrelac stitch and applies it to a home decor item. The pillow cover offers a larger canvas to showcase the pattern and practice color changes. Skill Level: Intermediate
- Honeycomb Entrelac Blanket (Corner to Corner) - The Corner to Corner Crochet Blog provides a pattern for a blanket worked using the honeycomb entrelac stitch, increasing from the corner to create a visually striking and cozy throw. Skill Level: Intermediate
- Honeycomb Entrelac Bag - This pattern from Lanas y Ovillos (translated from Spanish) demonstrates how to create a small bag using the honeycomb entrelac technique, incorporating a lining for a finished look. Skill Level: Intermediate
- Honeycomb Entrelac Coasters - These small projects from Golden Lucy Craft are a quick and easy way to practice the stitch. The pattern provides instructions for creating a set of four coasters. Skill Level: Beginner
- Honeycomb Entrelac Wall Hanging - This pattern by A Spoonful of Yarn creates a beautiful textured wall hanging. It’s a good project to experiment with different yarn weights and colors. Skill Level: Intermediate
- Honeycomb Entrelac Shawl - The pattern from Crochet With Carmen uses the honeycomb entrelac stitch to create a triangular shawl. This project is a good step up in complexity from smaller projects. Skill Level: Advanced Beginner

No comments yet. Be the first to share your thoughts!