

Gather your crochet supplies
You only need a few basic tools to start crocheting a granny square. Keeping your kit simple prevents overwhelm and lets you focus on learning the hand movements. Here is exactly what to buy or find before you begin.
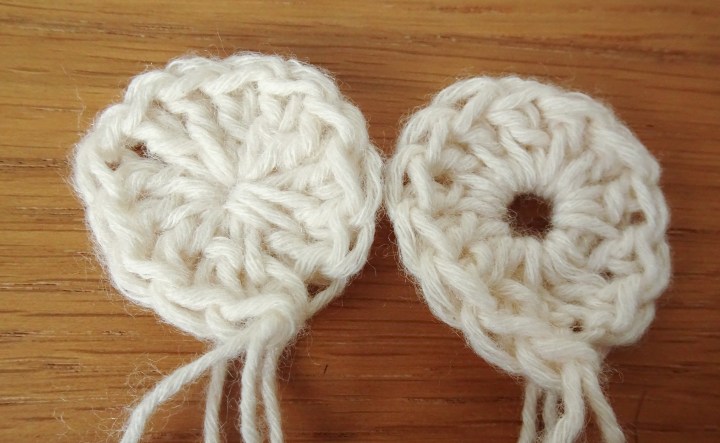
Crochet hook (5mm / H-8) A medium-sized hook is the easiest size for beginners. It is large enough to see your stitches clearly but small enough to produce a tight, durable fabric. Look for an ergonomic handle if you plan to practice for long periods.
Light-colored yarn Choose a worsted weight (medium) yarn in a light color like white, cream, or pale yellow. Light colors show stitch definition clearly, making it easier to count and correct mistakes. Avoid dark colors or textured novelty yarns for your first project.
Scissors Keep a small pair of sharp scissors nearby for cutting yarn cleanly. Blunt scissors can fray the ends, making it harder to weave them in later.
Yarn needle Also called a tapestry needle, this has a large eye to thread yarn through. You will use it to weave in loose ends and join your granny square pieces together later.
Stitch markers (optional) These small clips help you keep track of the first stitch in a round. They are helpful for beginners but not strictly necessary if you are comfortable counting.
Hold your hook and yarn correctly
Getting your grip right is the first step toward comfortable crocheting. Most beginners choose between two methods: the knife hold and the pencil hold. There is no right or wrong way, only what feels natural to your hand.
The knife hold
Hold the hook like you are holding a kitchen knife. Grip the handle firmly but loosely, with your thumb and index finger pinching the shaft near the throat. Rest the hook handle against your palm. Use your index finger to guide the hook and your thumb to tension the yarn. This grip offers strong control and is often preferred for tight stitches.
The pencil hold
Hold the hook like you are holding a writing pencil. Grip the handle between your thumb and middle finger, with your index finger resting on top for guidance. The hook handle rests against the side of your palm. This method feels lighter and is often easier for long sessions, as it reduces hand fatigue.
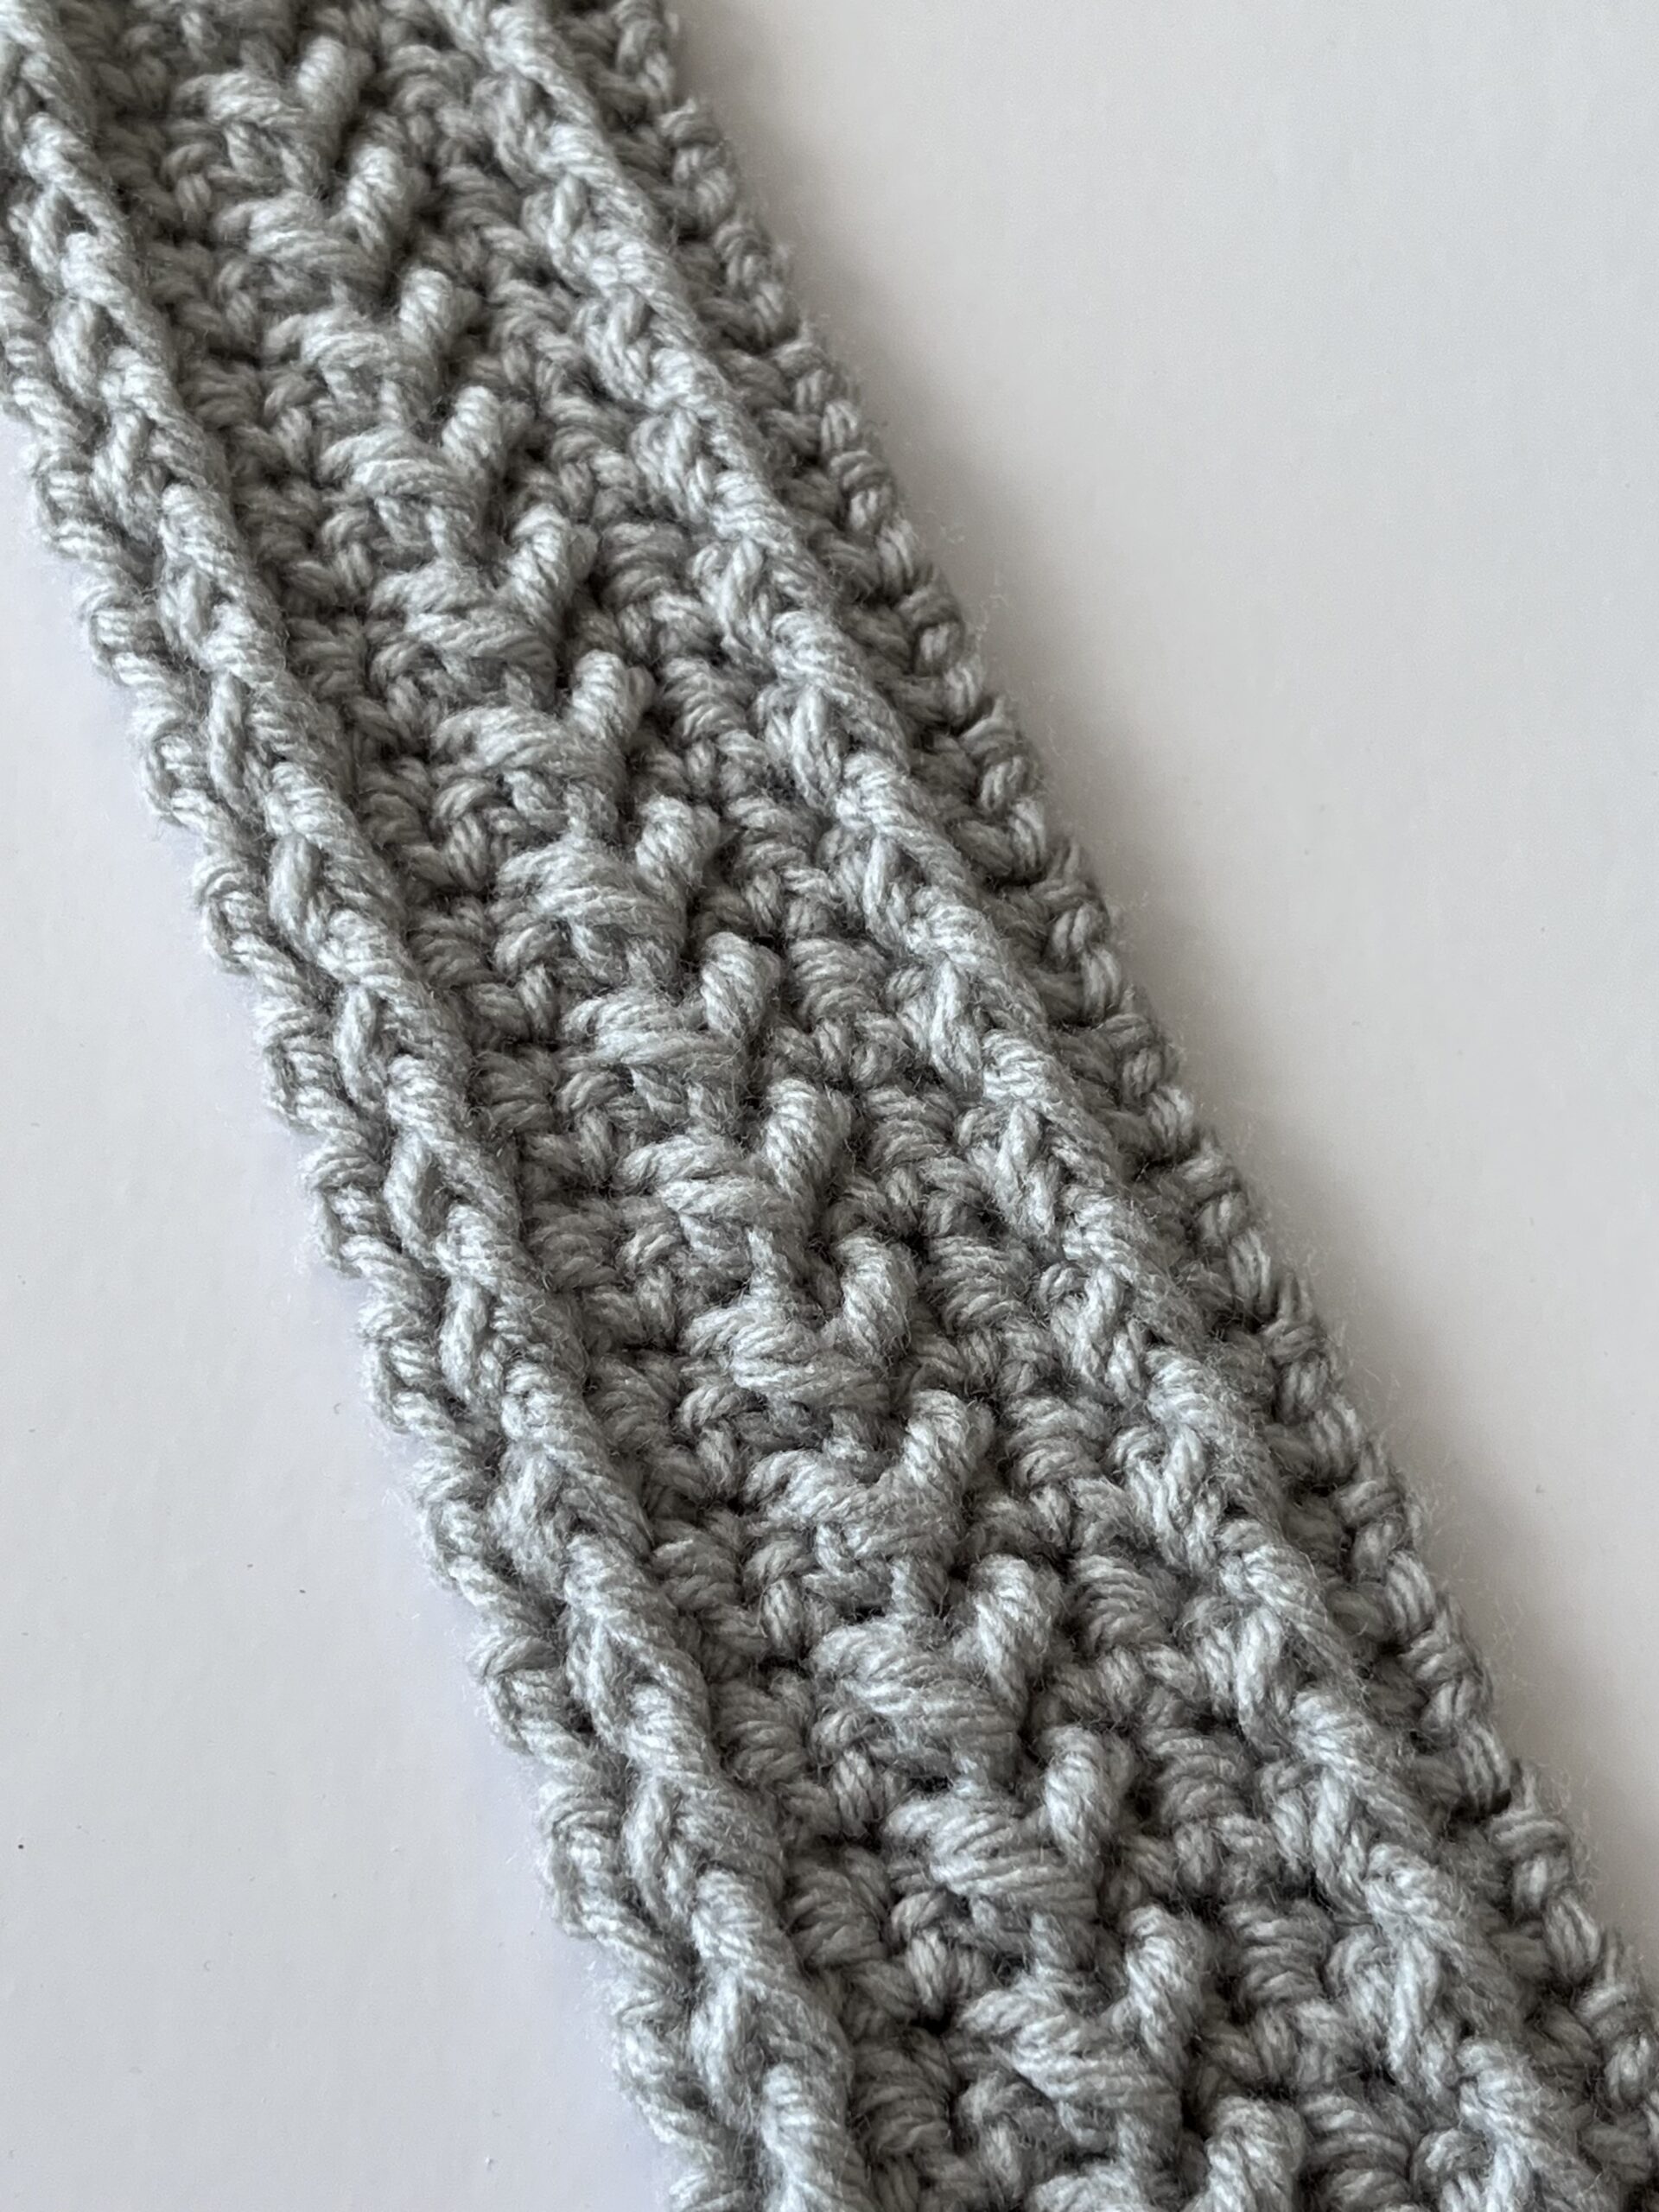
Start by trying the knife hold. If it feels awkward, switch to the pencil grip. Your choice depends on which position lets you move the hook smoothly without straining your fingers.
Regardless of your grip, you need consistent yarn tension. Use your non-dominant hand to keep the yarn from unraveling. Run the yarn between your index and middle fingers, or over your index finger, to control the flow. Practice pulling the yarn through loops until the stitches feel even.
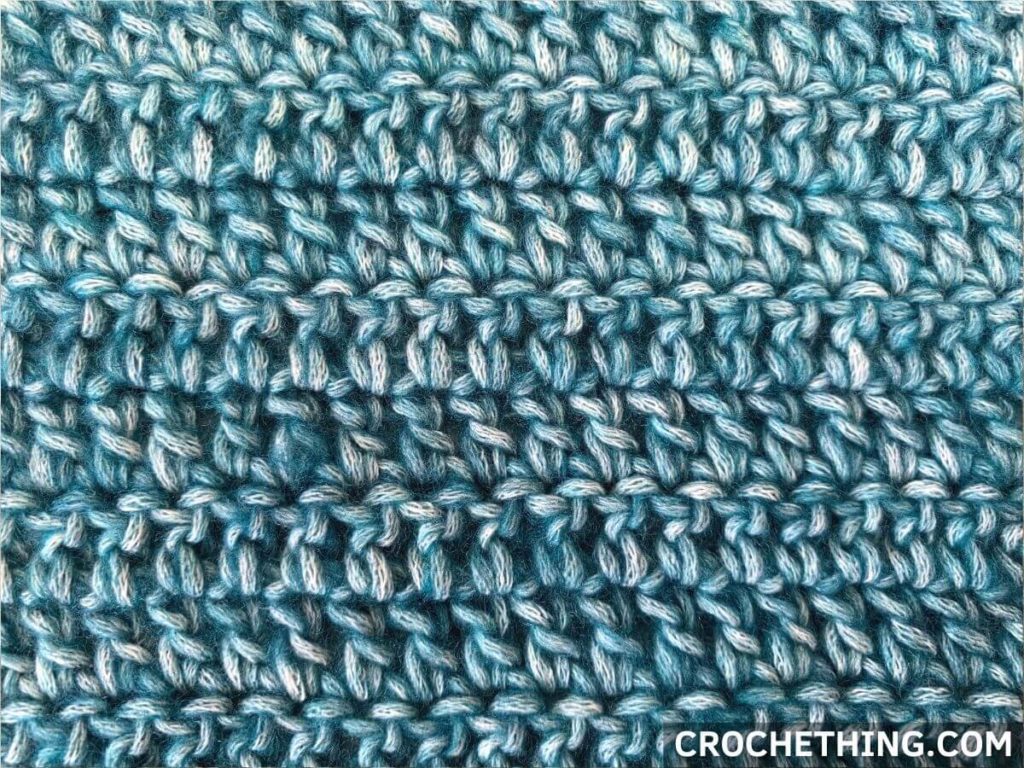
Once you are comfortable with the hold, make a slip knot. This is the first loop on your hook and the foundation of your project. Keep your grip relaxed as you wrap the yarn and pull the loop through. A loose knot is easier to adjust than a tight one.
Create a slip knot and foundation chain
Every crochet project begins with a slip knot and a foundation chain. Think of the slip knot as the anchor that holds your work to the hook, and the chain as the measuring tape that determines the size of your first granny square. Getting these two steps right ensures your stitches stay even and your square doesn’t twist.
Start by making a slip knot. Loop your yarn around two fingers, pull a loop through, and tighten it gently onto your hook. It should slide easily but not so loose that it slips off. Next, chain four stitches. This small number creates the center ring for a classic granny square. If your chain is too tight, your hook will struggle to pass through; if it’s too loose, the center hole will look sloppy. Aim for a tension that feels firm but flexible.
Wrap the yarn tail around your index finger, then use the hook to pull a loop through. Tighten it onto the hook just enough to hold tension without restricting movement.
Yarn over and pull through the loop on your hook four times. Keep the tension consistent. These four chains will form the base ring for your granny square.
Insert your hook into the first chain stitch you made. Yarn over and pull through both loops on the hook. You now have a small, closed ring ready for your first cluster of double crochets.
Keep your working yarn behind the hook as you chain. This simple habit prevents twisting and makes the next steps much smoother. Once your ring is joined, you’re ready to start the first cluster of double crochets that defines the granny square pattern.
Work the first granny square round
This round establishes the square’s shape. You will create four corners using chain spaces and fill the sides with clusters of double crochet stitches. The central hole acts as the anchor point for the entire square, so keep your initial chain tight but not strained.
Chain 4 and join with a slip stitch to form a ring. Chain 3 (counts as first double crochet). Work 2 more double crochets into the ring. Chain 2.
Work 3 double crochets into the ring. Chain 2. This cluster and chain-2 combination forms the first corner of your granny square.
Work 3 double crochets into the ring. Chain 2. This creates the second corner.
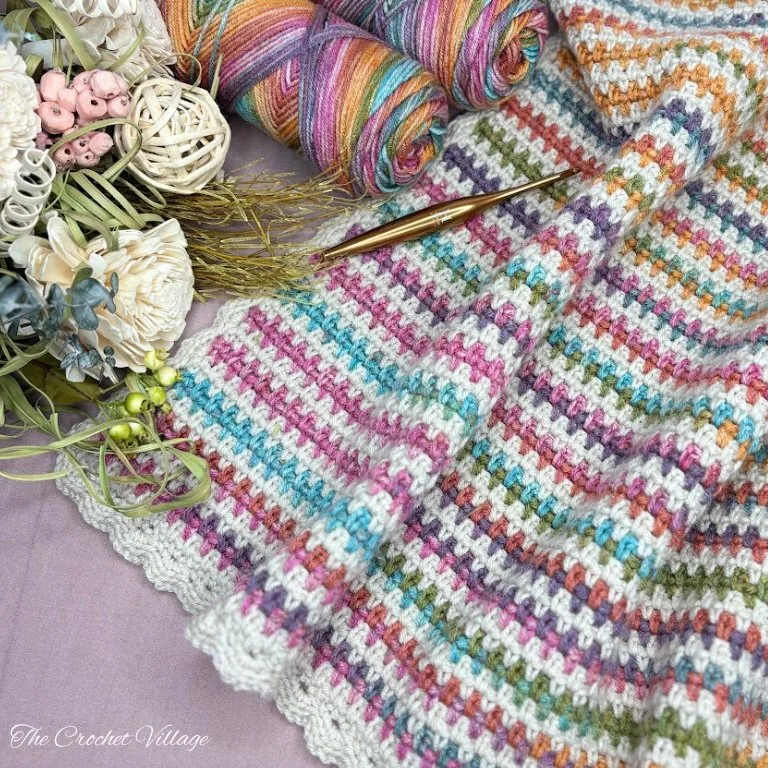
Work 3 double crochets into the ring. Chain 2. This creates the third corner.
Work 3 double crochets into the ring. Chain 1. Slip stitch into the top of the beginning chain-3 to close the round.
The completed round should look like a small square with four distinct corners. Each corner consists of three double crochets separated by a chain-2 space. The sides are formed by the chain-1 space between the last corner and the start of the round. If your center hole is too large, tighten your initial chain next time. If it’s too small, use a slightly larger hook for the foundation chain.
Fix common beginner mistakes
Granny squares look simple, but small errors in the first few rounds create big problems later. A twisted chain or tight tension makes the square curl into a cup instead of lying flat. You can spot these issues early if you check your work after every round.
Stop twisted chains
A twisted chain happens when the yarn wraps around itself in the wrong direction before you pull the hook through. This creates a knot that tightens with every subsequent stitch, making the fabric stiff and uneven. It is the most common reason a beginner’s square feels like a rope.
To fix this, look at the chain stitches before you start crocheting into them. The bottom loop of each chain should face away from you, creating a clean "V" shape on the top. If the chain looks like a spiral or a twisted ribbon, gently twist it back into alignment with your fingers. Once the chain is flat and untwisted, your stitches will sit evenly and the square will grow correctly.
Loosen tight tension
Holding the hook too tightly is the second most frequent mistake. When your hands are tense, the yarn resists moving through the loops, resulting in stitches that are too small and rigid. A tight granny square will not lie flat; it will curl at the edges or buckle in the center.
Relax your grip. Imagine you are holding a bird—firm enough so it doesn’t fly away, but gentle enough not to hurt it. If your square is already curling, check your tension immediately. You may need to switch to a slightly larger hook to open up the stitches. Consistent, relaxed tension keeps the fabric soft and ensures the square remains flat and even.
Correct the corners
Granny squares rely on specific stitch counts in the corners to keep the edges straight. If you miss a stitch or add an extra one in a corner, the square will develop waves or jagged edges. This is often called "ruffling" or "cupping."
Count your stitches carefully in each corner. A standard granny square corner usually consists of a cluster of double crochets, a chain space, and another cluster. Keep a consistent rhythm: stitch, chain, stitch. If you notice the edge starting to wave, stop and count the stitches in the last few rounds. Adjusting the corner count early prevents the distortion from spreading to the rest of the square.
Watch a quick video demo
Sometimes seeing the motion helps more than reading about it. A short video shows how the hook enters the stitches and how the yarn tension feels in your hand. This visual reinforcement clears up the small details that text descriptions often miss.
The Bella Coco channel offers a clear, slow-paced introduction to the basic stitches needed for a granny square. The episode covers the foundation chain and the first round of double crochets, which are the building blocks of this pattern.
Check your gauge and finish
Before you move on, measure your granny square. A standard first square should be about 4 inches by 4 inches. If it’s smaller, your stitches are too tight; if it’s larger, they’re too loose. Consistent tension matters most when you’re joining squares into a blanket or garment, so check this early.
Lay your square flat. Place a ruler across the center to verify the 4x4 inch size. Adjust your tension for the next square if needed.
Use a yarn needle to thread the tail through the back of nearby stitches. Pull gently to hide the end without distorting the shape.
Cut the remaining yarn close to the work. Ensure no loose loops remain that could unravel later.
Common questions about granny squares
New crocheters often ask about materials and techniques when starting their first granny square. This section answers the most frequent questions to help you avoid common pitfalls.
What yarn weight is best for beginners?
Choose a medium-weight (worsted weight) yarn, usually labeled as #4 on the skein. It is thick enough to see your stitches clearly but not so bulky that it becomes unwieldy. Acrylic or wool-acrylic blends are ideal because they are affordable, durable, and easy to correct if you make mistakes.
What hook size should I use?
For worsted weight yarn, a 5.5 mm (I-9) crochet hook is the standard starting point. Check your yarn label for the recommended hook size, but feel free to adjust up or down half a size if you find your tension is too tight or too loose. A comfortable, ergonomic hook can also reduce hand fatigue during your first project.
How do I join granny squares together?
The slip stitch join is the most common and flexible method for beginners. Place two squares right sides together, insert your hook through the corresponding stitches of both squares, yarn over, and pull through both loops and the stitch on your hook. This creates a flat, neat seam that allows the finished blanket or garment to drape well.
Do I need to weave in ends?
Yes. Each time you change colors or finish a square, you will have loose yarn tails. Weave these ends into the back of your work using a tapestry needle to secure them. This prevents your project from unraveling and gives it a polished, professional look. Aim to weave in at least two inches of yarn into the stitches for security.
No comments yet. Be the first to share your thoughts!