
Start with the right yarn and hook
The cloud stitch relies on volume and drape, so your material choices directly dictate the final look of your blanket. Using the wrong combination can result in a fabric that is either too stiff to cuddle or too loose to hold its shape. For this specific pattern, a bulky weight yarn paired with a large hook creates the signature puffy texture.
Choose a bulky weight yarn (often labeled as #5 or #6). This thickness allows the stitches to stack visibly, creating the "cloud" effect without requiring an excessive number of rows. Acrylic or wool-acrylic blends are ideal because they are durable, machine washable, and hold the stitch definition well. Avoid thin cottons or delicate silks; they will not provide the necessary loft for this technique.
Pair your bulky yarn with a hook size between 9mm (US N/P) and 10mm (US P/Q). A larger hook ensures the fabric remains soft and flexible. If you use a smaller hook, the stitches will tighten, making the blanket heavy and stiff. Consistency is key: stick to one hook size throughout the project to maintain an even gauge.
Tip: Choose a light-colored yarn to better see the stitch definition in the cloud stitch pattern.
Getting your materials right before you start saves time later. A quick gauge swatch—a small sample square—helps you confirm that your hook and yarn combination produces the desired drape. If the swatch feels too dense, try a larger hook; if it feels too loose, try a smaller one.
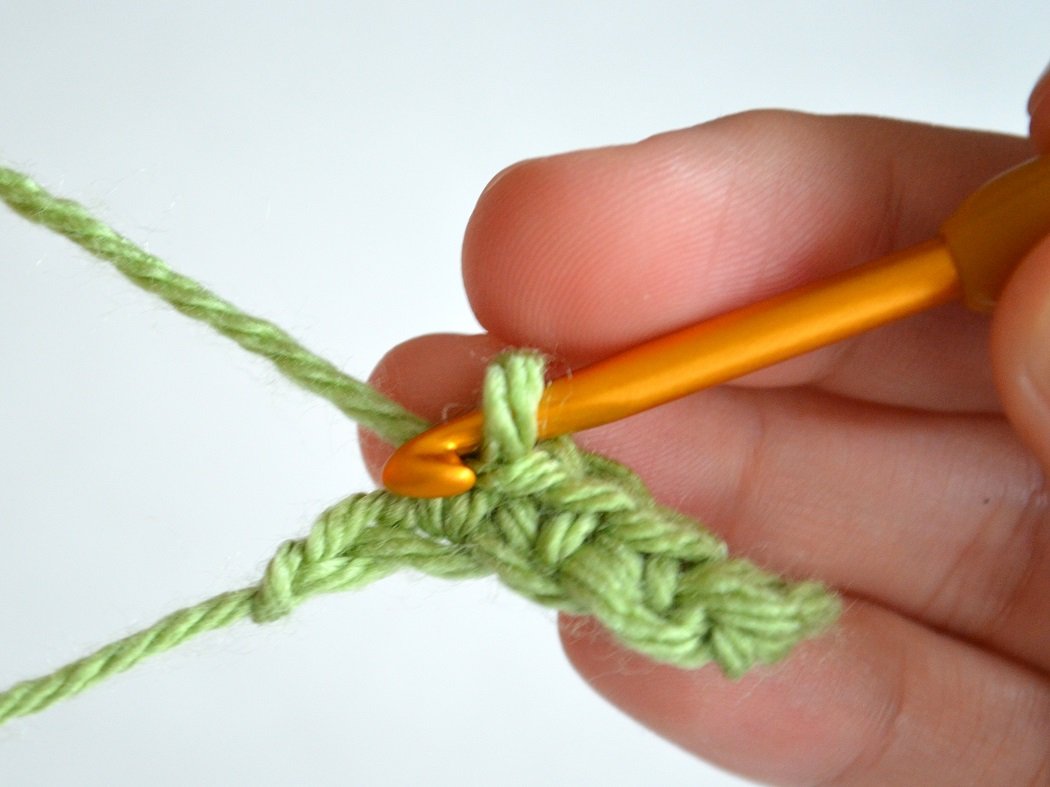
Make a slip knot and foundation chain
Every crochet project begins with a slip knot. This loop is the anchor for your foundation chain, so it needs to be secure but adjustable. Think of it as the first stitch that holds everything together. For a blanket using the cloud stitch, starting with a loose, flexible knot prevents the edge from curling or becoming too tight to work into later.
Step 1: Create the slip knot
- Leave a tail of yarn about 6 inches long and wrap the working yarn around your fingers to form a loop.
- Insert your hook through the loop and catch the working yarn.
- Pull the working yarn through to create a new loop on the hook, then tighten gently by pulling both the tail and the working yarn.
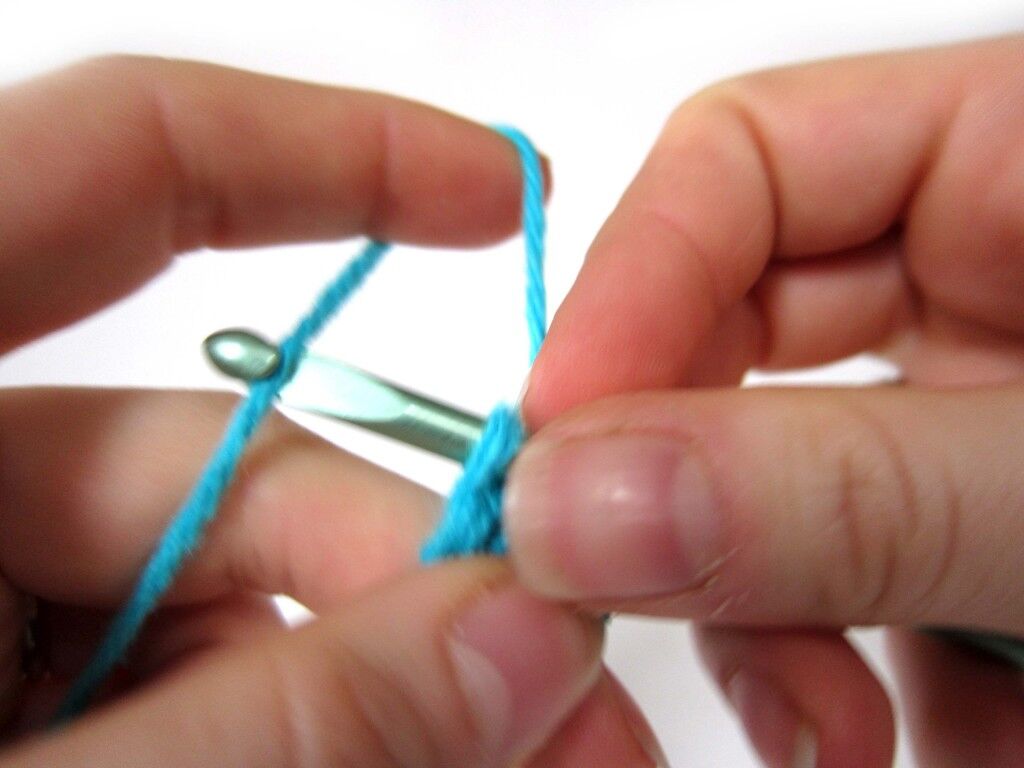
Step 2: Chain the foundation
The foundation chain determines the width of your blanket. Using a size H (5.0 mm) hook and worsted weight yarn, chain the desired number of stitches. For a standard throw, this is often a multiple of 11 plus 2 extra chains to accommodate the cloud stitch pattern. Keep your tension even; the chains should look like a neat, uniform rope.
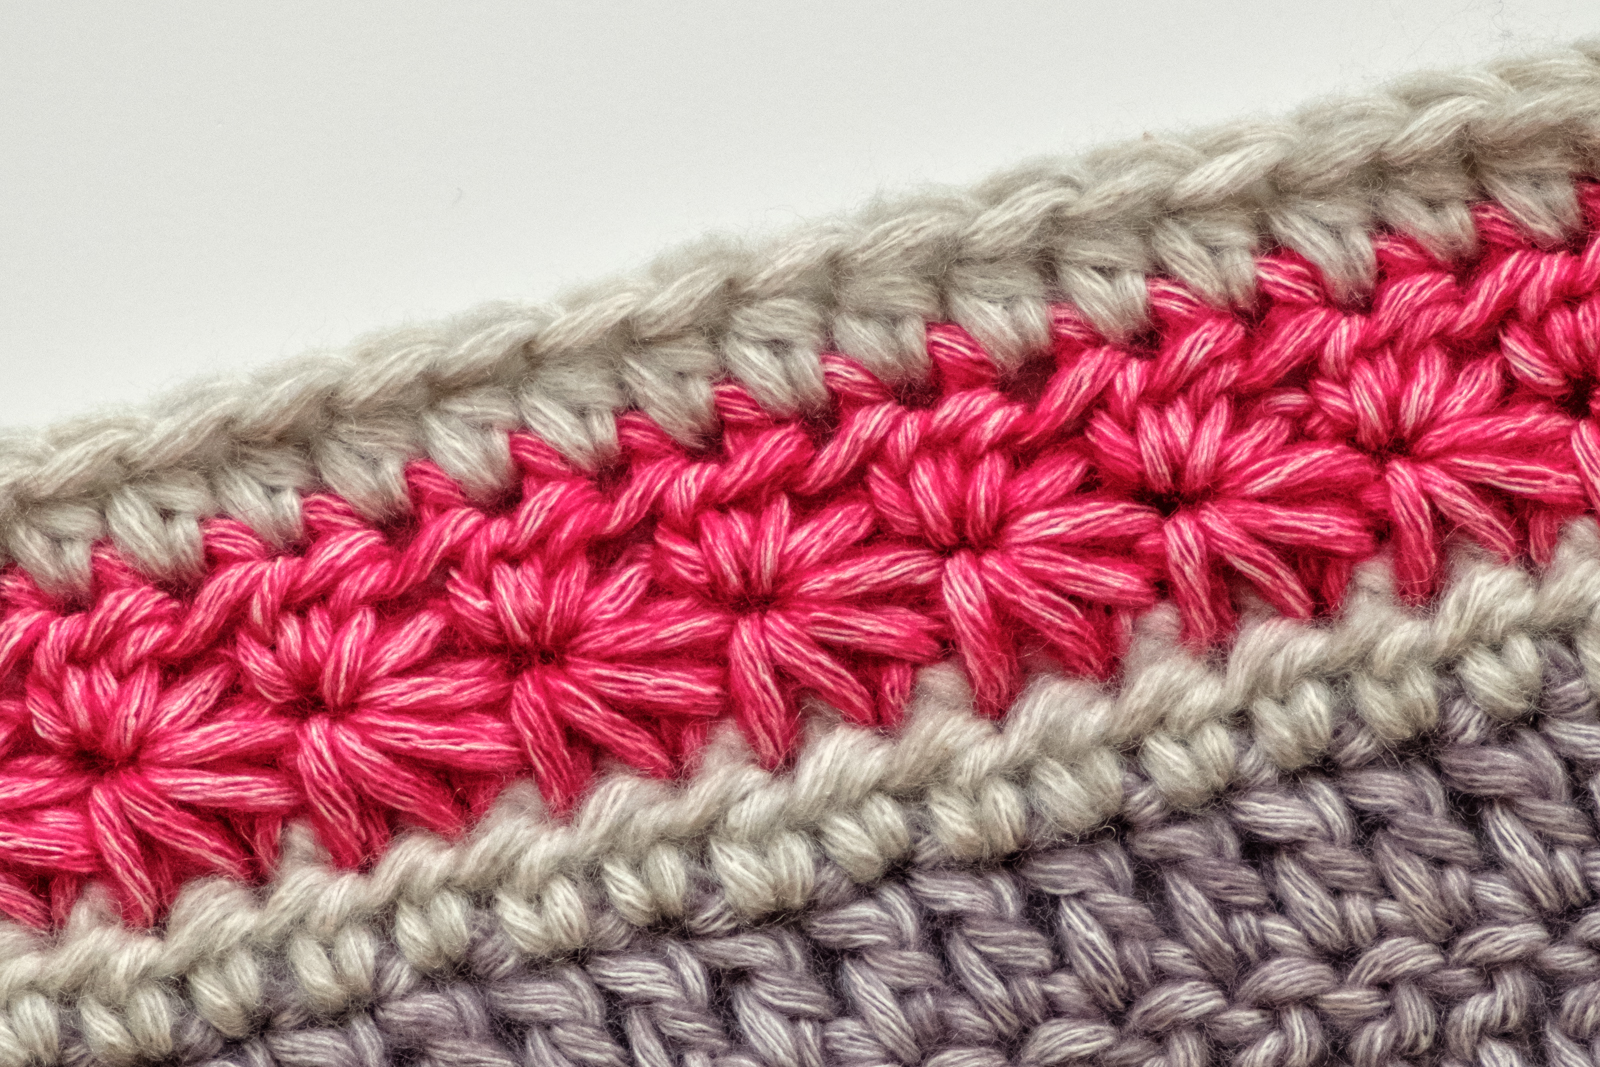
Work the cloud stitch pattern
The cloud stitch creates a dense, textured fabric that feels like a soft puff of cotton. It relies on a simple, repetitive sequence of double crochets and chain spaces. Once you master the rhythm, the blanket grows quickly.
To begin, chain a multiple of 4 plus 2. This foundation ensures the stitch pattern aligns correctly across the width of your blanket. Use a hook size that matches your yarn weight—typically a 5.5 mm (I/9) hook for worsted weight yarn. This combination provides the right balance of drape and warmth.
The pattern consists of two rows. Row 1 establishes the texture. Row 2 repeats the same steps, building height and density.
Chain your desired length in multiples of 4, plus 2. For example, chain 102 for a medium throw. Turn your work. This initial chain sets the width for the entire project.
Yarn over, insert hook into the 4th chain from the hook, yarn over, pull up a loop (3 loops on hook). Yarn over, pull through 2 loops. Yarn over, pull through remaining 2 loops. This is one double crochet. Repeat this double crochet in the same stitch two more times, creating a cluster of 3 double crochets. Chain 1. Skip 3 chains. Repeat from * to the end of the row.
Chain 3 (counts as first double crochet). Turn. In the next chain-1 space, work 3 double crochets. Chain 1. Skip the next cluster of 3 double crochets. In the next chain-1 space, work 3 double crochets. Chain 1. Repeat across. This creates the "cloud" puffs separated by small gaps.

Repeat Row 2 for the entire length of your blanket. Each row adds height and reinforces the soft, bumpy texture. The pattern is consistent, so you can crochet while watching TV or listening to music.
The cloud stitch is forgiving for beginners. If you miss a chain space, the texture may look slightly uneven, but it will not affect the blanket’s warmth or durability. Just keep your tension consistent.
As you work, notice how the fabric curls slightly at the edges. This is normal for dense stitches. You can block the finished blanket to flatten it, or leave it as is for a cozy, rumpled look.
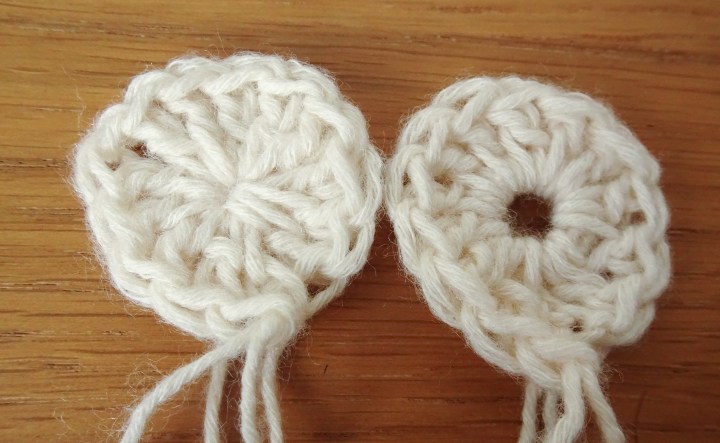
Check your gauge and fix tension
Before you commit to the full size of your cloud stitch blanket, you need to establish a baseline. The cloud stitch creates a dense, lofty fabric that can distort if your tension is inconsistent. A loose grip might make the blanket look airy, but it will likely curl at the edges or fail to lay flat. Conversely, pulling too tight defeats the purpose of the stitch, resulting in a stiff, unyielding square.
To check your gauge, crochet a swatch that is at least 4 inches by 4 inches (10 cm by 10 cm). Use the same hook and yarn you plan for the final project. Once finished, lay the swatch flat without stretching it. Count the number of cloud stitch clusters across that 4-inch width. If you have fewer stitches than your pattern calls for, your hook is too small or your tension is too loose. If you have more, your hook might be too large or you are pulling too tight.
Fixing tension is mostly about muscle memory and hook selection. If your edges are curling, try switching to a hook one size larger. This opens up the fabric and encourages it to lie flat. If the blanket feels too floppy or the stitches are too loose, switch to a smaller hook. Practice on a small swatch until the stitches feel even and the fabric has a consistent drape. Remember, the cloud stitch relies on volume, so let the yarn do the work rather than forcing it into submission.
Finish and weave in ends
A finished cloud stitch blanket should look as soft and uniform as a cumulus cloud, but loose yarn tails can ruin that illusion. Weaving in ends securely ensures your blanket holds together through years of use and washing. This final step transforms a collection of loops into a polished, durable textile.
Leave a 6-inch tail of yarn. Pull this tail completely through the final loop on your hook to lock the stitch. Do not cut the yarn yet; you need this tail to weave the end into the fabric.
Use a blunt-tipped tapestry needle. These needles have large eyes that fit multiple strands of yarn easily and blunt tips that slide between stitches without splitting the fibers. Thread your 6-inch tail through the eye and pull it through so the needle hangs from the middle of the tail.
The cloud stitch has deep, puffy texture. Insert your needle under the center of the nearest cloud bumps, following the path of the existing yarn. Move the needle back and forth through the fabric for about 2 inches. This zigzag path locks the tail in place so it won’t pull loose later.
Once the tail is woven in, gently tug the fabric to settle the stitches. Use sharp scissors to trim the remaining yarn close to the surface. Be careful not to cut the main blanket fabric. The end should disappear into the cloud bumps, leaving no visible knot.
Common cloud stitch: what to check next
The cloud stitch creates a thick, textured fabric that behaves differently than standard single or double crochet. These answers address the most frequent hurdles crocheters face when working this specific pattern.
Does the cloud stitch use a lot of yarn?
Yes. The cloud stitch is dense and lofty, meaning it uses significantly more yarn than flat stitches like single crochet. Expect to use 20–30% more yarn than the pattern’s standard estimate. Always buy extra skeins to ensure you have enough for the entire blanket without color or texture variations.
What hook size is best for cloud stitch?
Use a hook one size larger than your yarn label recommends. This larger hook helps create the open, airy loops that define the cloud texture. If you use the recommended hook size, your fabric may become stiff and difficult to work into. A 6.0mm (J-10) hook works well for worsted weight yarn.
Is the cloud stitch good for beginners?
It is manageable for beginners who know basic stitches. The pattern relies on repeating a simple sequence of chains and double crochets. However, keep your tension loose. Tight tension will make the fabric stiff and hard to crochet into. Practice the stitch on a small swatch before starting your blanket.
No comments yet. Be the first to share your thoughts!