
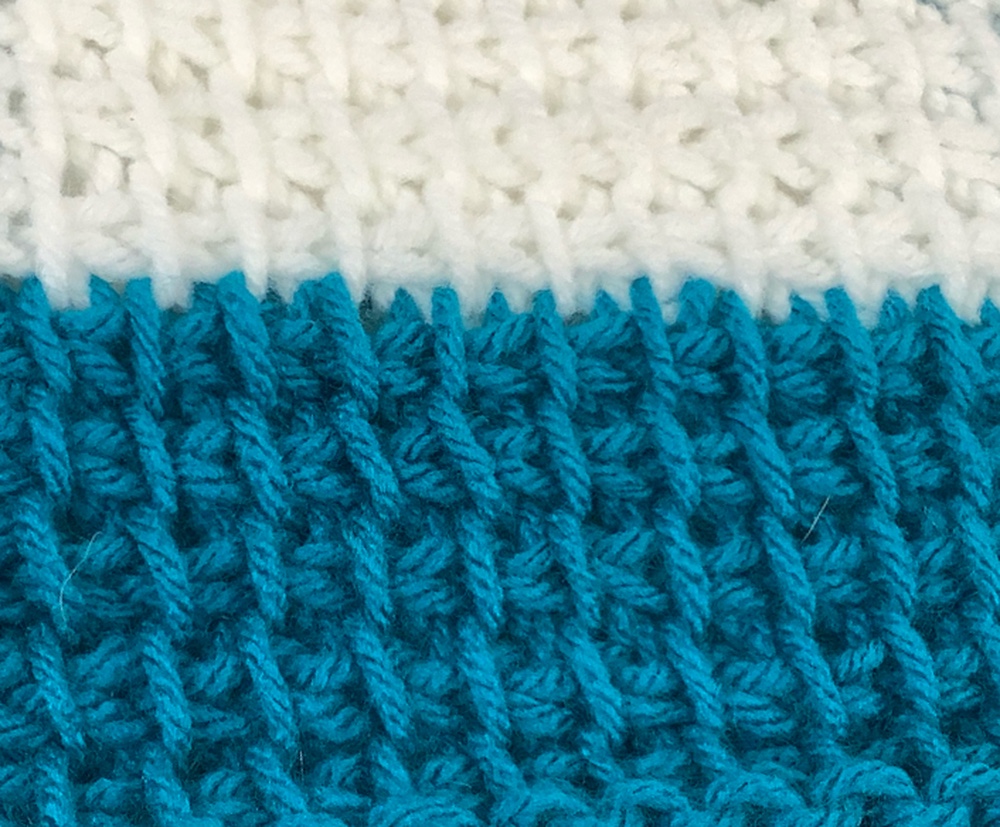
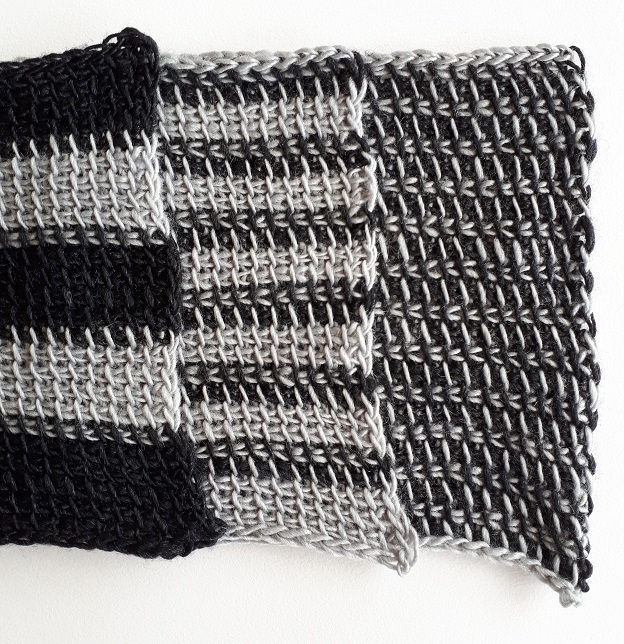
Tunisian mosaic stitch patterns
Tunisian mosaic stitch creates intricate, colorwork-like patterns without the hassle of carrying multiple strands of yarn. By working into previously completed rows, you achieve a textured, woven look that holds its shape beautifully. This makes it an excellent choice for structured summer dresses where drape and definition matter.
The technique relies on two distinct passes: the forward pass, which picks up loops from both the current and previous rows, and the return pass, which clears them. Mastering this rhythm allows you to read charts and execute complex geometric or floral motifs with precision.
Begin with a foundation chain that is a multiple of your stitch pattern’s repeat. Unlike standard Tunisian Simple Stitch, mosaic patterns often require an even number of chains to align the color changes correctly. Attach your yarn and chain one to begin the forward pass.
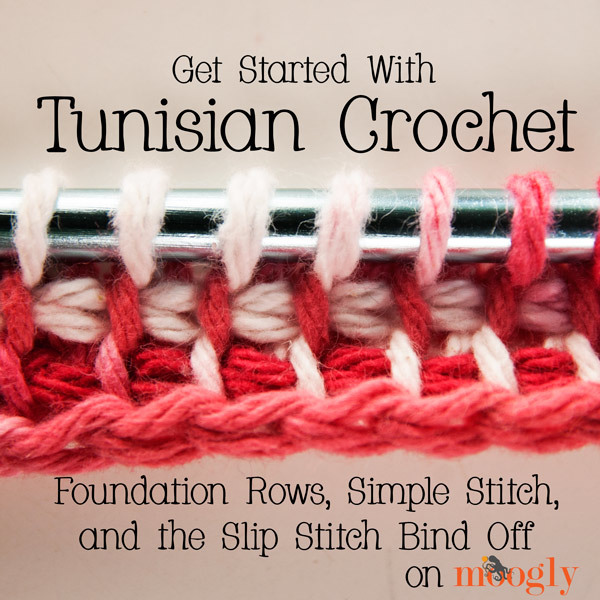
Yarn over and insert your hook under the vertical bar of the current row’s stitch. Yarn over and pull up a loop. If the chart indicates a skipped stitch, insert your hook under the vertical bar of the stitch from two rows below. Yarn over and pull up a loop. Repeat across the entire row, maintaining consistent tension.
Yarn over and pull through two loops on your hook. Repeat this yarn-over-and-pull-through-two action until only one loop remains on your hook. This completes the row. The fabric will begin to show the mosaic effect as you alternate colors or stitch types according to your chart.
Mosaic charts use specific symbols to denote which vertical bar to insert your hook into. A blank square usually means the current row’s vertical bar, while a filled square or cross indicates the row below. Study the chart carefully before starting to ensure your pattern aligns with the fabric’s structure.
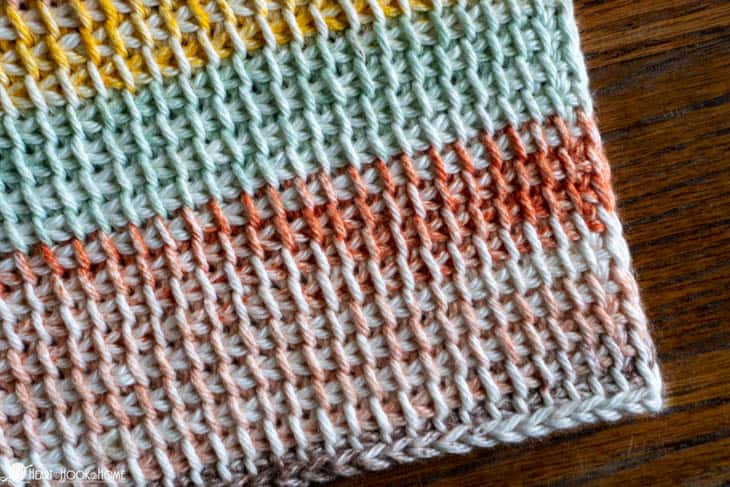
Creating Tunisian lace squares
Tunisian lace squares transform the dense, heavy fabric of standard Tunisian crochet into something breathable and light. By manipulating chain spaces and skipped stitches, you create openwork grids that drape beautifully against the skin. This structure is ideal for summer dresses, allowing air to circulate while maintaining the structural integrity that Tunisian crochet is known for.
The foundation of these squares lies in the interaction between the forward pass and the return pass. Instead of working into every stitch, you deliberately skip stitches to form eyelets. These eyelets are then bridged by chain spaces in subsequent rows, creating a geometric lattice. The key is consistency; uneven tension will distort the grid, making assembly into a dress panel difficult.
Begin with a multiple of the pattern repeat plus the required turning chains. Work Tunisian Simple Stitch (TSS) across the entire row. Unlike standard crochet, do not turn the work yet. This creates a solid, dense base that anchors the delicate lacework above it.
On the forward pass, chain 1, then skip the first stitch. Work TSS into the next stitch. Chain 2, skip the next two stitches, and work TSS into the fourth stitch. Repeat this sequence across the row. The chain-2 spaces form the primary eyelets. Finish the return pass as usual, ensuring you catch the tops of the chain spaces on the way back.
Turn the work. Chain 1, then work TSS into the first chain-2 space from the previous row. Skip the next TSS stitch and work TSS into the following chain-2 space. This offsets the eyelets, creating a diamond or square mesh. Repeat across the row. This offsetting is crucial for the visual rhythm of the lace.
Work one final row of Tunisian Simple Stitch across the top of the lattice. This closes the open spaces slightly and provides a clean edge for seaming. When you join this square to others, the solid top and bottom edges will align neatly, while the center remains airy and flexible.
As you assemble these squares into a dress, pay attention to the drape. The openwork should flow with the body's movement. If the fabric feels too stiff, check your tension on the chain spaces; looser chains create a softer, more fluid garment. These squares are not just decorative; they are structural elements that define the silhouette of the final piece.
Invisible Tunisian side seams
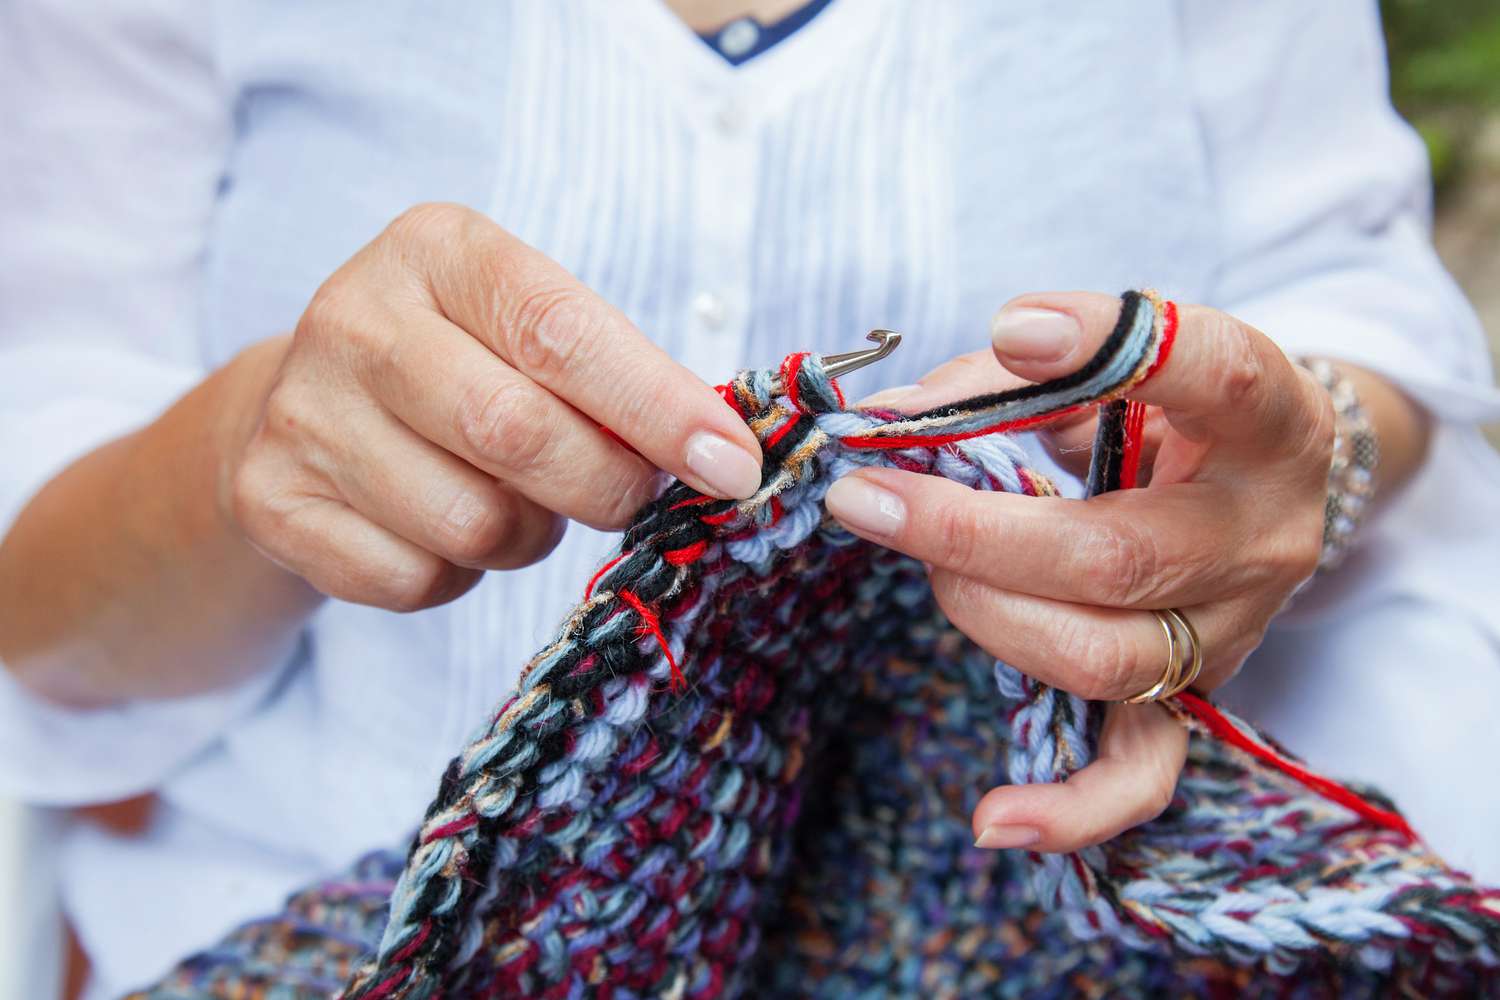
Joining Tunisian crochet pieces often leaves a bulky ridge that ruins the drape of a summer dress. The Tunisian Simple Stitch (TSS) side seam technique solves this by weaving the two pieces together as if they were one continuous fabric. The result is a flat, flexible join that moves with your body rather than restricting it.
This method requires aligning the front and back panels with right sides facing each other. You will work through both layers simultaneously during the forward pass, effectively locking the stitches in place. The return pass is then worked normally through the combined loops. The seam remains virtually invisible from the outside while providing significant structural integrity.
Lay the front and back dress panels flat with right sides facing each other. Match the side edges precisely, ensuring the stitch rows align horizontally. Use locking stitch markers every few inches to keep the layers from shifting while you work.
Start at the bottom hem. Insert your hook into the first vertical bar of the front panel and immediately into the corresponding vertical bar of the back panel. Yarn over and pull up a loop. You now have two loops on your hook, representing one combined stitch.
Continue across the entire side edge. For each stitch, insert the hook through the vertical bars of both the front and back panels simultaneously. Yarn over and pull up a loop. Repeat until you reach the top edge, resulting in a single row of doubled loops on your hook.
Yarn over and pull through the first loop on the hook to bind off. Yarn over and pull through the remaining two loops. Repeat this process across the entire seam. This locks the two panels together tightly. The fabric on the outside will look like a continuous piece of Tunisian Simple Stitch.
This technique is particularly effective for lightweight cotton or linen summer dresses. The lack of bulk allows the dress to hang smoothly against the skin. It also prevents the side seams from stretching out over time, which is a common issue with standard crochet joins.
Fixing Common Tunisian Errors
Advanced Tunisian crochet demands precision, especially when working with lightweight yarns for summer dresses. Even experienced crocheters encounter tension inconsistencies or twisted stitches that disrupt the fabric's drape. Addressing these issues early prevents costly unraveling later.
Twisted Stitches
Twisted stitches often occur when the hook enters the vertical bar from the wrong direction or when the yarn is not properly positioned. For summer dresses, this creates a stiff, uneven texture. To fix this, ensure you always bring the yarn to the front of the work before inserting the hook from right to left. This simple adjustment keeps the vertical bars open and prevents twisting.
Uneven Tension
Tension varies significantly between the forward and return passes. If the forward pass is too tight, the return pass becomes difficult, leading to puckering. Conversely, loose tension causes holes. For lightweight summer fabrics, maintain consistent pressure by letting the hook do the work rather than forcing the yarn. Practice with a slightly larger hook size to improve drape and reduce tension issues.
Edge Fraying
The edge of Tunisian crochet can fray if not handled correctly. Skip the first vertical bar on the edge during the forward pass to create a clean, stable border. This technique prevents loose loops and ensures the edge remains neat and durable, essential for garments that require frequent washing.
Video demo of mosaic stitch
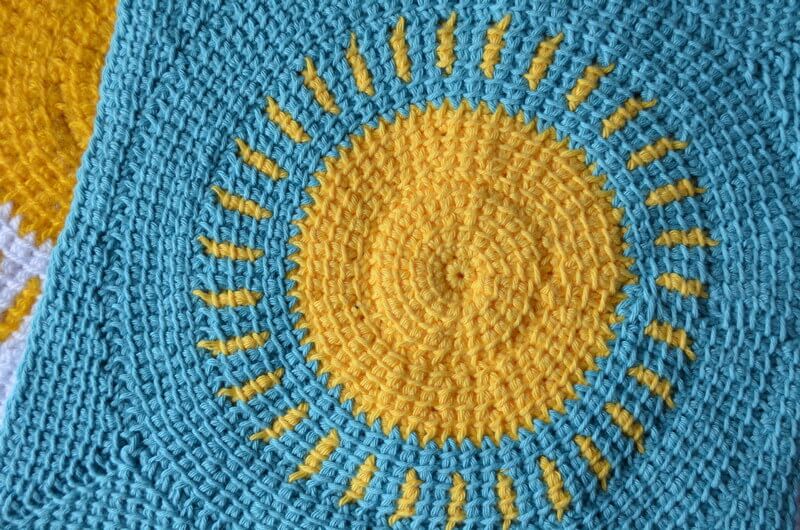
Mosaic stitch creates those distinct, offset rows that give summer dresses a beautiful, textured drape. While the written instructions cover the mechanics, watching the rhythm of the yarn helps clarify how the front and back loops interact. This visual reference is particularly useful for mastering the color changes without creating gaps in the fabric.
The following tutorial demonstrates the advanced mosaic technique with a leaf pattern, showing exactly how to read the chart and execute the rounded shapes. Watch closely to see how the hook enters the loops and how the tension is maintained for a smooth finish.
Advanced Tunisian Crochet Checklist
Before you bind off your summer dress, run through this final verification. It catches common mistakes in complex Tunisian stitches before they become permanent.
- Gauge check: Confirm your stitch count matches the pattern, especially after color changes or mosaic sections.
- Edge consistency: Ensure your Tunisian Simple Stitch (TSS) and Tunisian Knit Stitch (TKS) edges are even and not curling.
- Seam alignment: Verify that side seams align with any lace or mesh panels for a clean finish.
- Blocking plan: Have your blocking pins and steam iron ready; Tunisian fabric relaxes significantly after washing.
No comments yet. Be the first to share your thoughts!