
Start with the right tools
Tunisian crochet requires specific equipment to handle the unique mechanics of holding multiple loops. You only need three items to begin: a Tunisian hook, smooth worsted-weight yarn, and basic finishing tools.
The Tunisian Hook
Standard crochet hooks are too short for this technique. Tunisian hooks are longer and feature a stopper on the opposite end to prevent stitches from sliding off the shaft. This stopper is essential; without it, the heavy load of loops will unravel.
For your first project, use a straight hook. Match the size to your yarn: a 5.5mm or 6mm hook works best for worsted weight yarn. If the hook is too small, the fabric becomes stiff; if too large, it droops.
The Yarn
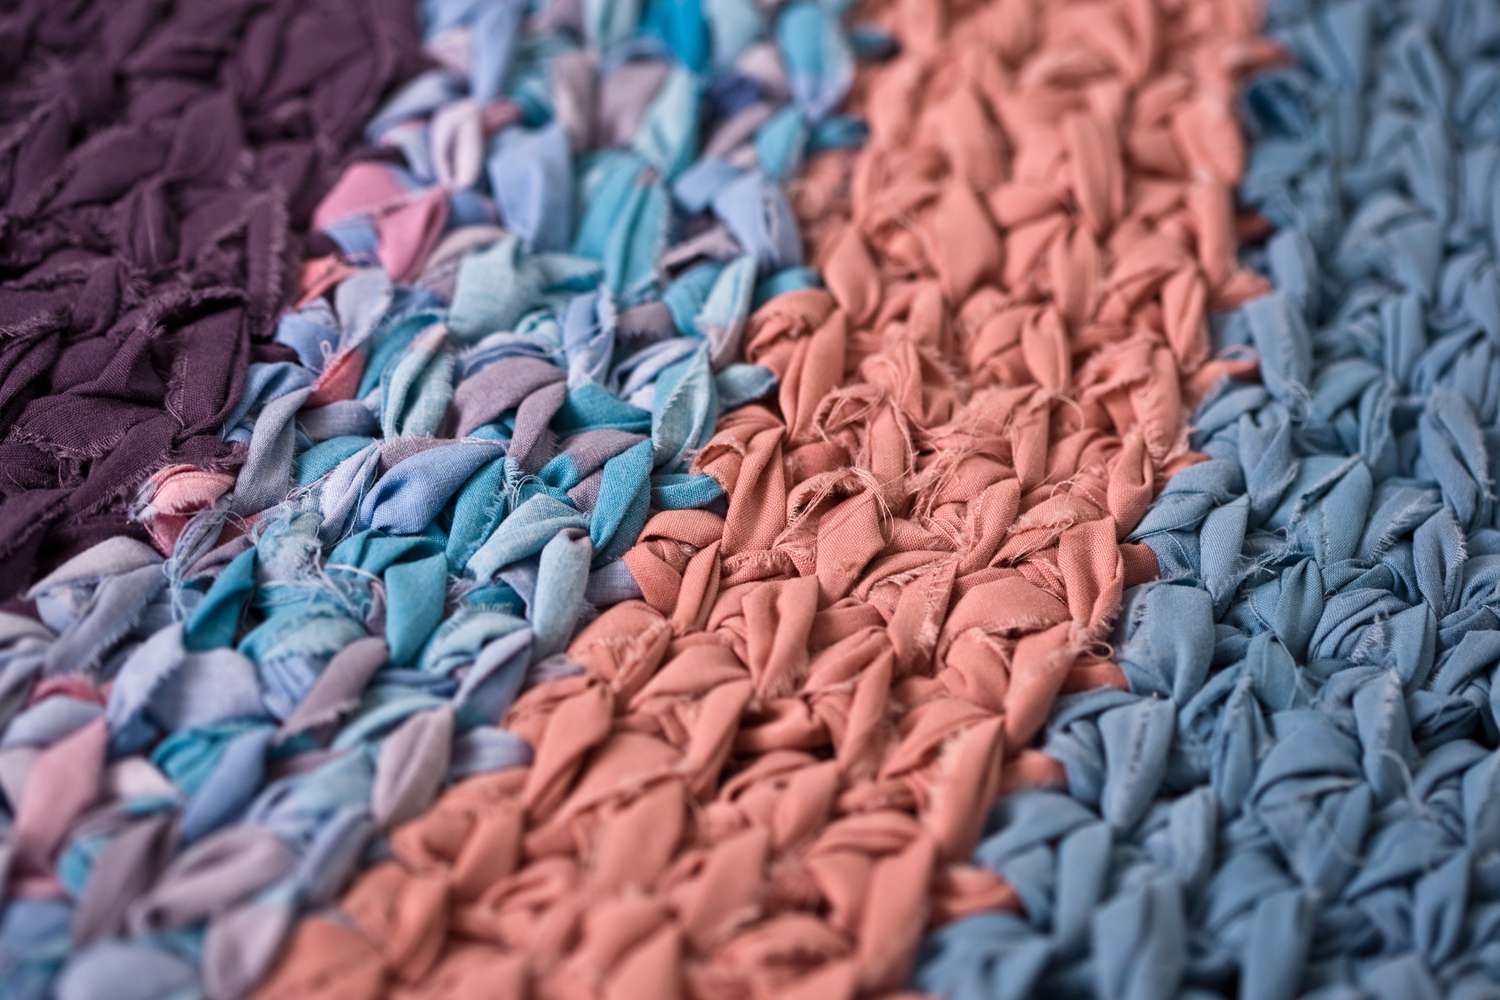
Choose a smooth, light-colored yarn. Light colors reveal stitch definition, while smooth surfaces allow the hook to glide through multiple loops easily. Avoid fuzzy or novelty yarns, which hide your work, and extreme weights, which are cumbersome on a long hook.
Scissors and Tapestry Needle
Sharp scissors ensure clean cuts, preventing frayed ends that are hard to weave. A large-eye tapestry needle accommodates yarn thickness without splitting fibers, making it ideal for weaving in tails.
Check that your hook has a stopper on the end. Verify the size matches your yarn weight. A 5.5mm or 6mm hook is a safe starting point for worsted weight yarn.
Lay out your smooth, light-colored yarn. Ensure your scissors are sharp and your tapestry needle has a large enough eye to pass through the yarn without splitting it.
Master the Tunisian simple stitch
The Tunisian simple stitch (TSS) is the foundation of most projects. Unlike standard crochet, TSS builds fabric in two passes: a forward pass that collects loops, and a return pass that clears them.
Forward Pass
Hold your hook and yarn as usual. Insert the hook from right to left under the vertical bar of the first chain stitch. Yarn over and pull up a loop, leaving it on the hook. Repeat across the entire row. By the end, you will have a row of loops stacked on your hook, equal to your starting chain count.
Return Pass
Yarn over and pull through only the first loop on the hook to create the finished edge. For the remaining loops, continue yarning over and pulling through two loops at a time until only one loop remains. This completes one row. Keep tension even to prevent curling.
Insert the hook under the vertical bar of each chain stitch from right to left. Yarn over and pull up a loop, leaving it on the hook. Repeat across the entire row until you have collected all loops.
Yarn over and pull through the first loop only. Then, yarn over and pull through two loops repeatedly until only one loop remains on the hook. This secures the row.
Crochet a structured blanket
Moving to a full-sized blanket requires managing consistent tension over hundreds of rows. Uneven gauge causes curling and unpredictable dimensions.
Establish Gauge
Chain your target width plus two extra chains for the turning chain. Use Tunisian Easy Stitch (TES) for the forward pass, inserting the hook under both vertical bars of each stitch. This creates the dense, woven fabric characteristic of Tunisian crochet. Complete the return pass by yarning over and pulling through two loops repeatedly until one loop remains.
Measure your work every 10 rows. If your gauge is too tight, the blanket will be stiff and heavy; if too loose, it will lack warmth and structure. Adjust your hook size if necessary before committing to the full length. Consistent tension is more important than speed.
Continue in Tunisian Simple Stitch (TSS) across the center of each row. This stitch creates a smooth, flat fabric that drapes well. Keep your working yarn loose enough to slide the hook easily but tight enough to prevent gaps.
Bind off loosely to prevent a tight, rolled edge. Work one row of single crochet evenly spaced across the bottom, then bind off in pattern. This adds a clean, finished border that stabilizes the structure.
Blocking
Blocking is structural, not just cosmetic. Wet the blanket thoroughly, lay it flat on a towel, and pin it to the correct dimensions. Let it dry completely. This relaxes fibers, evens out tension inconsistencies, and sets the final shape.
Construct a fitted Tunisian dress
Tunisian fabric has less natural drape than standard crochet, so shaping and seaming must be deliberate to maintain the silhouette.
1. Block your fabric pieces
Lay finished panels flat and block them to exact pattern dimensions. Tunisian stitch can relax or shrink after washing. Use steam or wet blocking depending on fiber content. Pin edges straight to ensure side seams and underarms align.
Align the shoulder edges of your front and back panels. Use Tunisian simple stitch or a mattress stitch for a flat, invisible join. This is the foundation for the neckline shape, so keep tension even.
Pin the sleeve caps into the armholes, matching notches at the shoulder and underarm. Tunisian fabric is stiff, so ease the sleeve cap gently rather than stretching it. Sew using a Tunisian seam to preserve the fabric's structure.
With the dress right sides together, sew the side seams and the sleeve seams in one continuous line if possible. This creates a smooth underarm curve. Use a whip stitch or Tunisian slip stitch for flexibility.
2. Shape the neckline and armholes
Work a round of single crochet or Tunisian simple stitch along the neckline and armholes to stabilize them. If adding a facing or binding, do this before final seaming is locked in, or work it on the finished garment for a crisp finish.
3. Add finishing details
For waist definition, use Tunisian decrease stitches (T2tog) during final rows before the hem. Finish the hem with a row of Tunisian simple stitch or a crochet border to prevent rolling. Block one final time to settle all seams.
4. Final fit check
Try on the dress while pinned or basted. Check that the bust and waist sit correctly. Tunisian fabric has minimal stretch, so ensure you have enough ease for movement. Adjust side seams before weaving in final ends.
Fix common Tunisian mistakes
Tunisian crochet has a learning curve. The fabric stretches, edges curl, and stitches twist if you aren't careful.
Twisted stitches
Twisted stitches happen when the hook enters from the wrong side. Always look at the front loop of the vertical bar. Insert the hook from right to left under the front loop only. Pulling through the back loop creates a hole.
Uneven edges
Tunisian crochet naturally pulls in at the sides. To keep edges straight, work one extra stitch at the start and end of every row. This border stitch creates a clean, vertical line without distorting the main fabric.
Loose tension
Tunisian yarn is heavier than regular crochet yarn. If tension is too loose, the fabric sags. Hold the yarn firmly but comfortably. If you notice gaps, tighten your grip slightly on the return pass.
Work one extra stitch at the start and end of every row to keep edges straight.
Always insert the hook from right to left under the front loop of the vertical bar.
Care for your Tunisian projects
Tunisian crochet creates a dense, heavy fabric that behaves differently than standard crochet. Treat it with care to avoid stretching or damaging fibers.
No comments yet. Be the first to share your thoughts!