
Start with the right tools
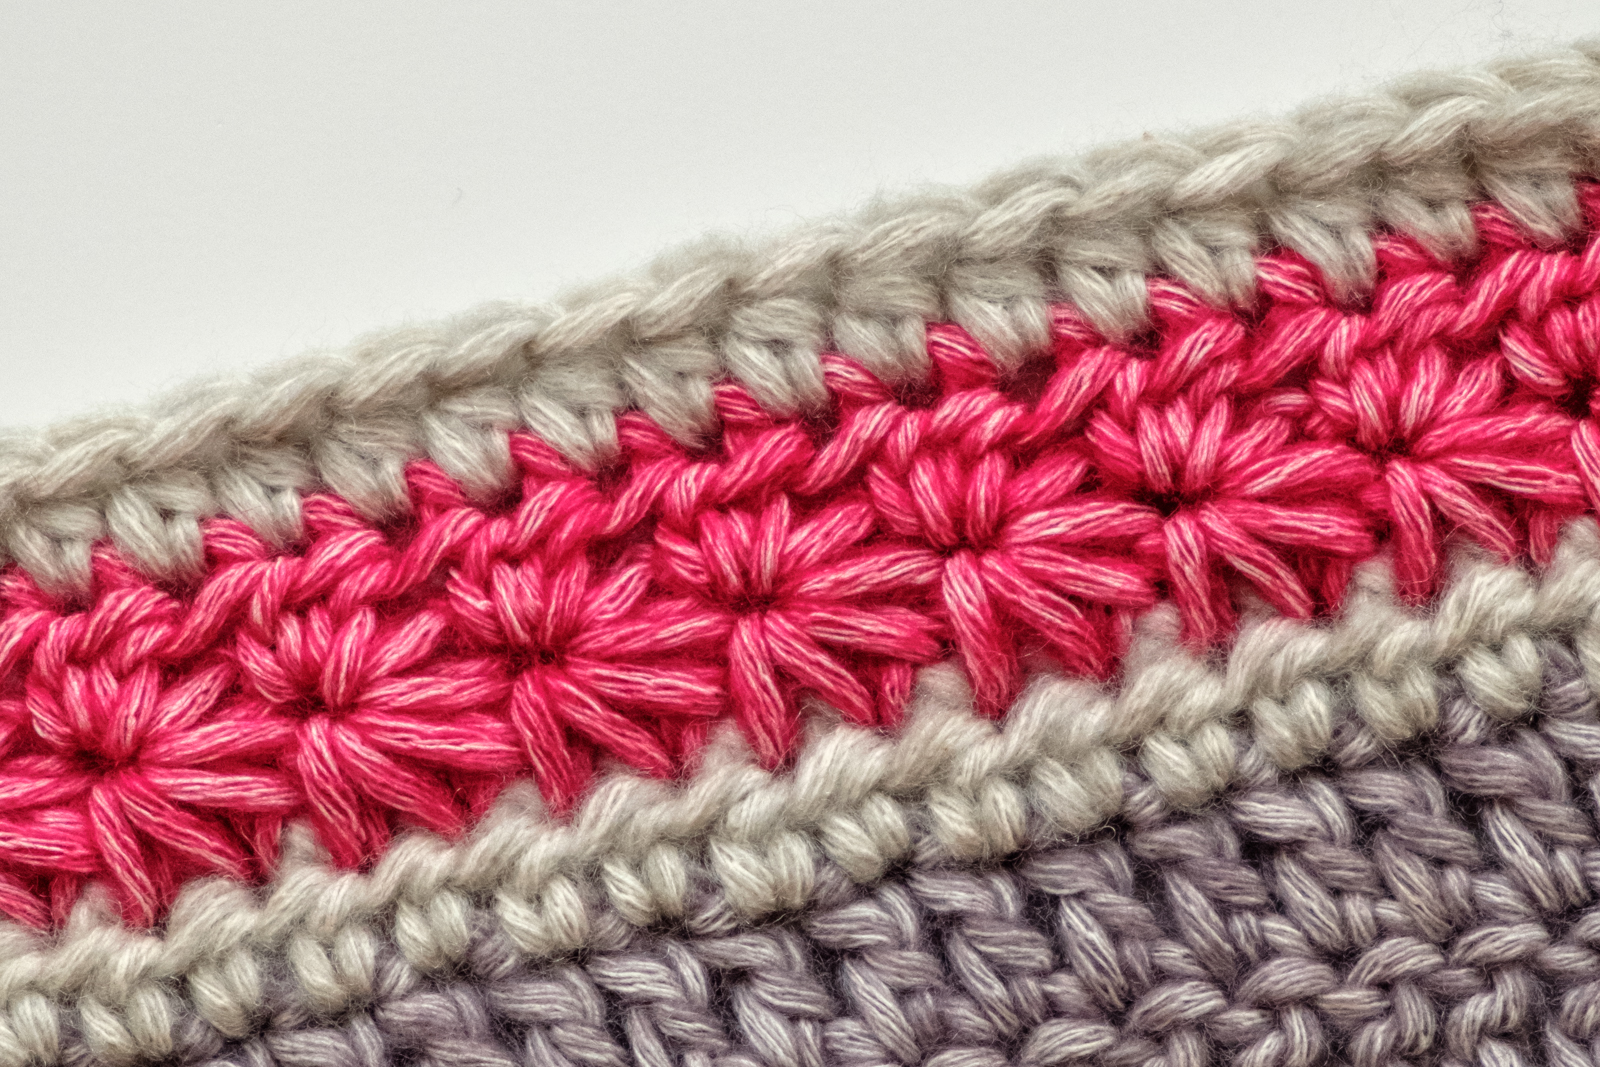
The cloud stitch relies on volume and texture, so your choice of yarn and hook dictates whether the fabric looks like a soft cloud or a tangled mess. Start with a smooth, light-colored yarn. The stitch creates deep valleys and high peaks; a busy, variegated, or dark yarn will hide the definition you’re trying to create.
Yarn weight and hook size
The cloud stitch needs a bulky yarn to hold its shape. A worsted weight (Category 4) yarn is too thin; it results in a dense, stiff fabric that lacks that signature airy puffiness. Aim for a super bulky or chunky yarn (Category 5 or 6). This thickness allows the loops to expand fully when you pull them through.
Match your yarn weight to a large hook. For super bulky yarn, a size N/P (10mm–15mm) hook is standard. If you use a smaller hook with bulky yarn, you’ll struggle to pull the yarn through the tight loops, and the stitch definition will collapse. The hook should feel like an extension of your hand, not a tool you’re forcing.
Essential supplies
Beyond the yarn and hook, keep a few simple items nearby. You’ll need a pair of blunt-tipped scissors to cut the yarn cleanly without snagging the loops. A tapestry needle with a large eye is necessary for weaving in ends, especially with bulky yarn where loose tails can unravel. Finally, a measuring tape helps you check your gauge, ensuring your project doesn’t grow too large or shrink into a dense brick.
If you are new to holding the yarn, spend ten minutes practicing the slip knot and chain stitch on a scrap of yarn. The cloud stitch requires consistent tension; if your grip is too tight, the fabric will feel rigid. If it’s too loose, the stitches will look sloppy. Finding that middle ground is the only real skill barrier to entry.
Hold your hook and yarn
Gripping your hook and yarn correctly is the foundation of learning the cloud stitch. If your hands are tense, your stitches will be uneven and your hands will cramp. The goal isn’t to hold the tools like a weapon, but to find a rhythm that feels natural to you.
There are two main ways to hold the hook. The pencil grip feels familiar if you write with a pencil. You rest the handle between your thumb and index finger, supported by your middle finger. This gives you precise control, which many beginners prefer when starting out.
The knife grip feels like holding a dinner knife. You rest the handle across your palm, using your thumb and index finger to pinch it. This method often feels more relaxed for larger hooks or thicker yarns. Try both. Switch if one causes pain. Consistency matters more than which style you pick.
Tensioning the yarn is the other half of the equation. You need to guide the yarn from the skein to the hook without it slipping or catching. Most people wrap the yarn around their non-dominant index finger. This finger acts as a brake, letting you feel the pull of each stitch.
Keep your grip loose. If your knuckles are white, you’re holding on too tight. Think of the yarn as a thread, not a rope. You should be able to slide the hook in and out smoothly. If you struggle with tension, practice making a simple chain first. Let your hands find their own comfort zone before worrying about the cloud stitch pattern.
Make a slip knot and chain
Every crochet project starts with a foundation chain. This initial row of loops acts as the spine for your work, providing the structure and tension needed for subsequent stitches. For the cloud stitch, a loose, even foundation is essential to ensure the final fabric remains soft and drapey.
Step 1: Create a slip knot
A slip knot is a temporary loop that holds your yarn to the hook. It is adjustable, allowing you to tighten or loosen it as you begin crocheting.
- Hold the yarn tail in your left hand, letting it cross over the working yarn (the strand connected to the ball) to form an "X".
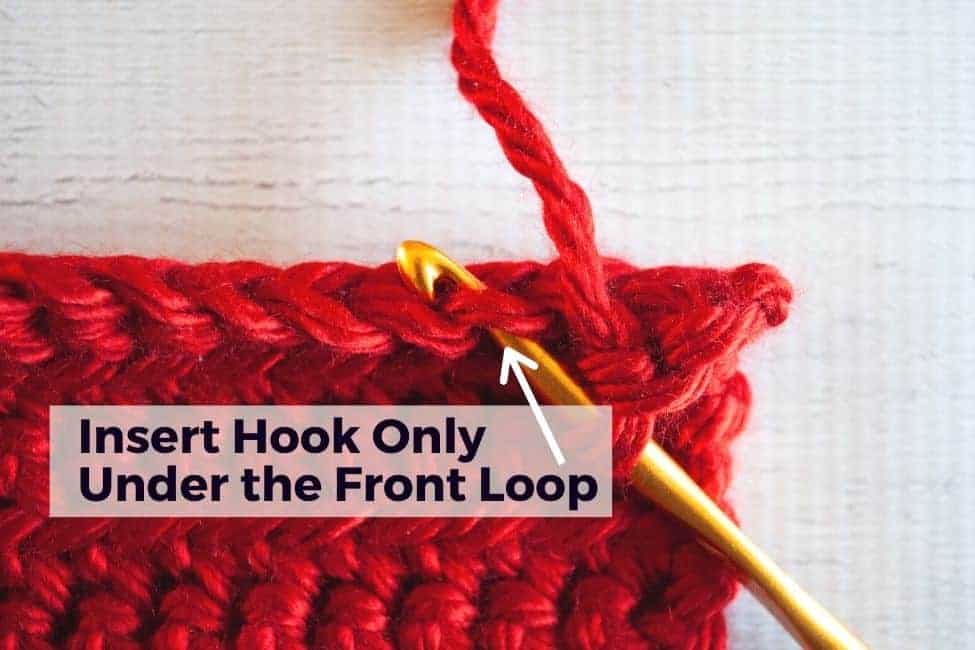
- Insert your crochet hook under the front strand of the "X" and grab the working yarn with the hook.
- Pull the working yarn through the loop created by the "X".
- Gently pull both the tail and the working yarn to tighten the knot onto the hook. Do not pull it so tight that the hook cannot move freely.
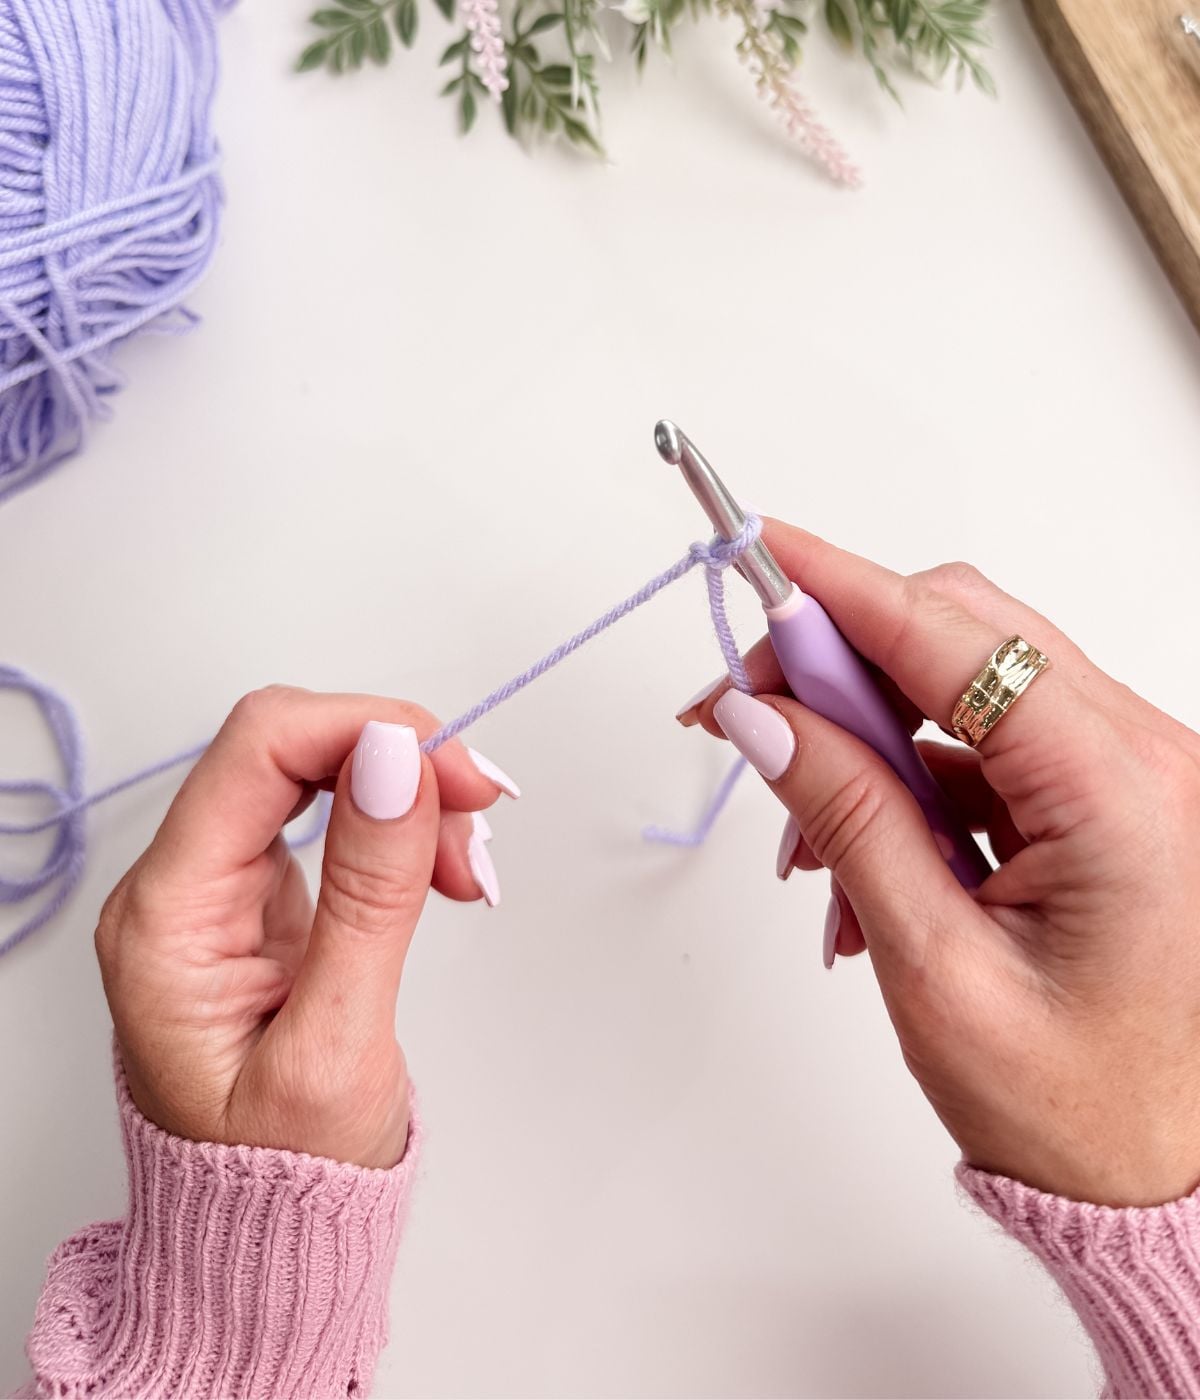
Hold the yarn tail and working yarn to form an X. Insert the hook under the front strand, grab the working yarn, and pull it through the loop. Tighten gently onto the hook.
Step 2: Crochet the foundation chain
With the slip knot on your hook, you are ready to create the chain. This is the most basic crochet stitch and involves repeatedly pulling yarn through the loop on your hook.
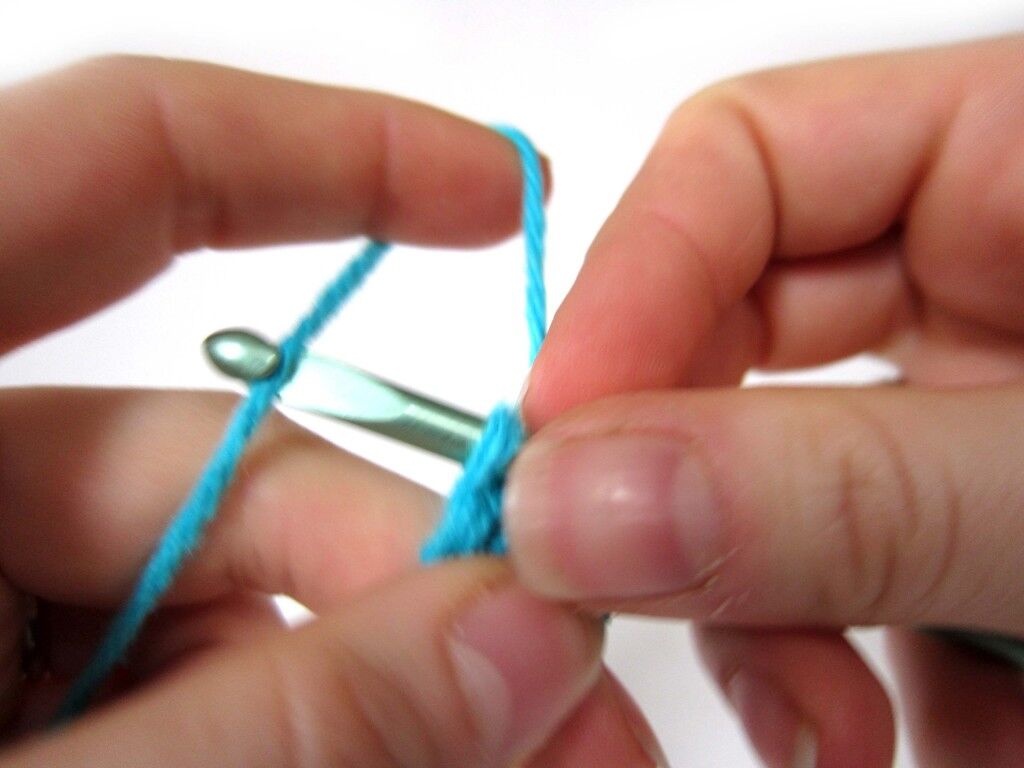
- Wrap the working yarn over the hook (yarn over) from back to front.
- Catch the wrapped yarn with the hook and pull it through the loop already on the hook.
- You now have two loops on the hook. Hold the tension steady with your non-dominant hand.
- Repeat the yarn over and pull-through motion until you have the desired number of chains. For a cloud stitch blanket, this is often a multiple of 4 plus a few extra chains for turning.
Yarn over the hook and pull through the loop on the hook. Repeat this motion to create a series of linked loops. Keep your tension even to avoid a twisted or tight chain.
Step 3: Check your tension
Before moving on to the cloud stitch rows, ensure your chain is not too tight. A tight foundation chain will make the first row difficult to work into and can cause the fabric to curl. If your chain feels stiff, try using a hook one size larger for the foundation chain only, then switch back to your main hook for the actual stitches.
Step 4: Count your chains
Count the number of loops on your hook. This number determines the width of your project. If you have too few, you can add more chains. If you have too many, you can unravel back to the correct number. Accuracy here prevents uneven edges later.
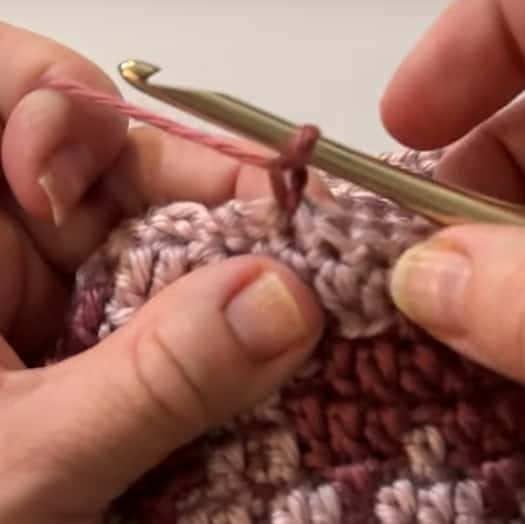
How to work the cloud stitch
The cloud stitch relies on building a cluster of yarn-overs around a single point to create that signature puffy texture. Unlike standard stitches that pull through loops one by one, this technique gathers multiple loops onto the hook before closing them all at once. Think of it like gathering fabric to make a ruffle; the more loops you hold, the fuller the resulting "cloud" will be.
1. Yarn over and insert hook
Start by yarning over the hook. Insert the hook into the designated stitch or space from your previous row. This is typically the same spot where you would place a standard single or double crochet. The goal here is to anchor the base of your cluster.
2. Pull up a loop
Yarn over again and pull the yarn through the stitch. You should now have three loops on your hook: the original loop from the yarn-over, the new loop you just pulled up, and the working yarn loop. Do not complete the stitch yet. This accumulation of loops is what creates the volume.
3. Repeat the cluster
Repeat the process—yarn over, insert hook into the same stitch, and pull up a loop—two or three more times. Most cloud stitch patterns call for three to four pulls up per cluster. You will now have a significant number of loops stacked on your hook. This is the critical moment for the texture; ensure the loops are even and not twisted.
4. Close the cluster
Finally, yarn over one last time and pull through all the loops on the hook simultaneously. This action cinches the gathered yarn together, forming the fluffy puff. Secure the top with a small chain stitch or slip stitch into the next designated space to hold the shape in place before moving to the next cluster.
Yarn over and insert your hook into the target stitch. This anchors the base of your cluster.
Yarn over and pull up a loop. You now have multiple loops stacked on the hook, creating the foundation for the puff.
Repeat the pull-up process two or three more times into the same stitch. The more loops you gather, the fuller the cloud stitch becomes.
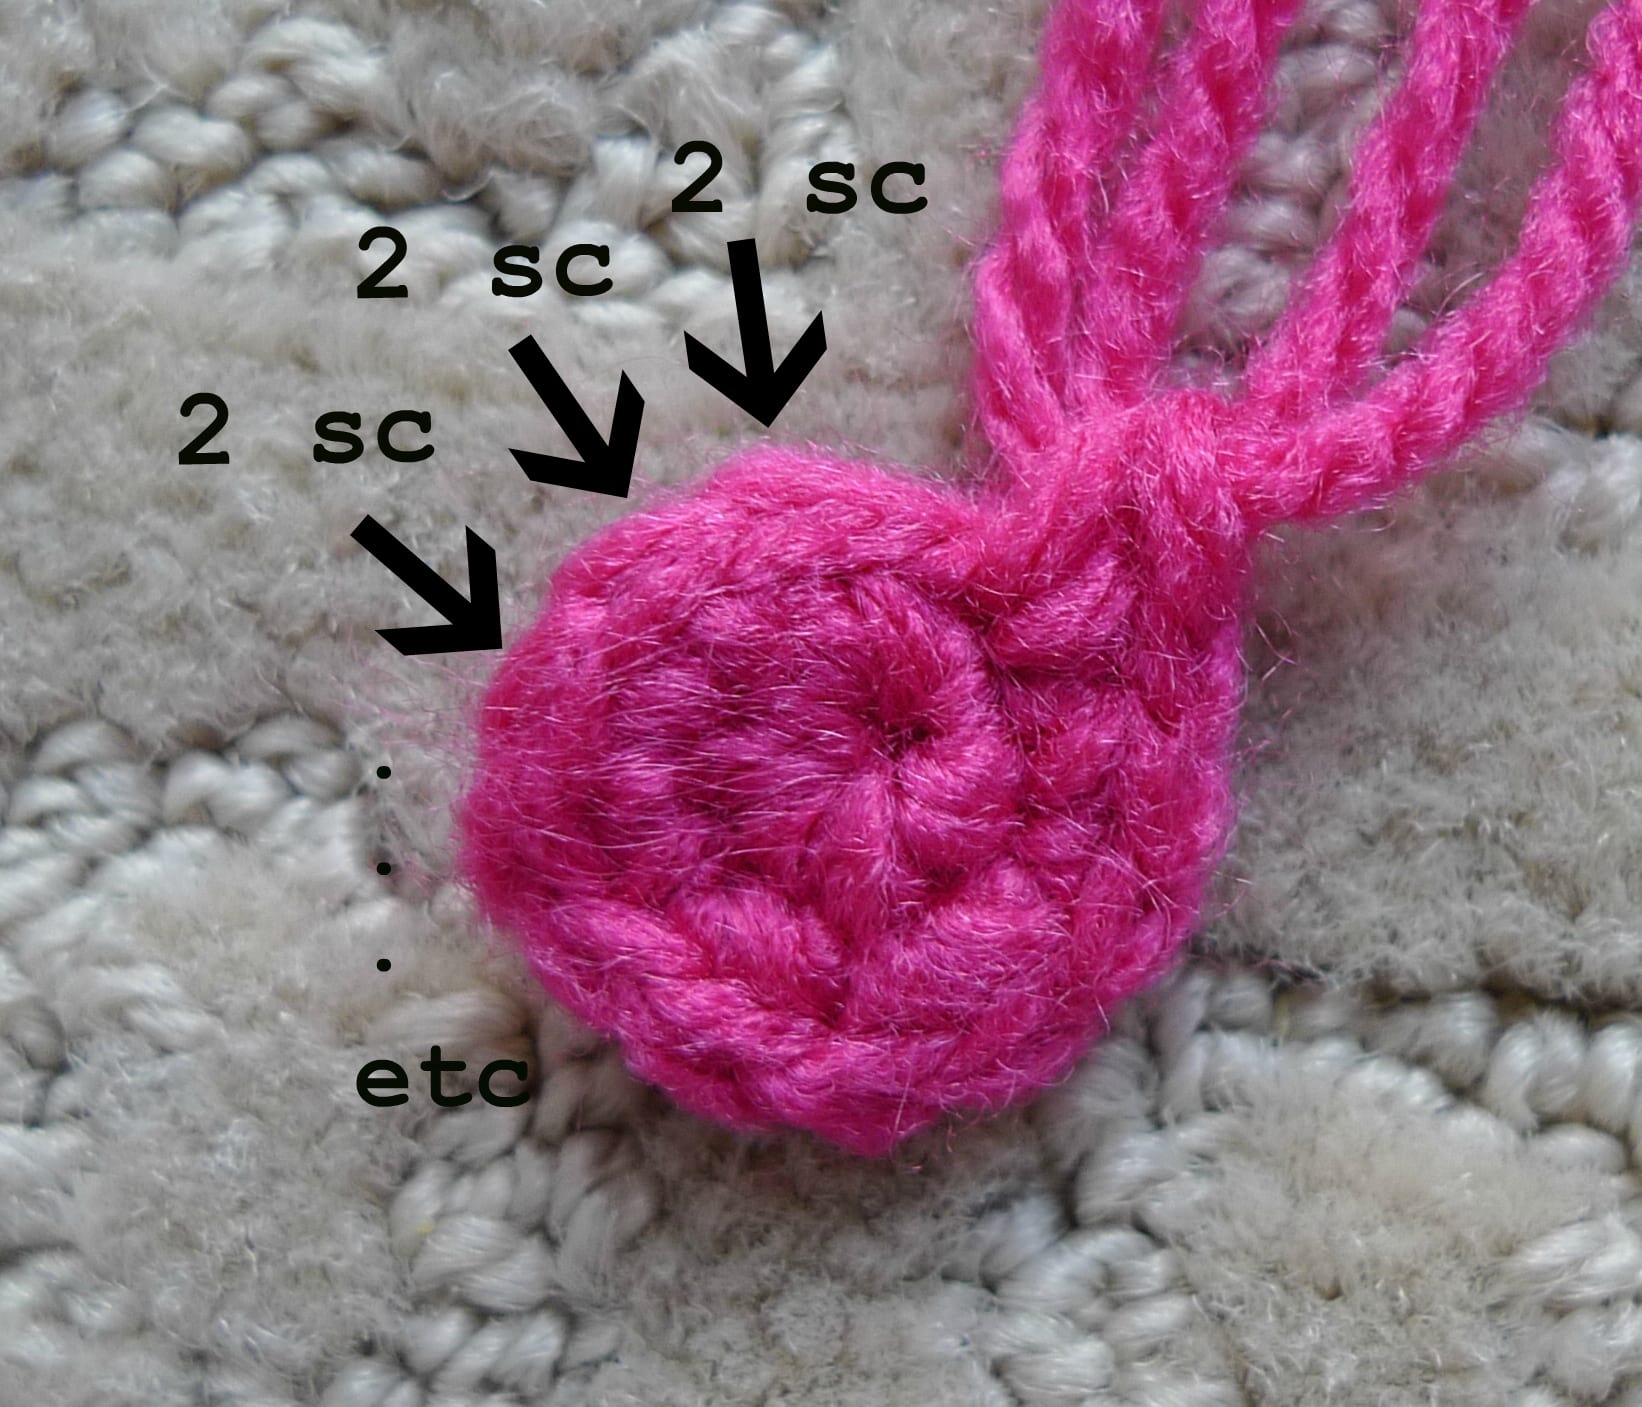
Yarn over one last time and pull through all loops on the hook at once. This cinches the cluster together to form the cloud shape.
Common mistakes to avoid
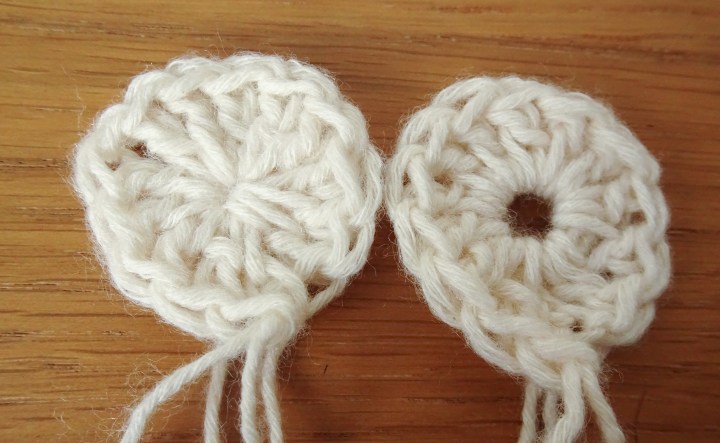
The most frequent error with the cloud stitch is pulling the final yarn-over too tight. If you cinch the top too hard, the "cloud" will flatten out and lose its fluffy appearance. Keep your tension loose and consistent throughout the cluster. Another common issue is skipping the securing stitch at the top; without a small chain or slip stitch to anchor the cluster, the puff can unravel or look uneven in the finished fabric.
Check your stitch gauge
The cloud stitch creates a thick, textured fabric that grows quickly, but this volume makes gauge the most common reason beginner projects turn out wrong. If your stitches are too loose, a baby blanket meant to be 30 inches wide might end up at 35. If they are too tight, a wearable cardigan could end up restricting your movement. Measuring early prevents these sizing disasters.
To check your gauge, crochet a swatch that is at least 6 by 6 inches using the cloud stitch pattern you plan to use for the main project. Do not wash or block the swatch yet; you want to see how the stitches sit in their natural state. Lay a ruler or tape measure flat across the center of the swatch and count how many stitches fit into a 4-inch span.
Most bulky yarn patterns expect you to have roughly 4 to 5 stitches across every 4 inches. If you have fewer stitches, your hook might be too large, making the fabric too open. If you have more, your hook is likely too small, creating a dense, stiff texture. Adjust your hook size and make a new swatch until your count matches the pattern's requirement.
Once your stitch count is correct, measure the rows. Count how many rows of the cloud stitch pattern fit into 4 inches of height. Consistent row height ensures your garment or blanket finishes at the intended length. If your rows are too tall, your project will be shorter than expected. If they are too short, it will be longer.
Treat this swatch as your project's blueprint. Keep it handy as you work, checking your gauge every few inches if you are making a large item. This simple step saves hours of unraveling and ensures your finished cloud stitch creation fits perfectly.
Finish and weave in ends
A clean finish separates a beginner project from a polished piece. Once you have completed your final cloud stitch, you need to secure the work and hide the loose yarn tails so they don’t unravel over time.
Leave a tail of about 6 inches (15 cm). Insert your hook into the final loop, yarn over, and pull the tail completely through. Gently tug the tail to tighten the knot against the fabric.
Switch to a blunt-tapestry needle. Thread your yarn tail through the eye and pull it through so both ends are even. The blunt tip prevents splitting the yarn fibers as you weave.
Insert the needle under the "bumps" or loops of the back side of your cloud stitches. Move in a zigzag pattern for about 2 inches (5 cm). This distributes the tension so the end doesn’t pop out later.
Once the tail is securely hidden, pull the needle through to the surface. Trim the yarn close to the fabric, leaving about 1/8 inch. Press the cut end gently with your finger to help it settle into the stitch.
Common questions about learning crochet
Can you crochet with arthritis?
Yes. With the right tools and techniques, crocheting can become an enjoyable activity that helps maintain joint mobility. Despite the challenges, crocheting offers numerous advantages for those with arthritis. Crocheting's controlled, repetitive movements can act as a form of low-impact hand exercise Mary Maxim.
Does crocheting lower cortisol?
The meditative and repetitive action of both knitting and crocheting help to focus the mind on the activity, thereby slowing the nervous system and reducing anxiety and stress hormones (cortisol) in the body Henry Ford Health.
No comments yet. Be the first to share your thoughts!