
Start with the basics
Before you make your first chain, gather the right tools. The most common cause of wavy edges is using a hook that is too large for your yarn weight. A hook that is slightly smaller than the yarn label recommends often produces a tighter, more stable fabric that holds its shape better.
You will need a hook that matches your yarn, a pair of sharp scissors for clean cuts, and a tapestry needle with a large eye for weaving in ends. Avoid plastic needles if possible; metal or bamboo needles slide through stitches more easily, reducing hand fatigue.
Choose a smooth, light-colored yarn for your first attempt. Cotton or acrylic blends work well because they show stitch definition clearly. Dark or fuzzy yarns hide mistakes, making it difficult to see if your corners are square or if your tension is uneven.
Finally, make a practice swatch. Crochet a small rectangle to test your tension before starting the square. This simple step helps you adjust your grip and hook size, preventing the need to unravel dozens of rows later.
Follow the process
The secret to straight granny squares lies in maintaining consistent tension and working in continuous rounds rather than joining at the start of each row. When you join with a slip stitch, you often create a small bump that distorts the edge in the next round. By working in a spiral, the fabric lays flat and the corners stay sharp.
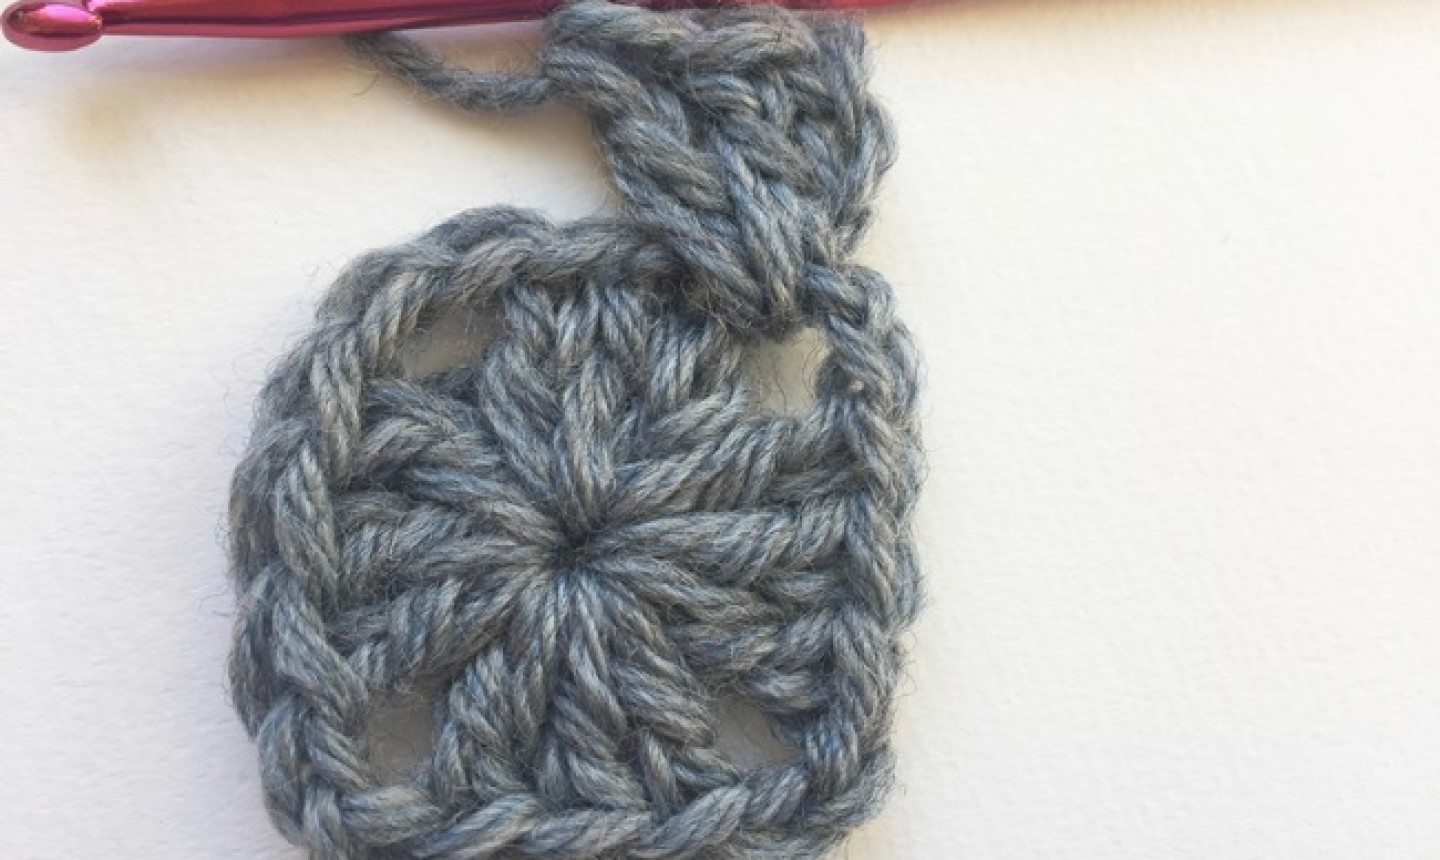
1. Start with a magic ring and first round
Begin with a magic ring (or a chain-4 slip-stitched into a ring) to avoid a hole in the center. Chain 3, which counts as the first double crochet. Work two more double crochets into the ring. Chain 2, then work three double crochets into the ring. Repeat this sequence—three double crochets, chain 2—two more times to complete the four corners. Do not join; leave the loop on your hook.

2. Joining rounds without distortion
If you prefer joining rounds, use a slip stitch into the top of the first double crochet of the previous round. However, for the straightest edges, many experts recommend working into the side of the stitches rather than the top, or simply embracing the spiral method. The spiral method is generally the most forgiving for beginners trying to avoid wavy edges because it eliminates the vertical seam that can pull the fabric.
3. Blocking the square
Once you have finished the desired number of rounds, block the square. Wet the square or use a steam iron (without touching the iron directly to the yarn). Pin the square to a blocking mat, ensuring the corners are at 90-degree angles. Let it dry completely. This step sets the stitches and guarantees a crisp, flat shape.
Quick checklist for straight edges
-
Use a magic ring for a tight center
-
Work in a continuous spiral, not joined rounds
-
Keep tension even across all stitches
-
Block the finished square with steam or water
-
Use a hook size appropriate for your yarn weight
Common Mistakes That Ruin Granny Squares
Even experienced crocheters fight wavy edges, but for beginners, the problem usually comes down to tension control and stitch count. A granny square that looks like a potato chip or a twisted fan is rarely a sign of bad yarn; it is almost always a math or technique issue. Fixing these habits early saves you from ripping back rows later.
Inconsistent Tension
Tension is the biggest enemy of flat crochet. If you pull your yarn too tight, the fabric shrinks and curls inward. If you are too loose, the stitches become sloppy and the shape distorts. The goal is evenness, not perfection. Hold the hook and yarn with a consistent grip. If you notice your square starting to cup, loosen your grip slightly on the next row. If it starts to flare, tighten up just a bit. Think of your tension as a dial, not a switch.
Wrong Stitch Count
Granny squares rely on precise math to stay flat. Each corner cluster must be exactly three double crochets (dc) separated by chain stitches. The side clusters are usually two double crochets. If you add an extra stitch in a corner, the square will flare out like a star. If you miss one, the edges will ruffle. Count your stitches at the end of every row. It feels slow at first, but it is the only way to guarantee a square that lies flat.
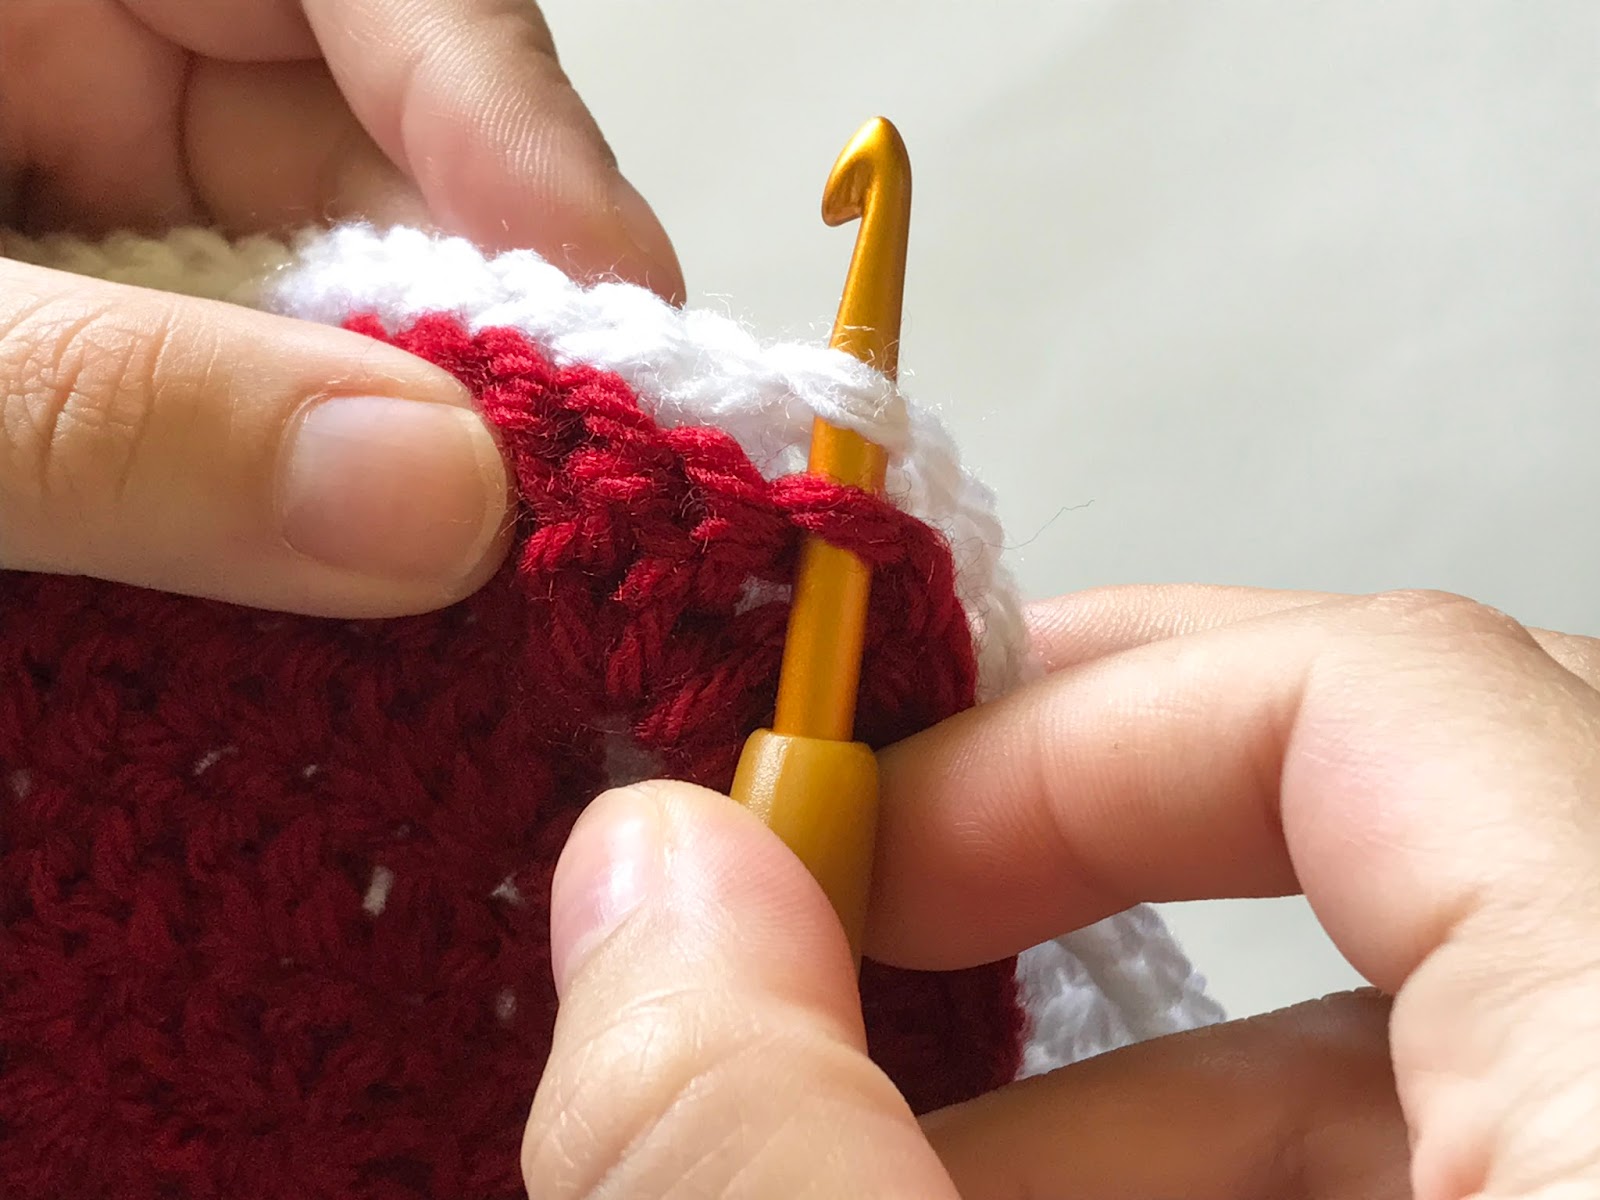
Ignoring the Join
Many beginners treat the join between squares as an afterthought, but how you connect them determines the final look. If you pull the yarn too tight when sewing or crocheting squares together, the whole piece will pucker and warp. Use a tapestry needle for a seamless look, or single crochet joins for a sturdy edge. Keep the tension on the joining yarn loose enough to allow the fabric to breathe. A tight join pulls the corners inward, creating a wavy, uneven surface.
Common questions about straight edges and twisted squares
Granny squares often wobble or twist because of how the yarn is pulled through the corners. If your edges look like potato chips, you are likely pulling too tight on the chain spaces or skipping the slip stitch to close the round. Tightening the final slip stitch locks the shape in place before you start the next side.
Twisting happens when you do not join the round in the same spot where you started. Always count your stitches and ensure the last slip stitch lands exactly in the first chain-3 space. If the square looks like a spiral, you missed the join. A seamless join keeps the fabric flat and prevents the distortion that makes sewing pieces together painful later.
Some beginners worry that their squares will have holes in the middle. Using a solid granny square variation or spike stitches can close most gaps, but for standard squares, simply keeping your tension even and not yanking the yarn too hard will minimize large holes. If you need a dense fabric for a baby blanket, look for tutorials that specifically mention "no holes" techniques.
Why do my granny square corners look loose or baggy?
Loose corners usually mean you are not working enough stitches into the chain spaces. The corner requires a cluster of double crochets, chains, and another cluster. If you skip a chain or a stitch, the corner loses its structural integrity and droops. Make sure you are creating a defined "V" shape with the chains in each corner to keep the edges sharp.
Can I use any yarn for a flat granny square?
Yes, but bulky yarn can make the square heavy and harder to keep flat. Worsted weight yarn is the standard for a reason: it is easy to see your stitches and maintain even tension. If you use a softer, slippery yarn like bamboo, you may need to tighten your tension slightly more than usual to prevent the square from stretching out of shape.
How do I keep my granny square from twisting when I work in rounds?
The most common cause of twisting is joining the round in the wrong place. Count your total stitches at the end of the round. If you have 16 stitches, your final slip stitch must go into the very first stitch of the round. If you join into the second stitch, the entire square will spiral. A simple stitch marker can help you keep track of the start point.
No comments yet. Be the first to share your thoughts!