

Gather your crochet supplies
For a lightweight, summer-friendly "Coastal Grandma" blanket, choose smooth, breathable yarn in white, cream, or soft blue. Avoid bulky wool, which traps heat, and stick to lightweight cotton or linen blends. You will also need a 4.5mm (G/6) crochet hook, which pairs perfectly with worsted weight yarn to create a sturdy yet soft drape. Keep blunt tapestry needles on hand to weave in loose ends for a clean finish.
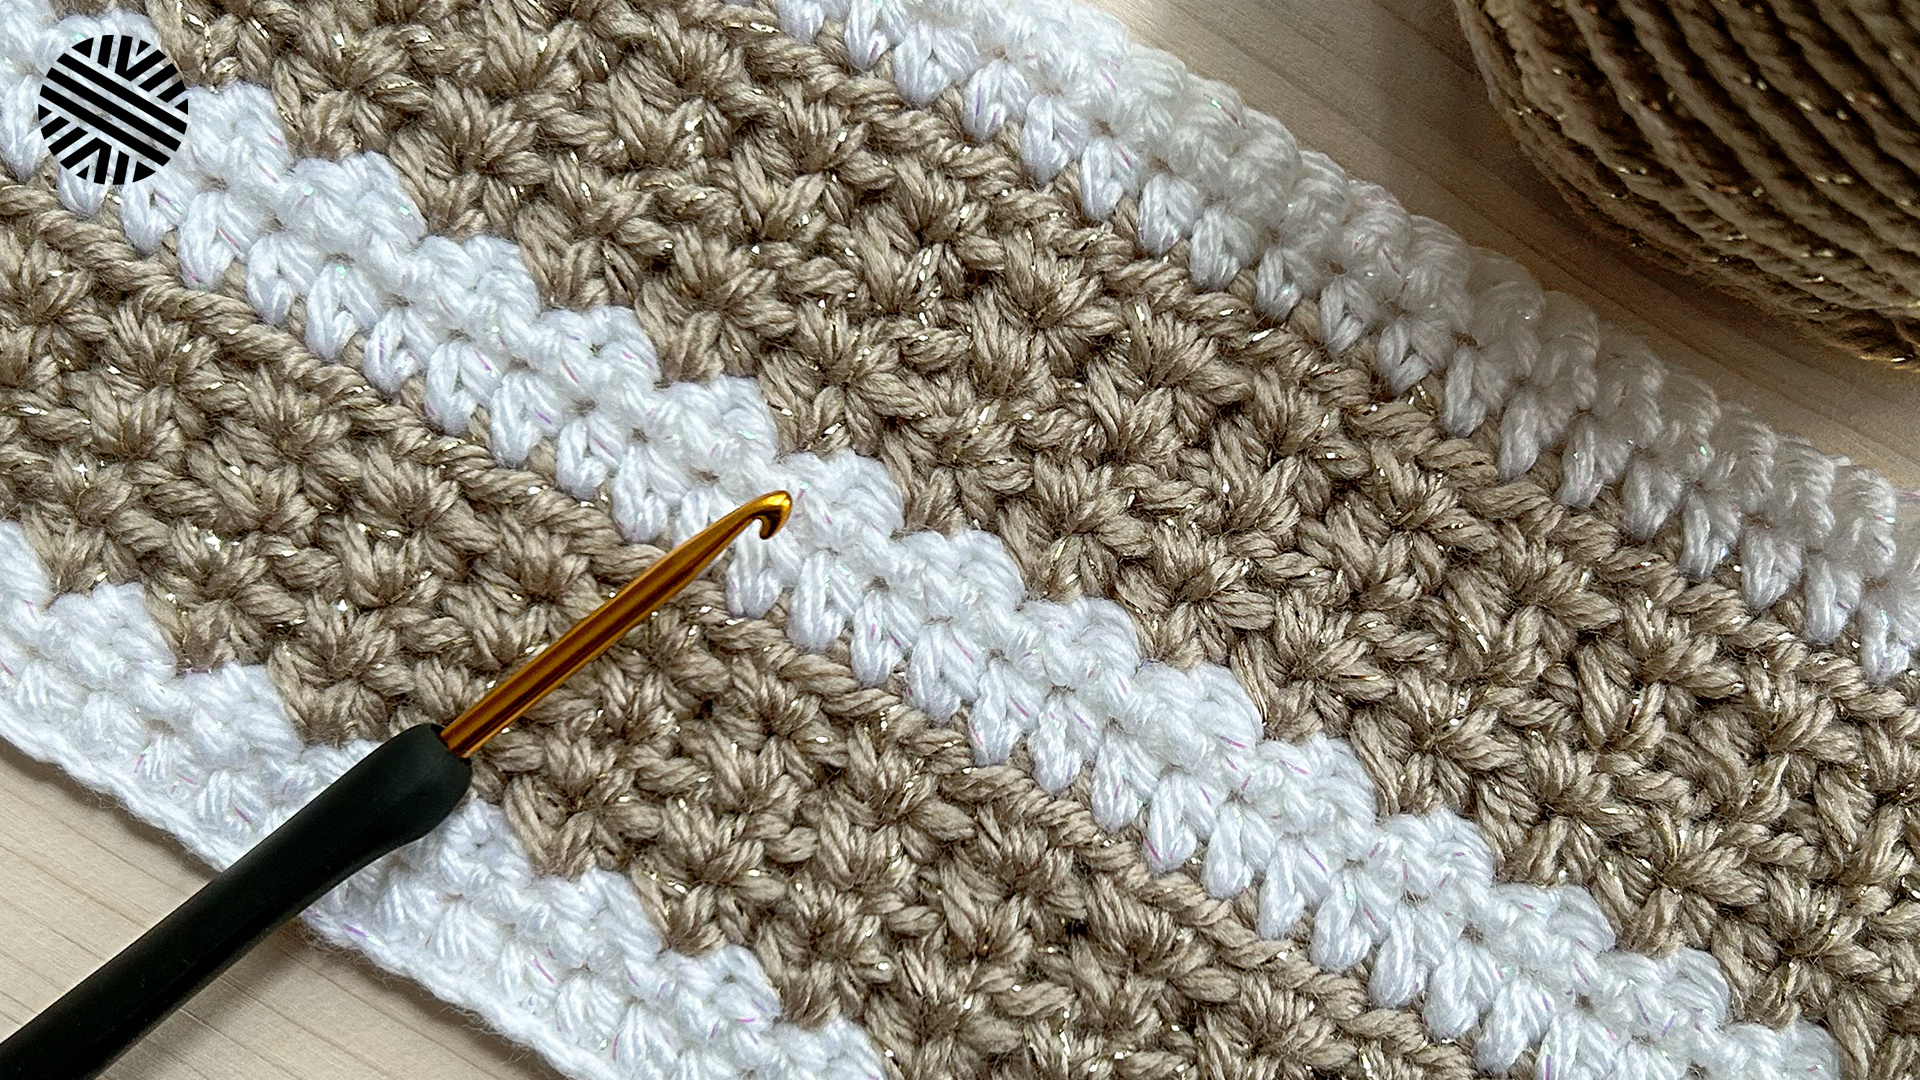
Master the basic stitches
Build a foundation of four essential movements. For a "Coastal Grandma" aesthetic, focus on even, relaxed tension to yield a soft, drapey fabric. We will walk through each stitch in the order you will use them to build your first square.
The chain stitch (ch) creates the foundation row. Wrap the yarn over the hook (yarn over) and pull it through the loop already on the hook. Repeat to create a rope-like chain. Keep tension loose enough for the hook to slide through easily, but not so loose that the chain sags.
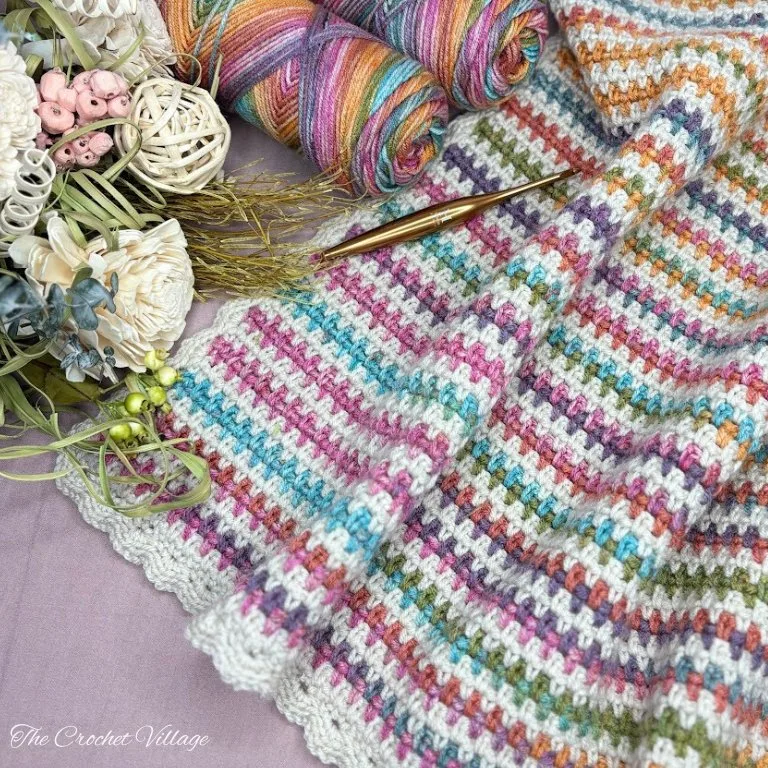
The single crochet (sc) creates a dense, sturdy fabric. Insert your hook into the designated stitch, yarn over, and pull up a loop. Yarn over again and pull through both loops. This stitch is rarely used in the open design of a granny square but is essential for finishing edges or creating solid borders.
The double crochet (dc) is the workhorse of the granny square, creating taller, more open fabric. Yarn over, insert hook into the stitch, yarn over, and pull up a loop (three loops on hook). Yarn over and pull through two loops, then yarn over and pull through the final two loops. This stitch gives your blanket its characteristic texture and drape.
Chain spaces (ch-sp) are the gaps created by chain stitches. In a granny square, you crochet into these spaces rather than the stitches themselves. This technique creates the open, lacy grid pattern. When a pattern tells you to work into a "chain space," look for the hole between stitches and insert your hook there.
Create the first granny square
Building a granny square is like constructing a small, expandable puzzle. You start with a tight center and work outward in concentric rings. For a "Coastal Grandma" aesthetic, choose a soft, neutral yarn—think oatmeal, pale blue, or seafoam green—to create a texture that feels both airy and grounded. This section walks you through creating one complete 6-inch square.
Create a magic ring (magic circle) for a tight, hole-free center. Wrap the yarn tail around two fingers, insert your hook under the wrapped strands, and pull up a loop. Chain 3 (counts as first double crochet) and work 2 more double crochets into the ring. Chain 1 to create your first corner space, then work 3 more double crochets. Pull the yarn tail to tighten the ring securely.
To form the first corner, chain 2. Work 3 double crochets into the same space where you just chained. This cluster of 3 double crochets, followed by a chain-2, creates the distinct "corner" shape. Ensure the stitches are even in tension to keep the square flat.
Work along the chain-1 space from the center ring. Chain 1, then work 3 double crochets into that same space. This forms the side cluster. Chain 1 again to prepare for the next corner. Repeat the corner sequence (chain 2, 3 double crochets, chain 2) and the side sequence (chain 1, 3 double crochets, chain 1) to complete the remaining three corners and sides.
At the end of Round 1, you should have four corners and four side clusters. To close the round, slip stitch into the top of the initial chain-3. Cut the yarn, leaving a 6-inch tail for weaving in later. Pull the tail through the loop to fasten off. Your first round is now complete—a compact, four-sided cluster ready for expansion.
Join your new yarn color (or keep the same neutral tone) to any corner space. Chain 3 (counts as first double crochet), work 2 more double crochets, chain 2, work 3 double crochets all in the same corner space. In the next chain-1 side space, work: chain 1, 3 double crochets, chain 1. Repeat this pattern around all four corners. This round doubles the visual width of your square while maintaining the classic lattice-like texture.
Work a third round using the same corner and side logic. Corners get (3 dc, ch 2, 3 dc) and sides get (3 dc, ch 1). After Round 3, your square should measure approximately 6 inches across. Slip stitch to join, fasten off, and weave in all ends. This single square is now ready to be joined with others to form your blanket.
Join squares into a blanket
Once you have a pile of finished granny squares, the assembly phase begins. This step transforms individual motifs into a cohesive Coastal Grandma-style blanket. The goal is to create a flat, even surface where the seams are nearly invisible. We will use the mattress stitch (also known as the invisible join) because it keeps the edges flat and maintains the drape of the fabric.
Lay your squares out on a large, clean surface before you start sewing. Arrange them in rows and columns, checking that the colors flow in a way that matches your coastal palette. Pin the squares together at the corners and along the edges to prevent shifting while you work. This preparation ensures your blanket remains symmetrical and prevents the final piece from looking lopsided.
Place two squares side by side with their right sides facing up. Align the edges so the corners meet perfectly. If you are joining rows, place one square above the other. Use rust-proof pins to secure the corners and midpoints of the edges. This stability is essential for maintaining consistent tension throughout the join.
Use a tapestry needle with a large eye to accommodate your yarn. Cut a length of yarn about three times the width of the join. Thread the needle and tie a small knot at the end. Leave a long tail at the start to weave in later. Matching the yarn color to the square edges helps the seam disappear into the fabric.
Insert the needle under the first loop of the back square, then under the corresponding loop of the front square. Pull the yarn through gently; do not pull tight yet. Continue picking up one loop from each side alternately. This creates a zigzag pattern underneath the visible edge. The stitches should sit neatly between the squares, hidden from view.
Once you have completed the stitch along the entire edge, gently pull the yarn tail to close the gap. The two squares should come together with no visible hole or ridge. Adjust the tension so the seam lies flat against the fabric. If the seam looks puckered, loosen the yarn slightly. If there is a gap, tighten it more evenly. Weave in the loose ends securely on the back of the work.
Continue this process row by row until all squares are connected. For the final edge, you may want to add a border to unify the blanket. A simple single crochet or slip stitch border can help straighten any uneven edges that occurred during joining. This finishing touch gives the blanket a polished, professional appearance suitable for a cozy living room setting.
Fix common beginner mistakes
Even with the best yarn and hook, tension can slip. Twisted chains, uneven stitches, and missed corners are normal hurdles. Treat these errors like loose threads on a Coastal Grandma blanket: easy to spot, simple to fix, and essential for that soft, structured drape.
Correct twisted chains
A twisted chain happens when the loop rotates before you insert the hook. It creates a tight, knotted line that ruins the foundation. Check your chain before starting any round. If you see a twist, gently pull the working yarn to loosen the loop, then re-insert the hook into the correct loop.
Even out tension
Beginners often pull too hard, making the fabric stiff and uneven. This breaks the airy, relaxed vibe of a granny square. Relax your grip. Let the hook glide through the yarn rather than forcing it. If a stitch looks too tight, use a larger hook for that specific section to soften the texture.
Catch missed stitches
Missed stitches create holes that disrupt the blanket’s integrity. Count your stitches at the end of every round. If you find a gap, work a slip stitch into the missed space to close it. Consistent counting prevents the square from warping or growing out of shape.
Lay your chain flat on a table. Look for the "V" shape of each stitch. If the "V" is tilted or crossed, the chain is twisted.
Gently pull the working yarn to open the twisted loop. Insert your hook into the correct back bump of the chain stitch.
Finish and block your blanket
Weaving in ends and wet-blocking transform a crocheted project from a rough assembly into a polished piece. For a granny square blanket, this final stage is what allows the cotton or linen yarns to settle, ensuring the blanket lies flat and the edges remain crisp.
Weave in the ends
Use a tapestry needle to thread the loose yarn tails through the back of the adjacent stitches. Pull gently to secure, then trim the excess close to the fabric. For a clean finish, weave each tail in at least two inches to prevent unraveling over time.
Wet-block the squares
Before assembly, soak each granny square in cool water with a mild detergent for 15 minutes. Gently press out the water without wringing. Lay each square flat on a towel, pinning the corners to stretch them into perfect squares. Allow them to air dry completely before sewing them together.
Assemble and block the full blanket
Once all squares are pinned and dry, sew them together using a whip stitch or mattress stitch for a seamless join. After the entire blanket is assembled, repeat the wet-blocking process on the full piece. Pin the edges to the desired dimensions and let it dry flat. This ensures the entire blanket has uniform tension and a professional drape.
-
Weave in all loose ends securely
-
Wet-block each square individually
-
Pin squares to shape and dry completely
-
Sew squares together with a flat seam
-
Wet-block the assembled blanket and pin to size
No comments yet. Be the first to share your thoughts!