

Gather your crochet supplies
Lay out your materials before starting. Using the right combination of yarn and hook ensures an even fabric that squares off easily.
Start with worsted weight yarn (labelled #4). This medium thickness is ideal for beginners because it is easy to see your stitches and holds its shape well. A soft acrylic or wool blend works best for a cozy, durable, and machine-washable blanket. You will need approximately 1000–1500 yards depending on the final size.
Pair the yarn with a 5.0mm (H-8) crochet hook. This size creates a fabric that is dense enough to keep warm but loose enough to work quickly. You will also need sharp scissors and a tapestry needle for weaving in ends.
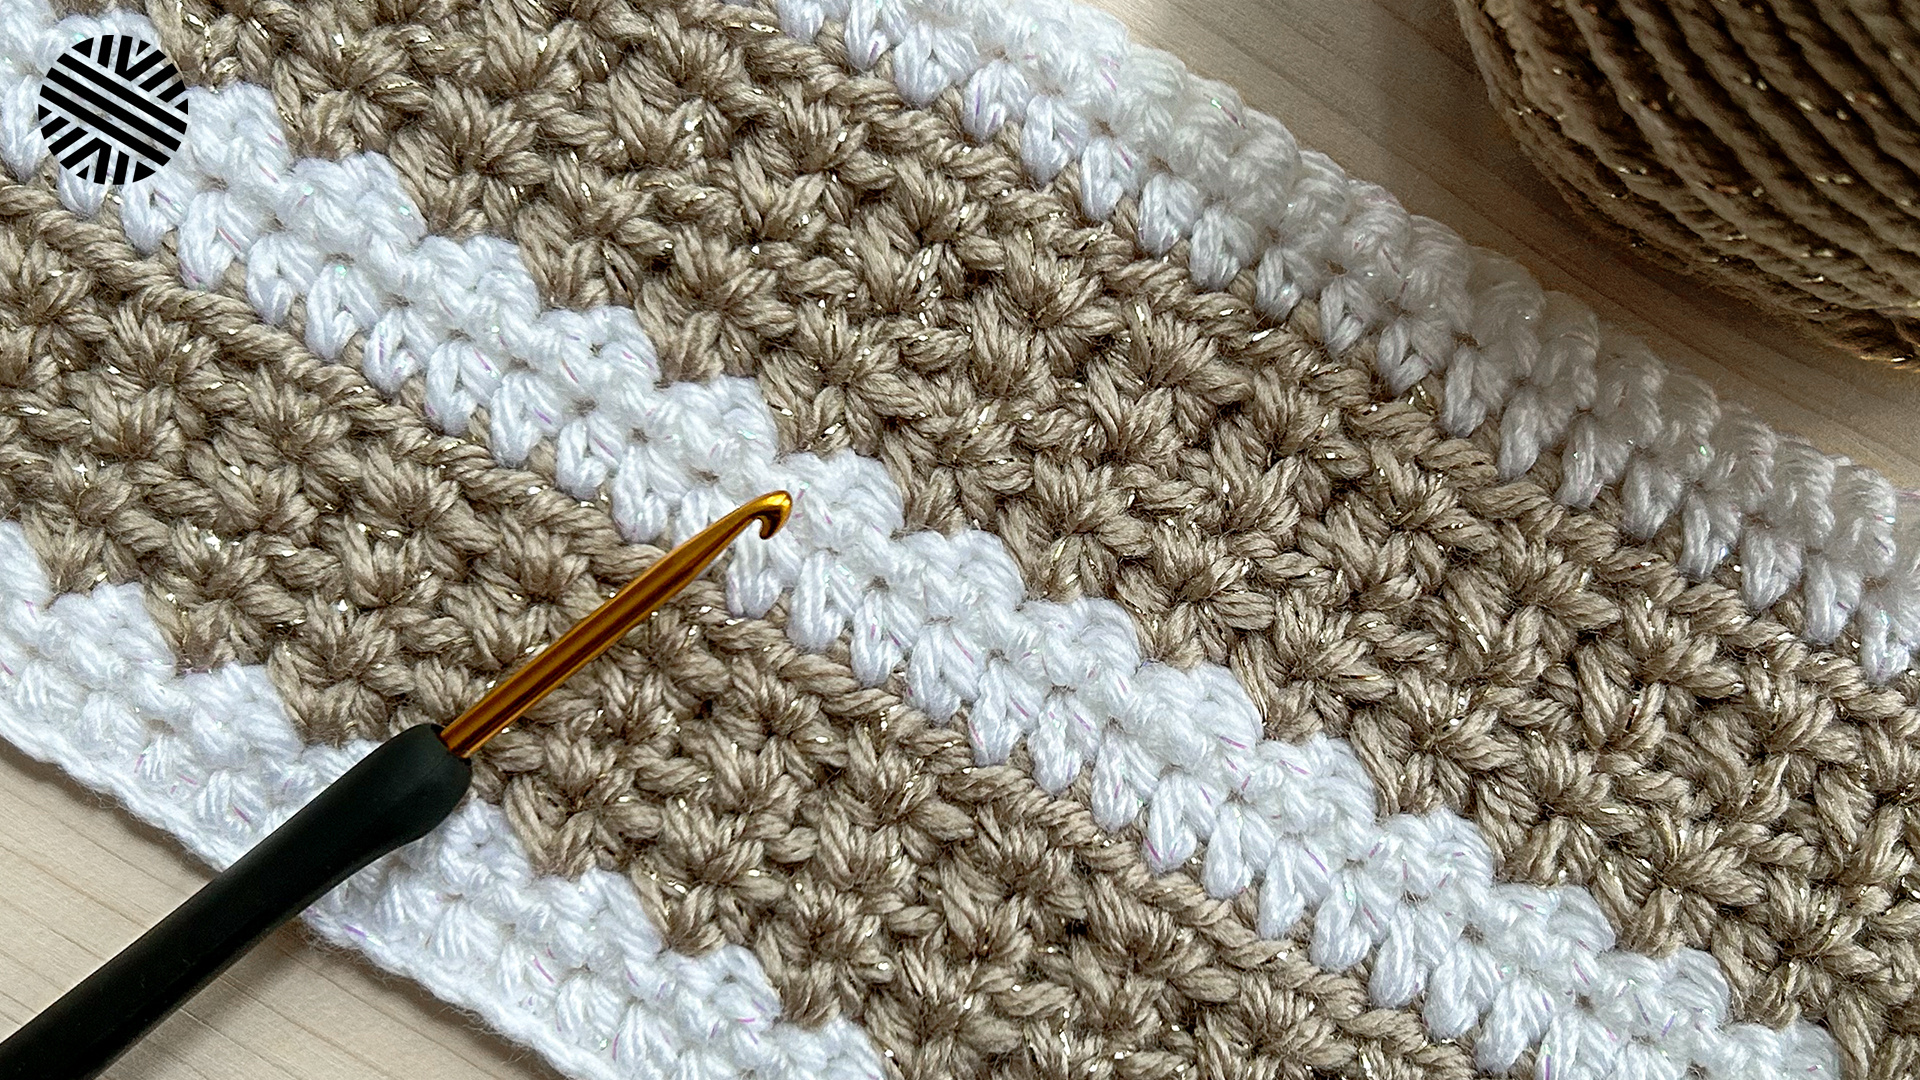
Create the foundation chain
The foundation chain sets the width of your blanket. If this chain is too tight or the wrong length, the granny squares will pucker or hang unevenly.
Start by making a slip knot and placing it on your crochet hook. Yarn over and pull the loop through the knot to create your first chain stitch. Continue chaining until you reach the required length. For a standard baby blanket using worsted weight yarn and a 5.5 mm hook, start with a chain divisible by the stitch pattern’s multiple—often a multiple of 4 plus 3 for turning.
To ensure your blanket ends with a complete granny square, count your chains carefully. A common mistake is starting with an odd number or the wrong remainder, which forces you to cut the project short or add a messy, uneven edge. If you are unsure, add a few extra chains; it is easier to trim the end later than to unravel the whole thing.
Keep the tension consistent as you chain. The chain should feel snug but not tight enough to distort the hook’s movement. If the chain twists, it will create a spiral effect that is difficult to fix. Lay the chain flat and smooth it out before you begin the first row of stitches.
Wrap the yarn around your fingers to form a loop, pull a short tail through, and tighten it onto the hook. This is your anchor point.
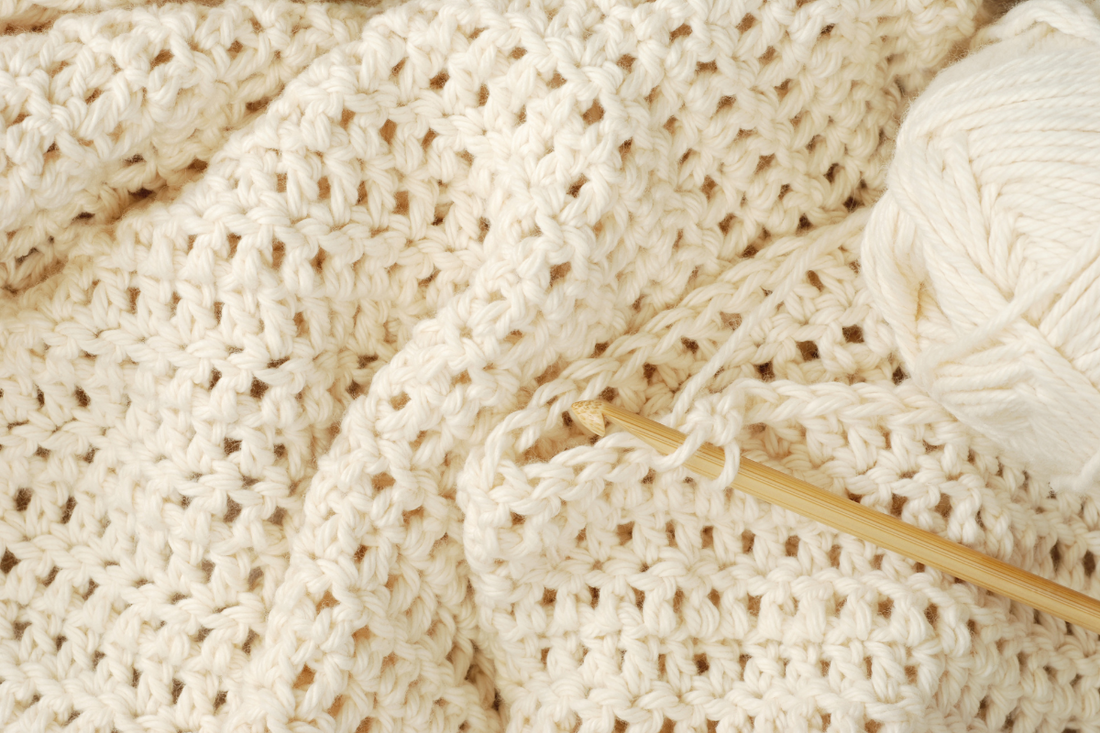
Yarn over and pull through the slip knot repeatedly. Count each loop as you go to ensure you hit the exact multiple required for your square size.
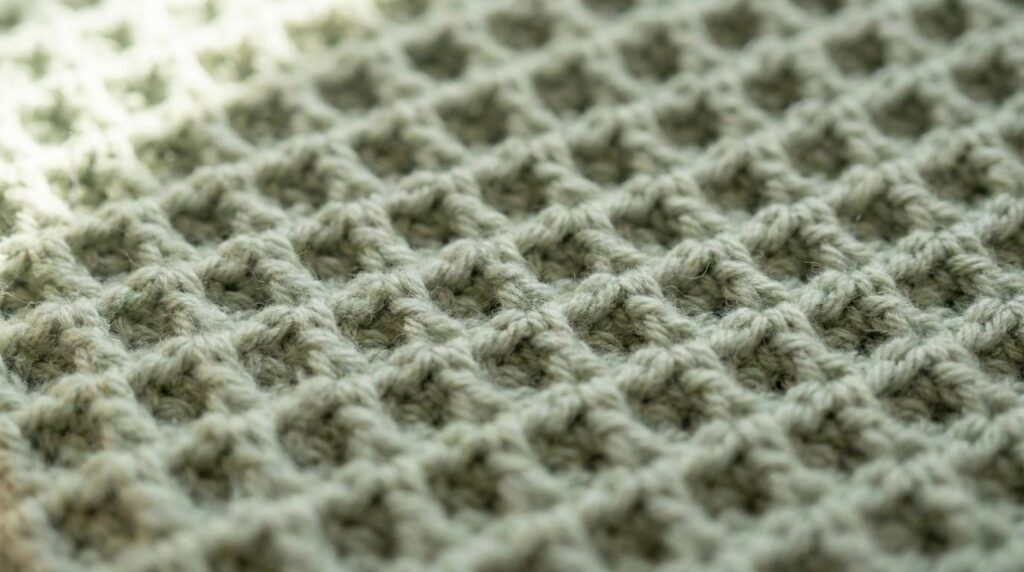
Divide your total chain count by the pattern’s multiple (usually 4). If there is a remainder, adjust by adding or removing chains until it aligns perfectly.
Work the first granny square
Start by making a slip knot and chaining 4. Join the chain with a slip stitch into the first chain to form a ring. This ring is the center of your granny square and the foundation for all four corners.
1. Create the first corner
Chain 3 (counts as the first double crochet). Work 2 double crochets into the center of the ring. Chain 2. Work 3 double crochets into the ring. You have now completed the first corner of your granny square.
2. Form the second corner
Chain 2 to create a corner space. Work 3 double crochets into the ring. Chain 2. Work 3 double crochets into the ring. This sequence builds the second corner, maintaining the square shape.
3. Build the third corner
Chain 2 again. Work 3 double crochets into the ring. Chain 2. Work 3 double crochets into the ring. You are now halfway through the first round, with three distinct corners formed.
4. Close the first round
Chain 2 for the final corner. Work 3 double crochets into the ring. Chain 2. To join the round, slip stitch into the top of the initial chain-3. Fasten off and weave in your ends. You now have one complete granny square.
Chain 4 and join with a slip stitch to make a ring. This is the center of your granny square.
Chain 3, work 2 dc, chain 2, work 3 dc into the ring. This is your first corner.
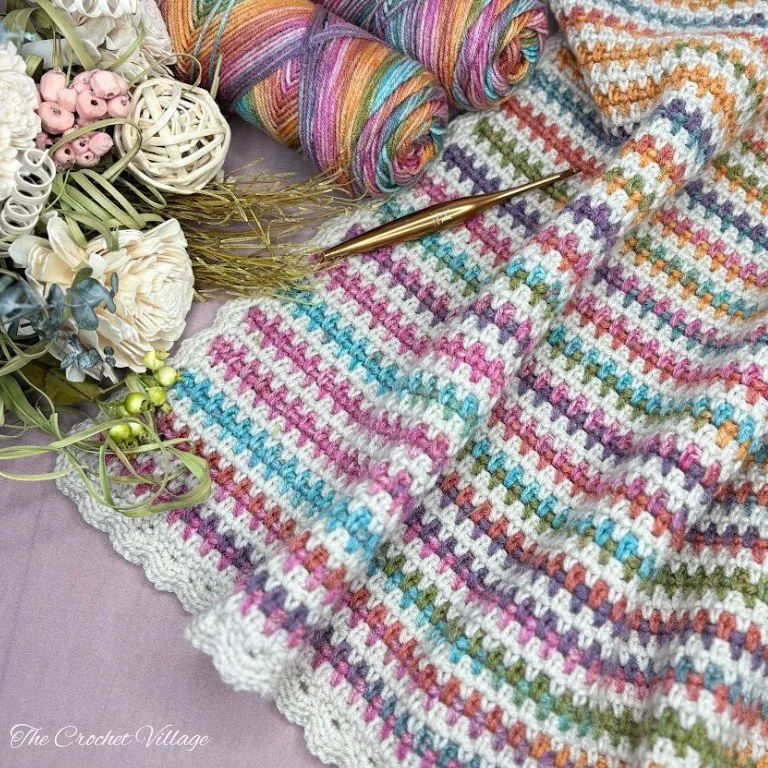
Chain 2 to create the space between corners. This keeps the square shape.
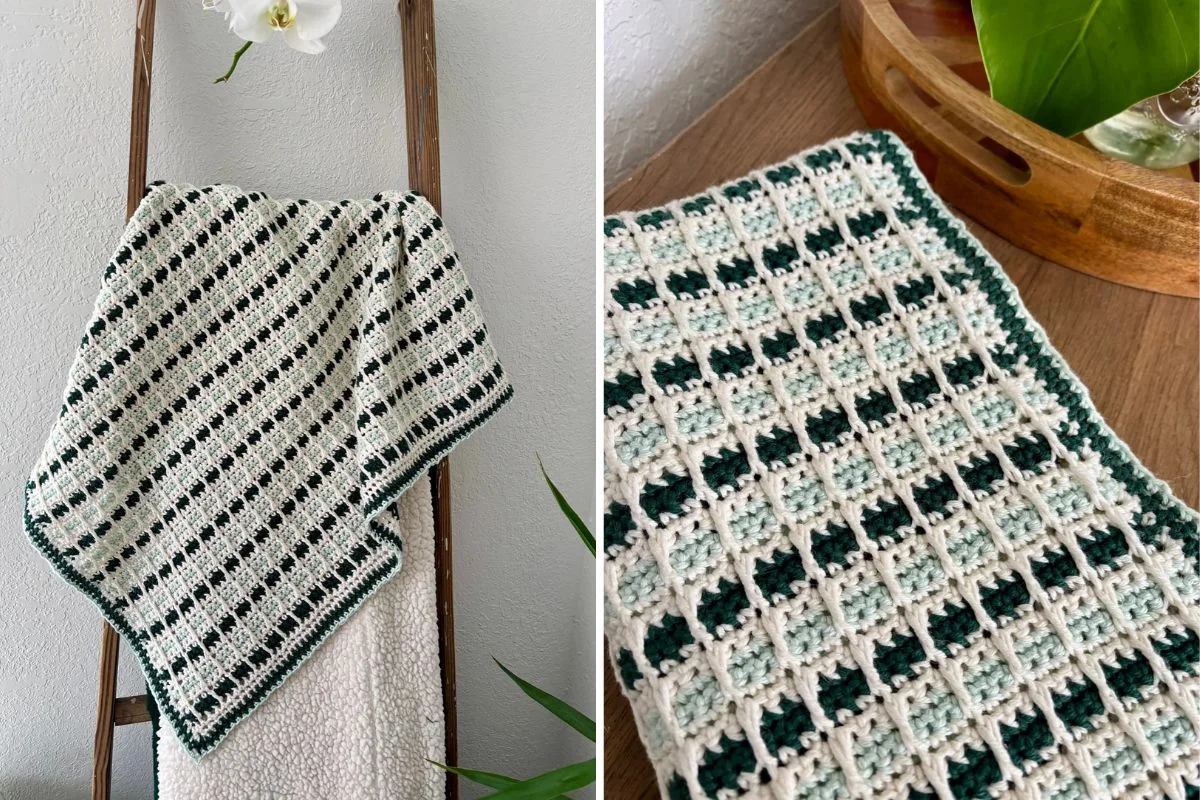
Repeat the corner sequence three more times. Join with a slip stitch to the top of the first chain-3.
Join squares as you go
The join-as-you-go method turns separate granny squares into a single, flexible fabric while you are still working the final rows. Instead of pinning and sewing finished pieces together, you attach each new square to the previous one as the stitches form. This approach creates a seamless surface with no bulky seams and keeps your blanket edges straight.
1. Start with two completed squares
Work your second square exactly as you did the first, stopping after the final round of double crochets. Leave a long tail on the yarn end. Lay the first square flat on your work surface with the right side facing up. Place the second square on top, right sides together, aligning the bottom and side edges perfectly.
2. Align the edges and pin
Match the corners and straighten the sides so the stitch patterns line up. Use stitch markers or pins to hold the two squares in place along the bottom and left edges. This ensures the join stays even and prevents the blanket from warping as you add more pieces.
3. Slip stitch the seam
Insert your hook through the corresponding stitches on both squares. Yarn over and pull through both loops on the hook to create a slip stitch. Continue this process along the bottom edge, working through the back loops only of the final round on both squares. This hides the seam and creates a clean, flat line.
4. Continue the row
Once the seam is complete, remove the pins. Turn your work and continue crocheting the next row of double crochets into the remaining exposed stitches of the second square. The first square remains stationary, now permanently attached. Repeat this process for each subsequent square to build the blanket row by row.
Place the second square on top of the first, right sides together, matching the corners and edges perfectly before stitching.
Insert the hook through both layers of the final round and pull the yarn through to create a flat, invisible seam along the bottom edge.
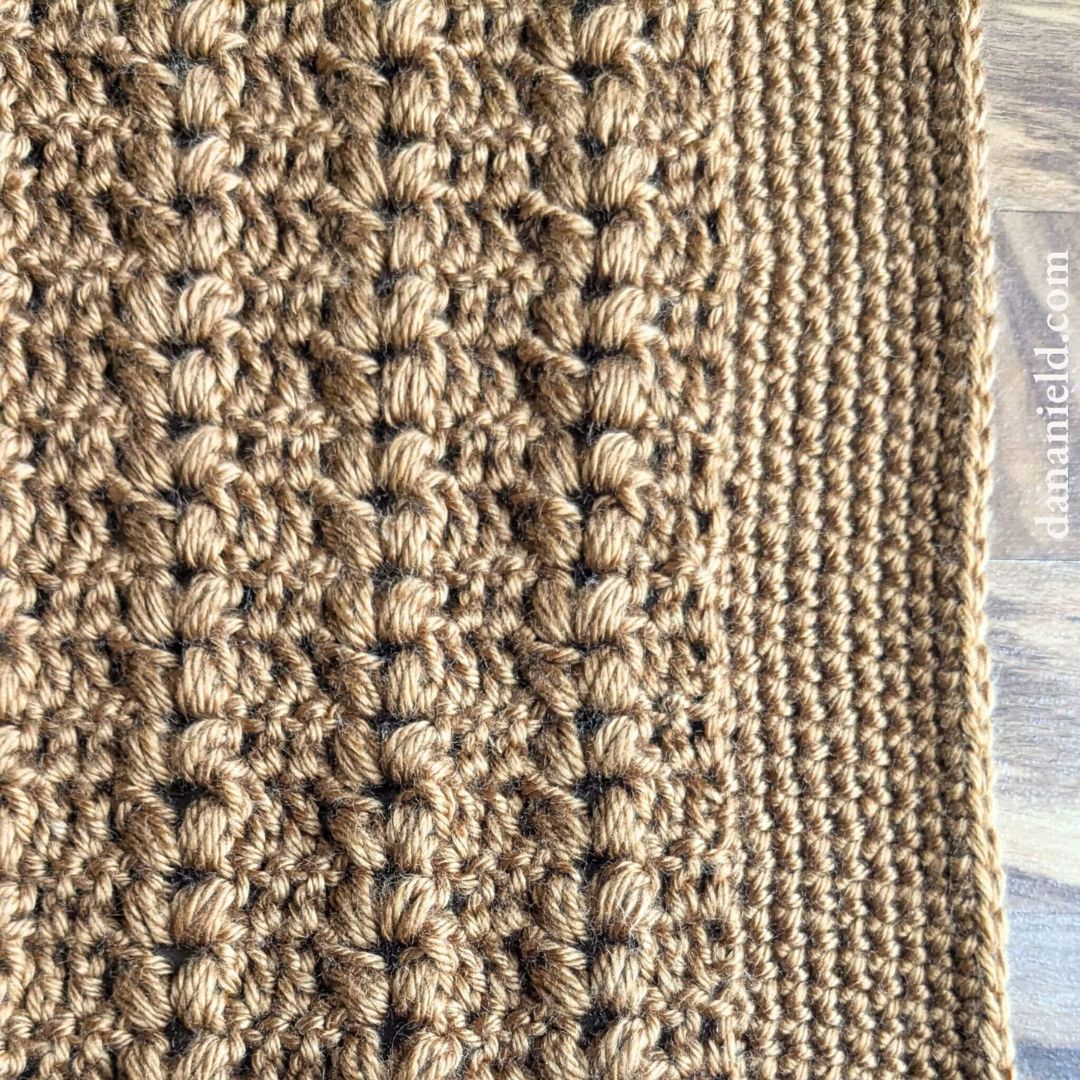
Turn the work and crochet the next row into the exposed stitches of the newly added square, extending the blanket seamlessly.
Add a clean border edge
A finished border does more than look neat; it stabilizes the granny square blanket. The tension of the border yarn pulls the fabric flat and prevents the edges from curling or sagging over time. Without this final step, the blanket may feel loose and uneven after washing.
Choose your stitch
Single crochet (SC) creates a firm, dense edge that holds its shape well. Half-double crochet (HDC) offers a slightly softer, more flexible finish. For a beginner, single crochet is the most forgiving choice because it is easy to count and keeps the tension consistent.
Work the border
Start by chaining 1 and turning your work. Insert your hook into the first stitch and complete a single crochet. Continue working one single crochet into each stitch across the entire side. When you reach the corner, work two single crochets, one chain, and two more single crochets into the same corner space. This cluster creates a sharp, defined corner.
Repeat this process around all four sides of the blanket. Join the final stitch to the first with a slip stitch, then fasten off and weave in your ends. The result is a clean, professional frame that ties the whole project together.
Fix common granny square mistakes
Granny squares are forgiving, but small errors in the first few rows can warp the entire blanket. Catching these issues early saves time and yarn. Use the steps below to correct the most frequent beginner mistakes.
Tight corners happen when you don’t use enough stitches in the corner space. If the edge pulls inward, add an extra double crochet or chain-1 into the corner chain space. This relaxes the tension and keeps the square flat.
Twisted chains make the next row sit at an angle. Check your work before crocheting into a chain. If you see a twist, unravel back to the start of the row. Keep the chain flat and untwisted as you work.
Uneven sides usually come from missed stitches or inconsistent tension. Count your stitches at the end of each row. If a side is shorter, add a stitch in the next row’s corner space to balance the shape.
Keep your tension even and check your corners regularly. These small adjustments will help your granny square blanket lay flat and look professional.
Watch the blanket come together
Seeing the process helps you understand how individual squares transform into a finished throw. This video demonstration walks through the entire creation process, from the first chain stitch to the final seam.
The tutorial covers joining granny squares, adding borders, and finishing edges. Watching these steps in motion clarifies tension and stitch placement better than text alone.
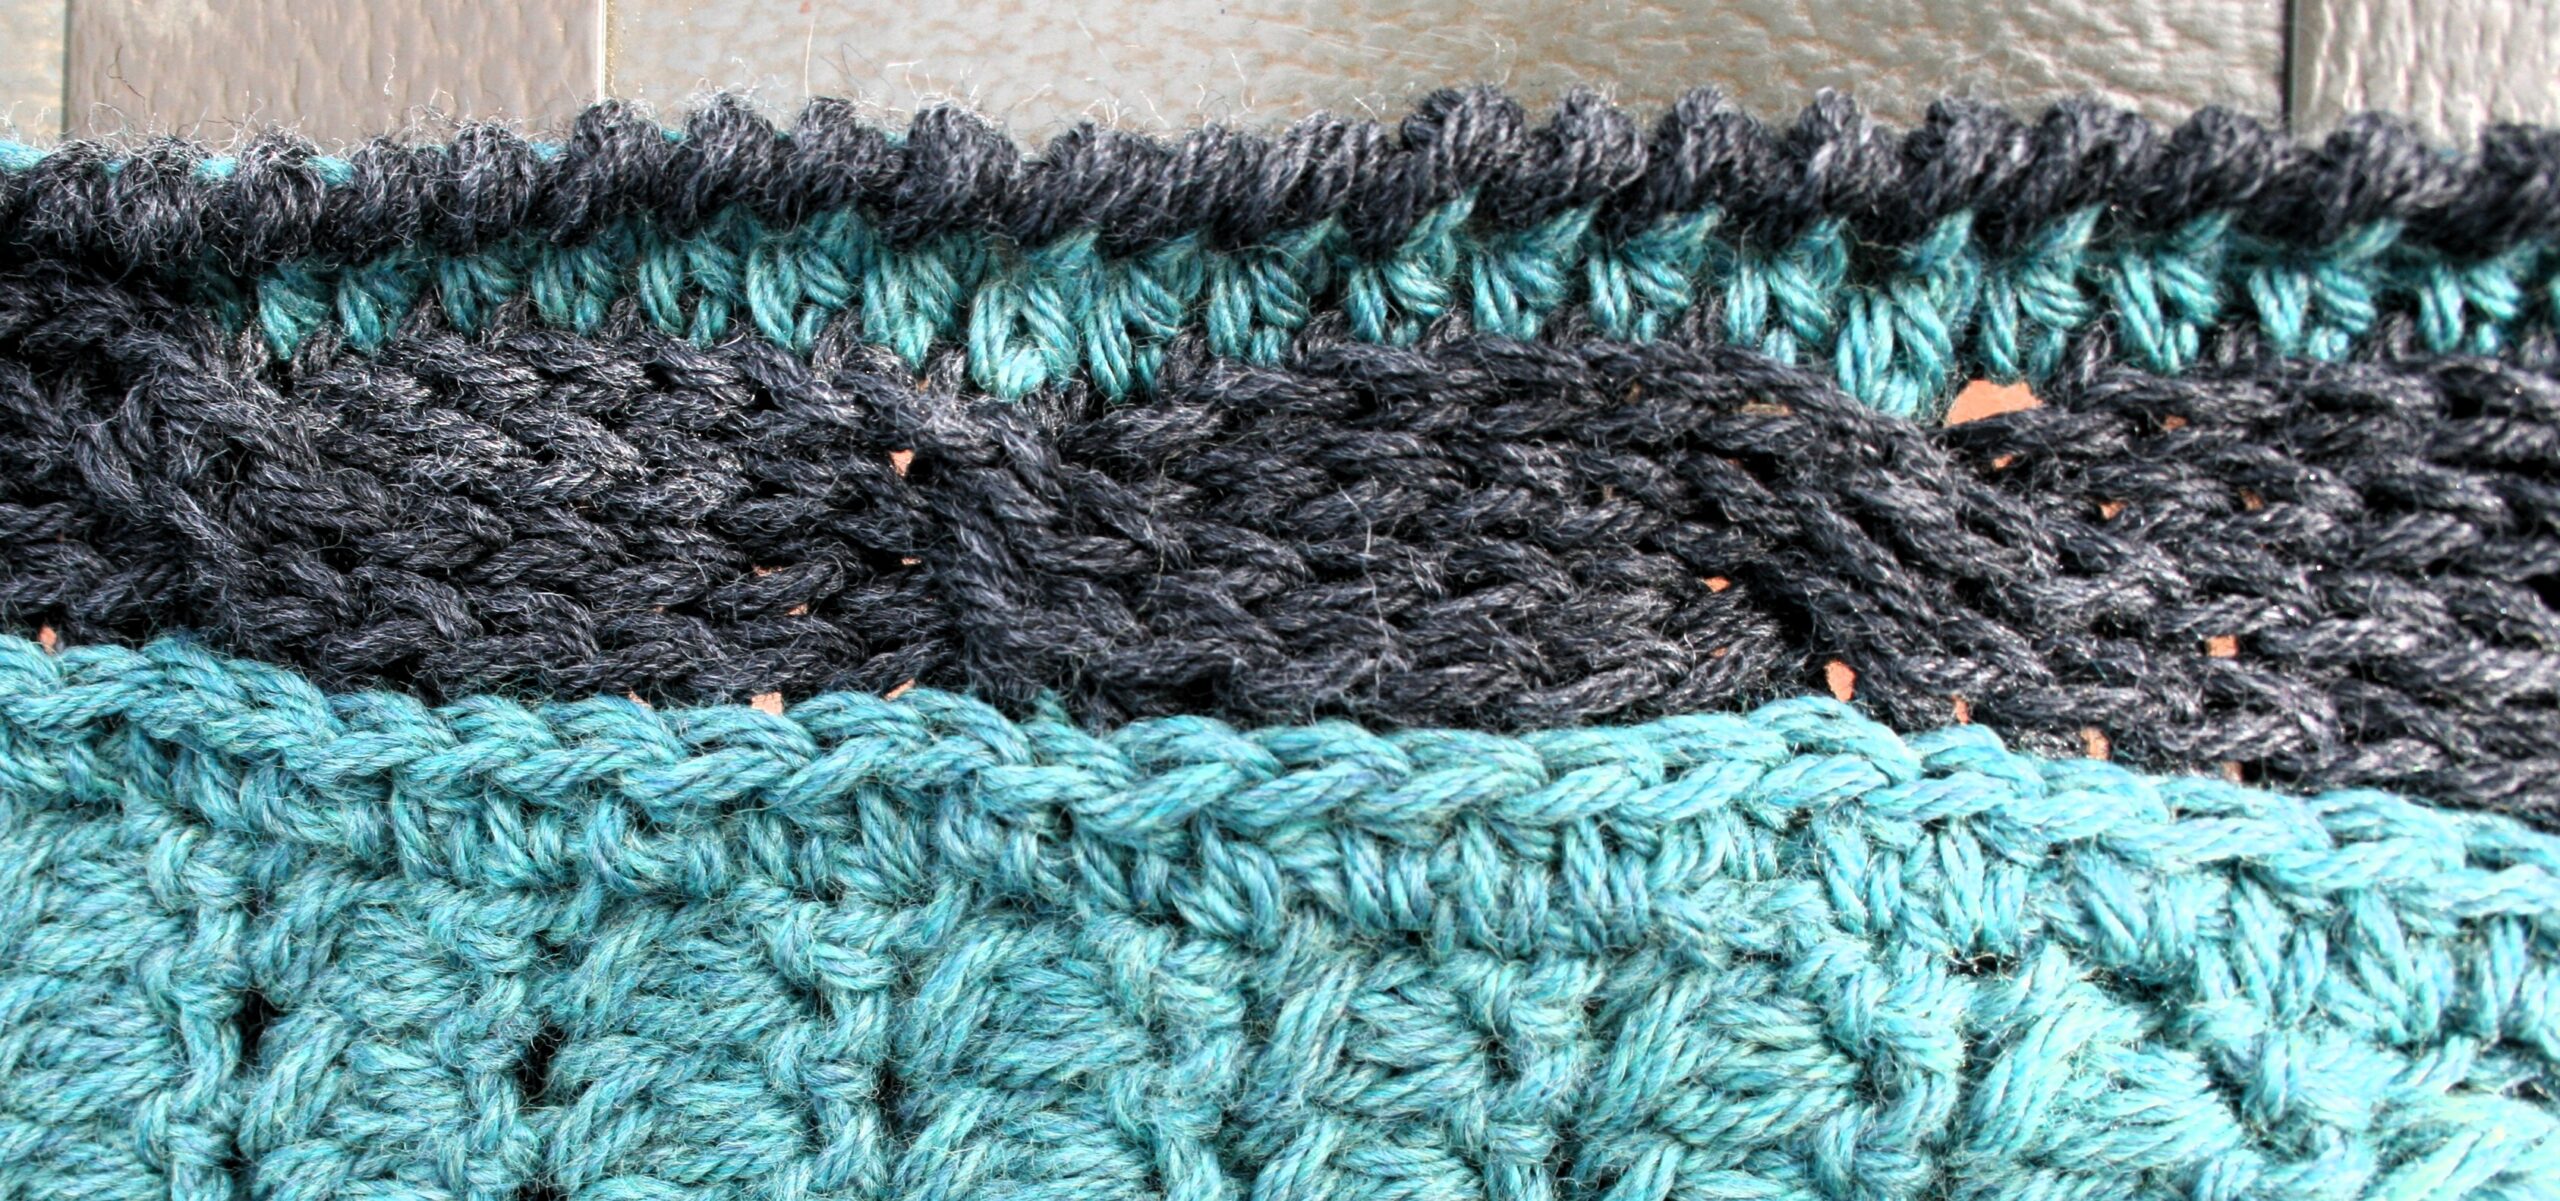
Begin by chaining the required number of stitches to create your first square. The video shows how to maintain even tension for a consistent look.
Once your squares are complete, lay them out and join them using slip stitches. This creates the grid structure of your blanket.
Finish the edges with a simple border round. This adds structure and hides any uneven seams between the joined squares.
Final Checklist for Your First Blanket
Before you declare your granny square blanket complete, run through this quick sequence. These steps ensure the piece holds its shape and looks polished.
- Weave in all ends: Use a yarn needle to tuck loose tails into the back of the stitches. Pull them snug but not tight to prevent puckering.
- Block the blanket: Lightly steam or wet-block the finished piece. This evens out the tension and makes the granny squares lie flat.
- Trim and inspect: Cut any remaining yarn tails close to the fabric. Check for missed stitches or holes that need filling.
Taking these final moments to tidy up transforms a good project into a keepsake. Your first blanket is a milestone—take a moment to admire the work before storing it.
No comments yet. Be the first to share your thoughts!