
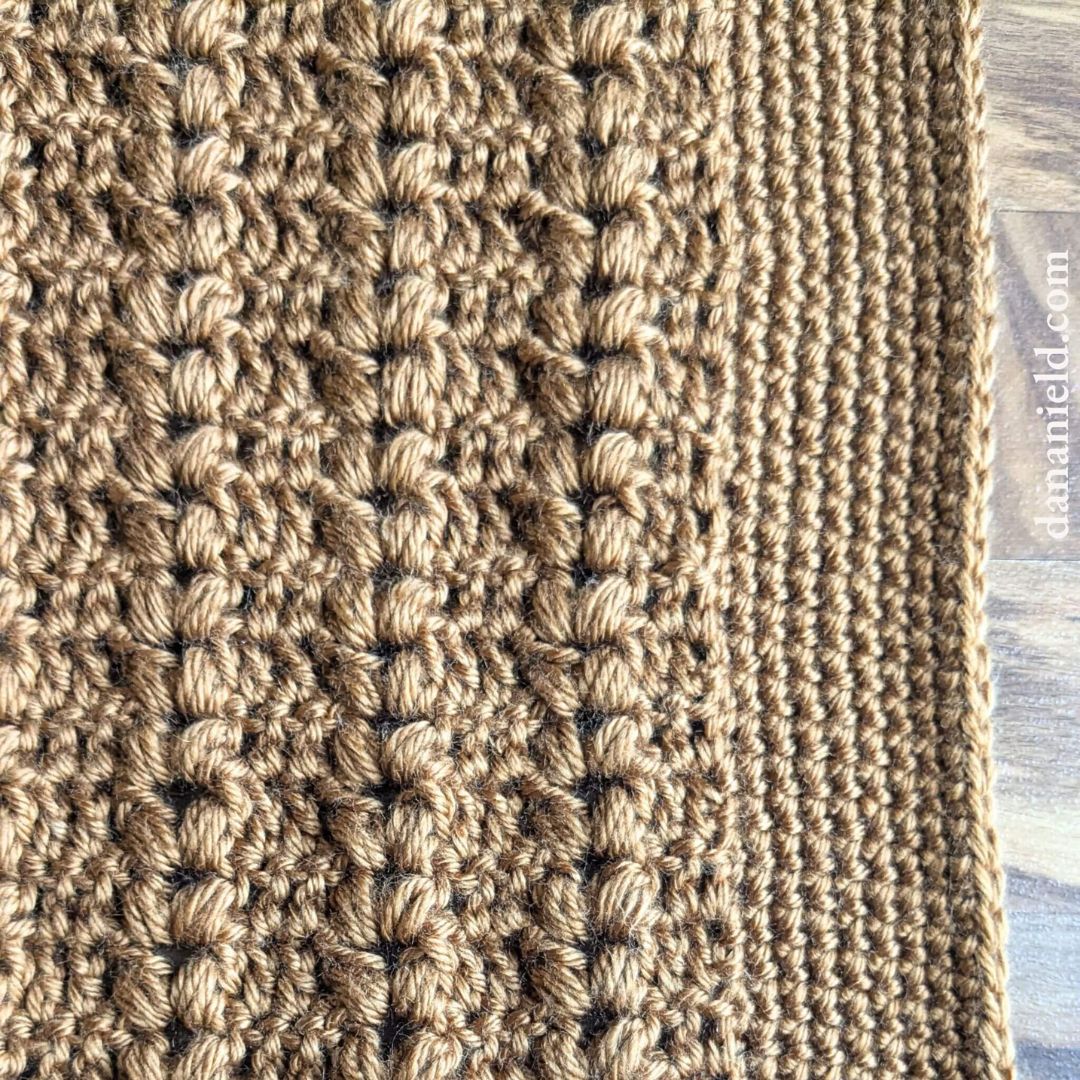
Why the cloud stitch works for beginners
Crochet a Blanket works best as a clear sequence: define the constraint, compare the realistic options, test the tradeoff, and choose the path with the fewest hidden costs. That order keeps the advice usable instead of decorative. After each step, pause long enough to check whether the recommendation still fits the reader's actual situation. If it depends on perfect timing, unusual access, or a best-case budget, include a simpler fallback.
The simplest way to use this section is to write down the real constraint first, compare each option against it, and choose the path that still works outside ideal conditions.
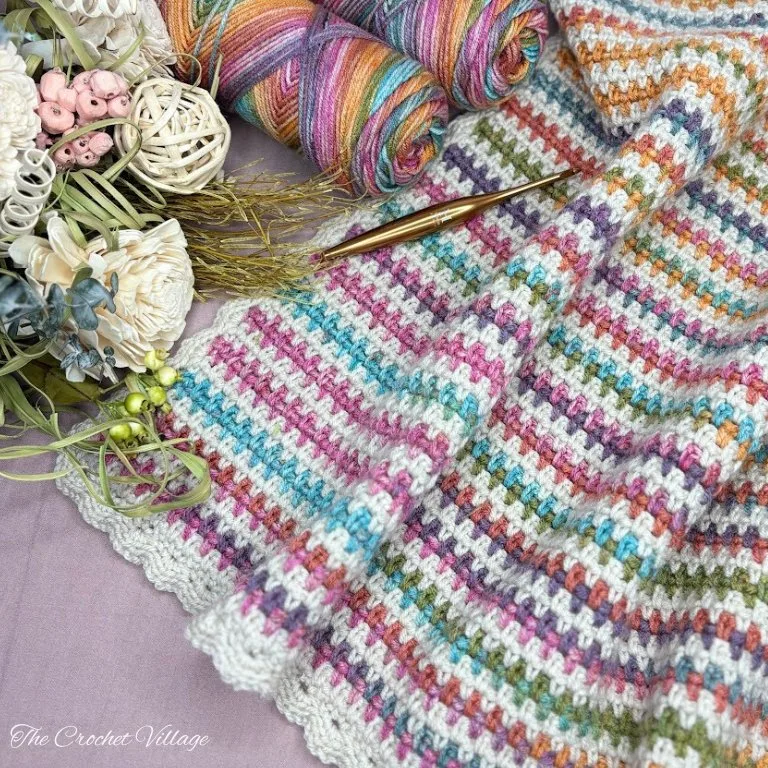
Gather your yarn and hook supplies
The Cloud Stitch relies on loose, airy loops to create its signature texture. If your materials don’t support this movement, the blanket will end up stiff and dense. Start by selecting a yarn that drapes well and a hook that is slightly larger than the yarn label recommends.
Choose the right yarn
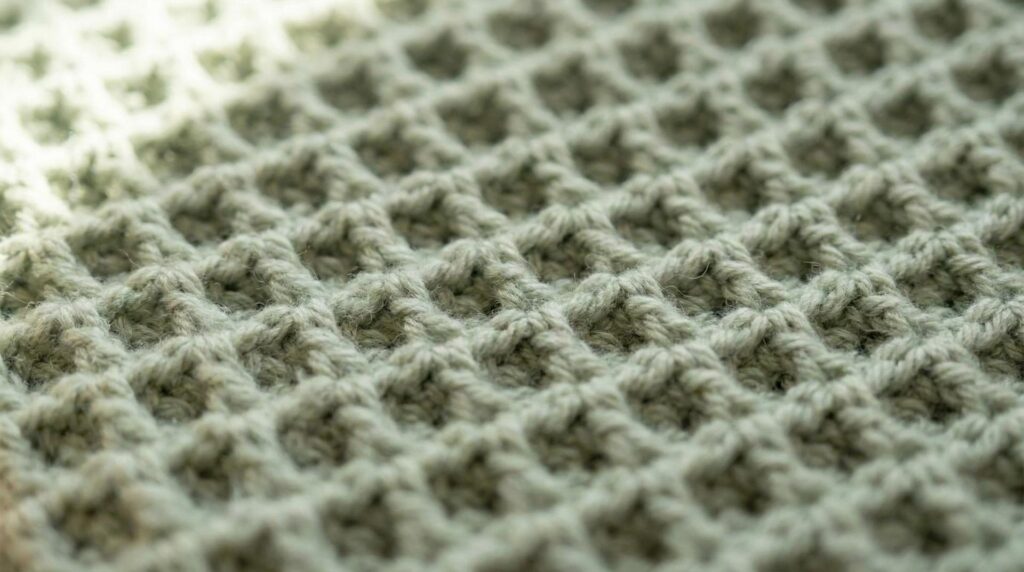
Avoid stiff cotton or tightly spun acrylics for this pattern. They resist the necessary stretch and make the stitch definition hard to see. Instead, look for a soft, lightweight yarn with a bit of halo or fuzz. Merino wool, acrylic blends, or bamboo rayon work well because they slide easily against each other. This fluidity is what makes the Cloud Stitch look like actual clouds rather than a tight grid.
A worsted weight (size 4) yarn is the best starting point for beginners. It is thick enough to see your stitches clearly but light enough to keep the blanket from becoming too heavy. If you choose a chunkier yarn, the blanket may become bulky and hard to manage. Stick to neutral or pastel shades initially; dark colors can hide stitch definition, making it harder to spot mistakes.
Pick the correct hook size
The hook size is just as important as the yarn. Most beginners make the mistake of using the hook size printed on the yarn band. For the Cloud Stitch, you need to loosen up the tension. Check the yarn label for the recommended hook size, then go up one or two sizes.
If the label suggests a 5.5mm hook for your yarn, start with a 6.5mm or 7.0mm hook. A larger hook creates the loose, open fabric that defines the Cloud Stitch. If your first swatch feels too loose, you can always move down a size. If it feels tight and difficult to pull the yarn through, switch to a larger hook. The goal is a fabric that feels soft and flexible, not rigid.
Measure your width and start the chain
A cloud stitch blanket relies on a wide, airy fabric. If the foundation chain is too short, the edges will curl inward; if it’s too long, the blanket will look lopsided. The goal is to match the chain length to your desired finished width, accounting for the stitch’s natural stretch.
First, check your yarn label for the recommended hook size. For a standard cloud stitch, a 5.5 mm (I/9) hook works well with worsted weight yarn. Grab a ruler and decide how wide you want the final blanket to be. A throw usually sits between 40 and 50 inches wide.
Next, crochet a small swatch. Chain 20 and work 4 rows of your cloud stitch pattern. Measure the width of those 4 rows in inches. Divide your desired blanket width by this swatch width to find your multiplier. For example, if a 4-inch swatch represents your gauge, and you want a 40-inch blanket, you need a chain that is roughly 10 times the width of 4 stitches.
To make the math easier, many crocheters use a simple ratio. For cloud stitch, a good starting point is to chain 1.5 times your desired width in inches. If you want a 40-inch blanket, chain 60 stitches. Always add 3 extra chains for the turning chain at the start of each row. This ensures you have enough height to turn without pulling the fabric tight.
When you begin chaining, lay the yarn tail on the table and wrap the working yarn over the hook. Pull through to make a loop. Repeat this motion smoothly. Keep your tension even. If you pull too hard, the chain will be stiff and hard to work into. If it’s too loose, the edges will look wavy. Think of the chain as the spine of your blanket—it needs to be firm but flexible.
Once you reach your target number, lay the chain flat on a table. It should lie straight without twisting. If it curls to one side, your tension is uneven. Adjust your grip and try again. A straight chain is the first step to a professional-looking cloud stitch blanket.
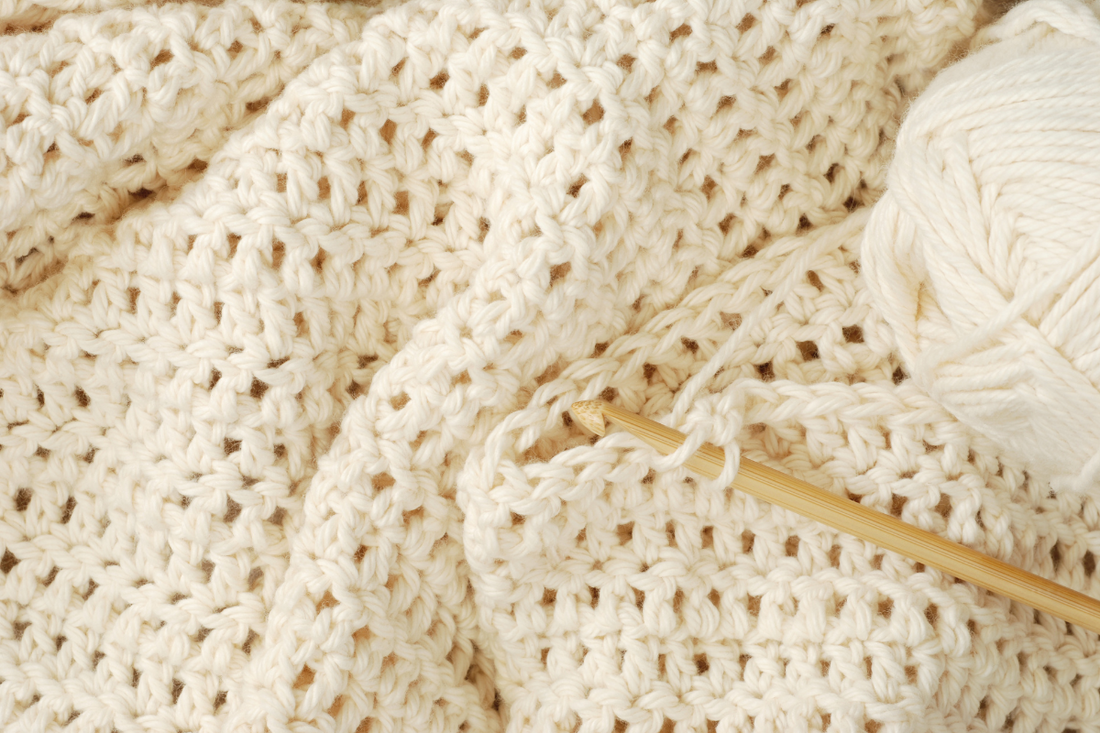
Master the two-row cloud stitch repeat
Crochet a Blanket works best as a clear sequence: define the constraint, compare the realistic options, test the tradeoff, and choose the path with the fewest hidden costs. That order keeps the advice usable instead of decorative. After each step, pause long enough to check whether the recommendation still fits the reader's actual situation. If it depends on perfect timing, unusual access, or a best-case budget, include a simpler fallback.
Finish the blanket and add a border
Once your cloud stitch blanket reaches the desired size, it is time to secure the work. Cut the yarn, leaving a 6-inch tail. Pull this tail through the final loop to fasten off. Use a yarn needle to weave the end into the back of the stitches, hiding it securely so it does not unravel over time. Trim any excess yarn flush with the fabric.
A border stabilizes the edges and gives the blanket a polished look. For cloud stitch, a simple single crochet border works best because it sits flat against the textured fabric. Join your yarn to a corner with a slip stitch. Work one single crochet into every stitch along the side, placing two single crochets in each corner stitch to keep the corners flat.
Continue this single crochet pattern around all four sides. If you prefer a softer edge, you can substitute single crochet with a half-double crochet, but be careful not to pull the border too tight, as this can cause the edges to curl. Once you complete the final side, fasten off and weave in all remaining ends. Your cloud stitch blanket is now complete and ready for use.
Fix Common Cloud Stitch Mistakes
Even with a simple pattern like the cloud stitch, small tension issues can accumulate into visible bumps or uneven edges. Here is how to spot and correct the three most frequent problems.
Uneven Rows
Cloud stitch relies on consistent height to create its fluffy texture. If your rows look wavy, your hook is likely moving at different angles or pulling the yarn with inconsistent force. Keep your hook perpendicular to the work and ensure each chain-3 at the start of the row matches the height of the previous section.
Tight Tension
Beginners often grip the yarn too tightly, resulting in a stiff blanket that is difficult to crochet through. Cloud stitch requires a loose, airy drape to show off its volume. Relax your grip, let the yarn flow freely through your fingers, and avoid pulling the final yarn-over too hard. If the fabric feels dense, switch to a hook one size larger to restore the soft hand.
Lost Stitch Counts
It is easy to lose track of where you are in the repeat pattern, leading to dropped stitches or accidental increases. Place a stitch marker in the first stitch of every row to define your boundaries clearly. Count your stitches at the end of each row; if the number does not match the starting count, unravel back to the error and fix it immediately rather than crocheting over it.
Your cloud stitch blanket checklist
Before calling your cloud stitch blanket complete, run through these final steps to ensure it’s ready for use or gifting.
- Block the blanket. Pin your finished piece into shape and mist it with water. This evens out the cloud stitch texture and sets the dimensions.
- Weave in all ends. Use a yarn needle to tuck every loose tail into the back of the fabric. Trim any excess yarn close to the surface.
- Check for loose stitches. Inspect the rows for any dropped stitches or uneven tension spots. Fix them now while the yarn is still accessible.
- Wash according to care label. Follow the yarn manufacturer’s instructions for washing and drying to maintain the softness and shape of your cloud stitch blanket.
Frequently asked questions about cloud stitch blankets
How many skeins of yarn do I need?
Cloud stitch creates a thick, textured fabric that uses more yarn than flat stitches. For a standard 40x50 inch throw, you will likely need 6 to 8 skeins of worsted weight yarn. If you plan to make a larger queen-sized blanket, increase your estimate to 12-15 skeins. Always check the yardage on your specific yarn label to calculate the exact amount required for your desired dimensions.
Can I use cotton yarn for cloud stitch?
You can use cotton yarn, but it will result in a heavier, less fluffy blanket because cotton lacks the elasticity and loft of wool or acrylic. Cloud stitch relies on texture to create its "cloud-like" appearance, so acrylic or wool blends often look softer and drape better. If you prefer cotton for its durability and washability, choose a soft, brushed cotton yarn to mimic that cozy feel.
Why does my cloud stitch look uneven?
Uneven stitches usually come from inconsistent tension or skipping the correct number of chains at the start of a row. Cloud stitch requires a precise chain multiple (usually multiples of 2 plus a few extra chains for turning) to keep the edges straight. If your edges curl or look jagged, check your foundation chain count and ensure you are inserting your hook into the same stitches as the row below.
No comments yet. Be the first to share your thoughts!